PrestaShop database migration can be triggered by multiple business needs. You might need migration when you:
- shift your store from the Cloud to a self-hosted version
- when upgrading from older version to newer (major update from 1.6 for example)
- moving from staging/development environment to live environment
- open another PrestaShop store and need to copy the data to a new store
In any of the cases mentioned, you would like to attain consistent and fluent data copying, including products (with all related details), categories, orders, customers. To transfer the PrestaShop database to another store in a time-efficient way, you can consider Store Manager for PrestaShop import/export functionality.
Important! If you do not have access to your source website, you might use Data scraping service or software to scrape your product data into PrestaShop import compatible file.
Important: Database backup / restore cannot be used for data migration or data transfer as shopping cart backup contains configuration settings that differs between installations. Also, different versions of the shopping cart will have different database structure. When restoring backup made on different shopping cart installation, it will crash the database, including messing up with data and tables. In order to fix it, you will need to start shopping cart installation, create a new database and complete website configuration to start migration from a scratch.
The PrestaShop migration / data transfer steps
Using Store Manager import/export wizard, you can transfer PrestaShop categories, products, customers, and orders. In this article, you’ll learn how to export all store entities into CSV files and import them to a new PrestaShop store.
Export Store Data That You Want to Migrate
Store Manager offers a wizard for every kind of entity. Select a corresponding option on the side menu.
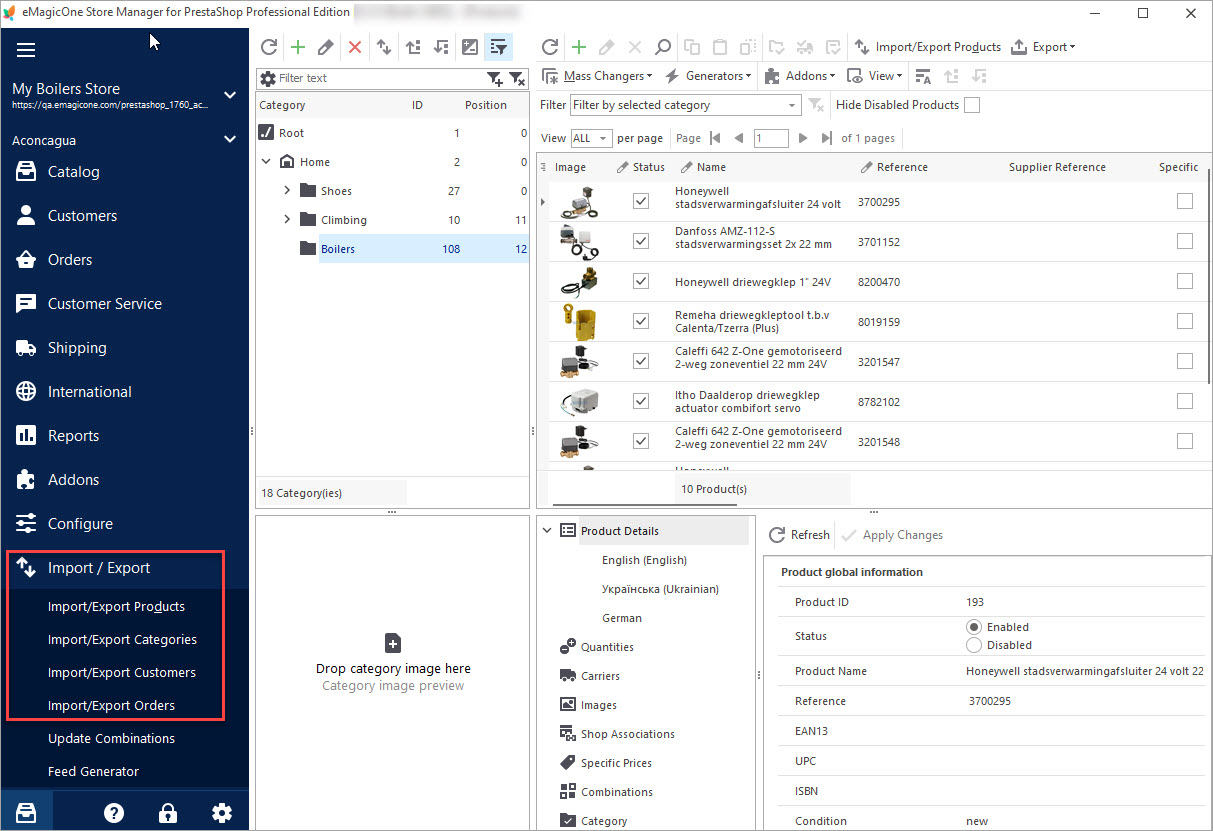
Export Category Tree Structure
Migrating PrestaShop data to another store starts with copying the category tree structure to the .csv file.
- Launch category export wizard (Tools->Import/Export Categories) and select Export action.
- Choose a file to save category data to.
- Select ‘All Categories’ on the next step to pull down the entire category tree.
- Specify file separators or leave the default and consider a delimiter used to detach categories in a category path.
- Select all category fields to be exported to the.csv on the following step and confirm the procedure.


Important:
You can use category export if you want to move exactly the same category tree to the target store. Also, Store Manager allows you to create categories in the process of product import. If you have a full category path specified for each item in the product import file, these categories or subcategories will be created and products will be assigned to them.Download free trial of Store Manager and transfer Prestashop database smoothly
Download NowExport Products from a Source PrestaShop Store
Now, let’s export to a .csv file those products that want to migrate.
- Launch Products export wizard (Tools->Import/Export Products) and select the “Export” action.
- Select the file to save product data to.
- Decide on the export options displayed on the following wizard page.
- Export full category path – if you want to create categories on the fly while migrating PrestaShop data to another store enable this checkbox.
- Export parent details – if you want to record parent product details (name ) in the .csv file for all product combinations, enable this option.
- Product accessories identification method – to preserve accessory relations, choose the identifier for them. The output file will have Reference or EAN13 in the “Accessories” column depending on what you chose.
- Set export file delimiters or leave the default on the following step.
- If you enable the ‘Use ID as category path’ checkbox, the result export file will contain a category ID, not the path. Do not enable this option since you won’t be able to assign products to categories at a new store because they will not have the same IDs.
- When shifting a store from the Cloud version to the self-hosted or changing server, you need to transfer images respectively. With Store Manager, you can easily move images either using their URLs or downloading them in the process of export to a local folder.
- Export image filename with HTTP URL path – if you enable this option, an entire URL path to the product images will be recorded to the output .csv file.
- Download product images to the following directory – if you choose this, the pictures will be drawn from the server to a local folder that you specified below.
- Select all product-related fields to pull them to the .csv file.


Important:

Done! The catalog has been downloaded from your source PrestaShop site.
Export PrestaShop Customers
Download PrestaShop customers via export wizard next.
- Launch Customer Import/Export wizard, select the ‘Export’ action.
- Choose the file where customer data will be stored
- Consider file separators and customer groups delimiter (if a customer belongs to more than one group, all these groups will be arranged within one file column and separated by this delimiter).
- Choose all customer-related details at this step and confirm that you want to transfer them to the spreadsheet.


Export PrestaShop Orders
You should now export orders if you would like to transfer sales data to a target store.
- Launch Orders Import/Export Wizard (Tools->Import/Export Orders) and select the “Export” action.
- Open the Order Export Wizard and select the file to store orders.
- Select orders to export – all existing orders or selected.
- Set file delimiters or leave the default ones.
- Select fields to be exported to .csv using traditional options on this step or field groups filter.
- Finish the export by pressing the “Export” button.


Having downloaded these entities, you can transfer PrestaShop database to another store.
Prepare Your New PrestaShop Store Before Data Migration
Before starting data import to a new store, you need to:
- Install and configure a PrestaShop store. Please check PrestaShop official documentation describing how PrestaShop installation is accomplished – https://docs.prestashop-project.org/v.8-documentation/v/english/
- Add languages and download language packs
- Enable the multistore option if you plan to create multiple shops, create shop groups and shops
- Configure payment methods as this tutorial describes
- Set up carriers and shipping methods
What to consider transferring PrestaShop database via Store Manager:
- Store Manager allows you to preserve all product properties in the process of export/import.
- If you have product combinations, you can import them to a new store. Store Manager will automatically create attribute values, though it does not allow to create attribute groups via import. So you need to create attribute groups before the import.
- Product features also must be created manually on the new store. Feature values will be created automatically during import.
- Manufacturers exported from a source store will be automatically created and assigned to products on the new store.
- PrestaShop suppliers must be created before the import. You can assign them to products during import.
- Tax rate and rules must be created manually. The import wizard allows you to assign rates.
- Shipping carriers must be created in advance because the import tool allows you to assign carriers, but not create them automatically.
Now you need to connect to your target store database via Store Manager and import entities from the files you have prepared.
Transfer Data to the New Store Via Import
Import Category Tree
If your target store must have the same category hierarchy as a source store, it would be nice to import categories and build the structure on the fly.
- Start the Import/Export Category Wizard and opt for the import option there.
- Choose the datafile exported from the source store and preview data from the file on the following page.
- Set the delimiters matching the ones used to separate data.
- Map file fields with database fields to append data correctly and get store category structure transferred. Use the “Automap” option to link fields automatically, since the file exported by Store Manager has identical column titles.
- Use the ‘Add and Modify’ import option on the last step of the import wizard and complete the procedure.


Important:
Category import will be successful if you select Category Name (full category path) as an identifier. Category ID can be used for updates only. Force category ID import can’t be fulfilled with Store Manager, since IDs are autoincremented maintaining data integrity in this way. Using automapping you got the ID field mapped and now you can unlink it manually.
Check category tree in Store Manager after the import is accomplished.
Import Products to the New PrestaShop Store
Once the categories exist in PrestaShop, you can fill them with product listings using the file exported from the source store.
- Run the product import profile and select the datafeed to import products from.
- Adjust delimiters or leave the default ones. A file preview box allows you to verify the accurateness of separator setup.
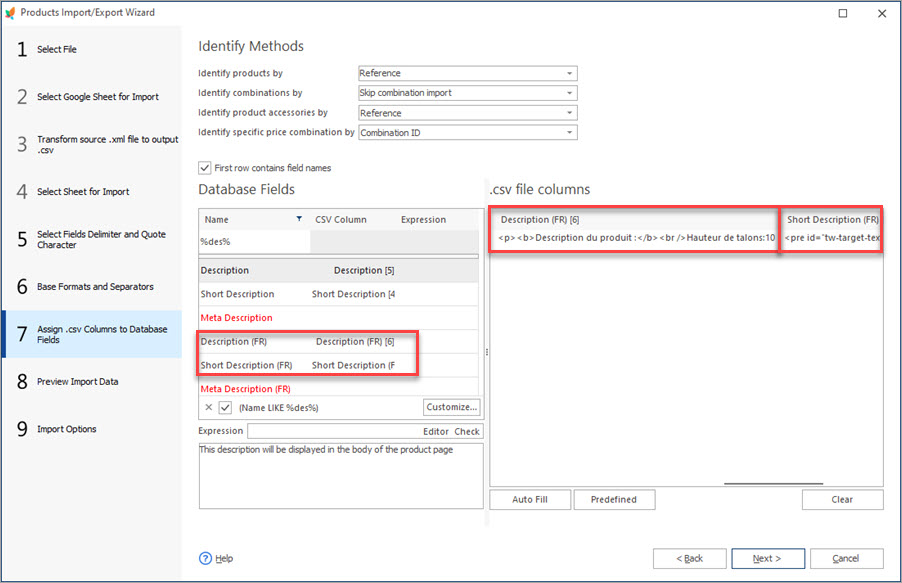
- Associate file columns with database fields to migrate data to another PrestaShop store or apply automapping since exported file columns have identical names.
- Set import options on the last wizard step. It is advisable to choose the ‘Add and Modify’ import method. To create attribute and feature values you have in the exported file, enable the ‘Create new attributes’, ‘Create new features’ and ‘Create feature values’ options.

If you have full HTTP path to PrestaShop product images in .csv, just enable the “Import Images” checkbox under the preview box.
To upload locally saved pictures, you have to activate this option and also select the folder keeping these images.

To import combinations, select combination reference in the ‘Identify combinations by’ dropdown.
Important:
Exported combinations should have unique references to be created in the new store after import.
To preserve accessories in the new store, you have to set identifier that you have in the export file.

Import PrestaShop Customers
Add customers to the new PrestaShop site using Customer Import/Export Wizard as outlined below.
- Launch customer import wizard and select necessary file for import.
- Set file delimiters and preview parsed data in the field below.
- Complete fields mapping to link file columns to the appropriate database fields.
- Designate options at the last page and complete the upload.


Download FREE Trial Version of Store Manager
Download It NowImport Orders to PrestaShop
The last step of data migration is sales data upload.
- Launch order import wizard and choose the file keeping orders.
- Move to the next step, outline file delimiters, and have a look at the preview.
- Assign file columns to the PrestaShop database fields and set order, customer, address, and product identifiers.
- Set PrestaShop order import options on the last step, complete the procedure and check orders in the application.


Related Articles:
Manage Multiple PrestaShop Stores from One Location
Find out how to handle multiple stores using one database with Store Manager. Read More…
How to Import PrestaShop Products Into Specific Shops?
Configure settings for importing products into multiple PrestaShop stores at one stroke. Read More…
How to Manage Data Per Specific Shop?
Use PrestaShop Global Selector to change shop associations, create new entities, import data to specific store etc. Read More…
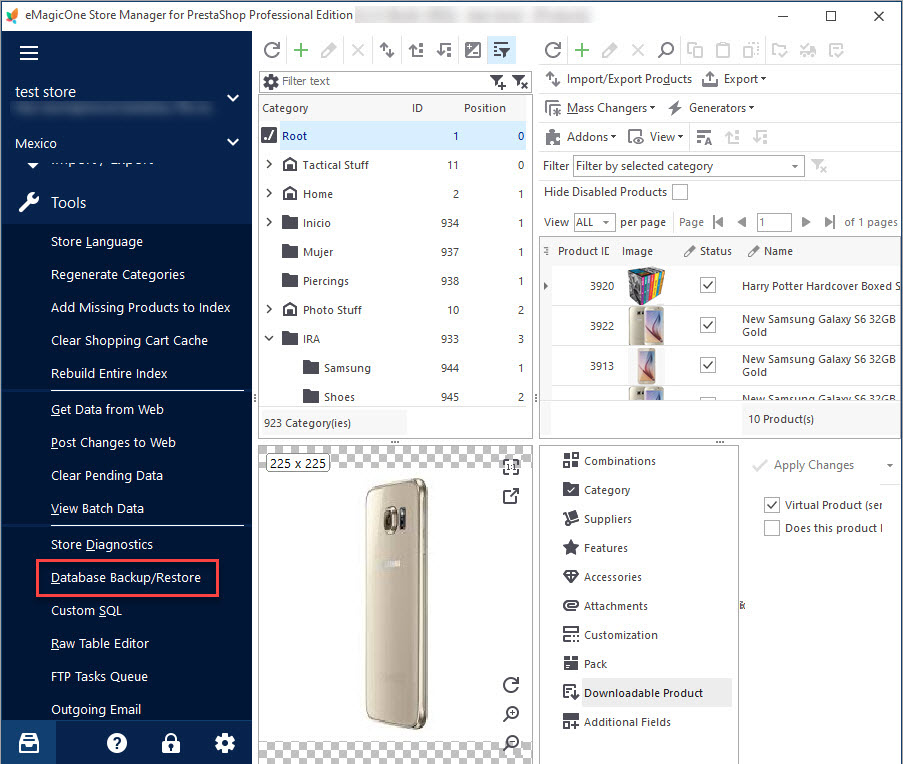
PrestaShop Database Backup and Restore
Backup or restore your PrestaShop store in few clicks with the help of Backup Wizard. Find out how to backup multiple stores at once. Read More…
COMMENTS

