There might be different situations when you need to import a rather large file to PrestaShop: migrating the entire catalog from another platform, importing products with multiple combinations from your supplier, importing scraped products with images, etc. We have prepared a number of tips to tackle different situations and complete the import successfully. You will surely find some optimisation tips and helpful hints below.
Split a large file into smaller ones
If the import file is too big, it may seem obvious to split it into parts and import them one by one using the default PrestaShop importer.
Though in practice, it’s not easy. The file may be located on your supplier FTP or it might have too many lines and can’t be opened with Excel or other spreadsheet software. For situations like this, you’ll need some external solution. One of them is Store Manager for PrestaShop.
Import products, categories, customers, orders with Store Manager
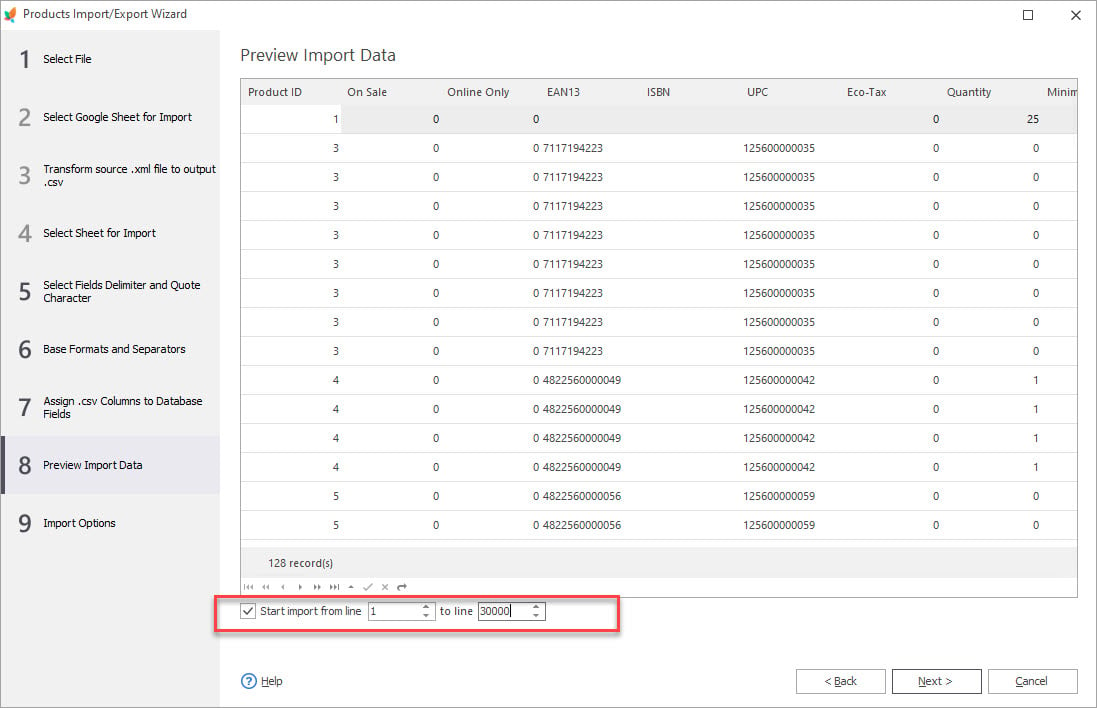
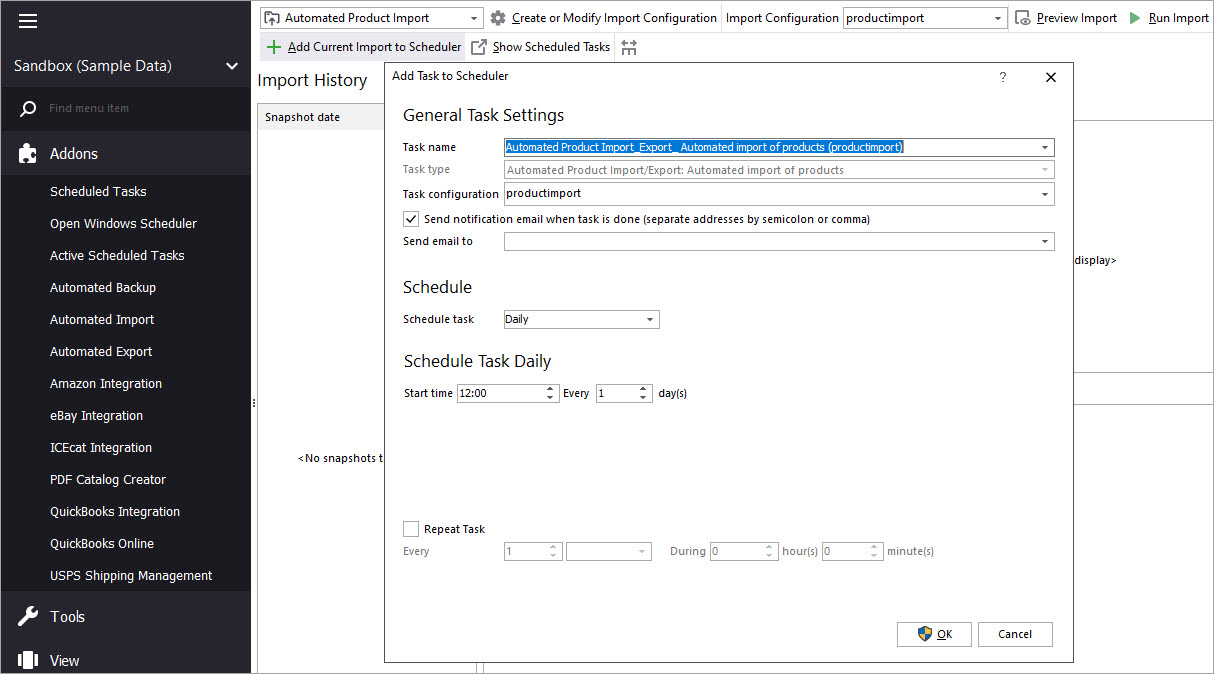
Try FREE nowStore Manager allows you to import data by parts without opening the file. In the import wizard, there is an option to specify the rows that are going to be imported. This way, you can schedule a few import tasks for each chunk without having to open the file before importing.
Import new and existing products separately
The file that your supplier provides might contain new products (that must be added), and existing products (that must be updated). Trying to perform this within one import will create a significant load on the server. To avoid this, separate these two tasks and perform the import stepwise.
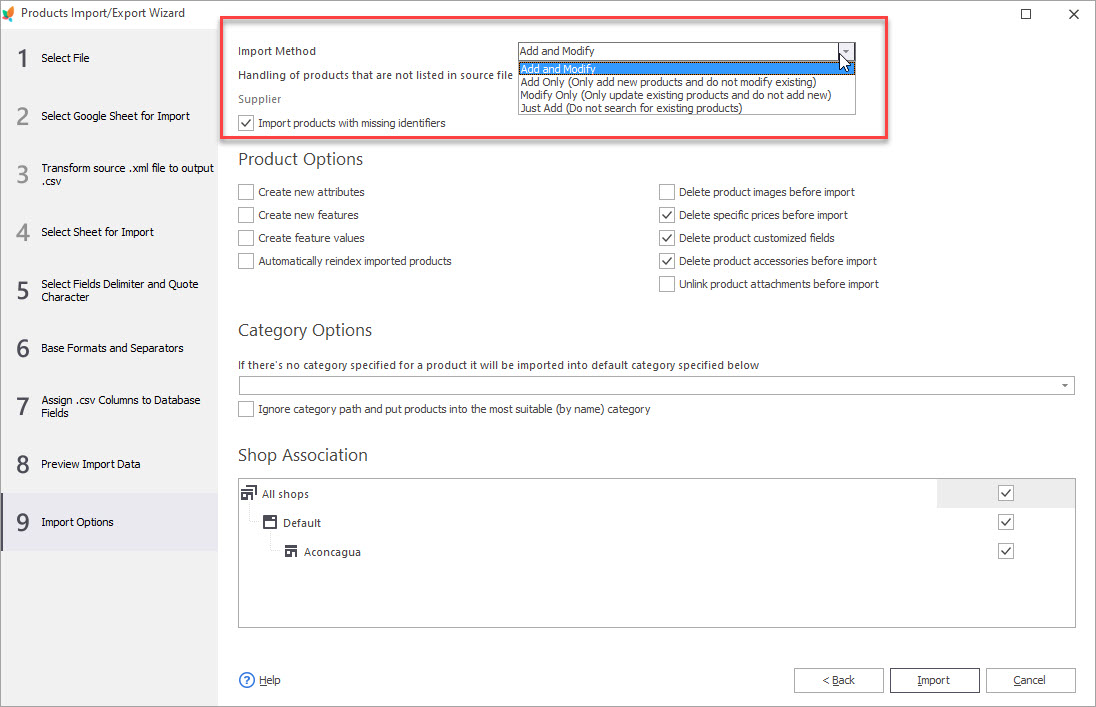
You may ask your supplier to provide new and old products in two separate files and then import them one by one accordingly. If there is no possibility to separate new and existing products, take advantage of the import tool with Store Manager that offers extended import methods:
- Add and Modify
- Add only
- Modify Only
- Just Add
To update existing products and skip new products, use the “Modify only” method. Import only the fields that you need to update (like price and quantity) and skip updating images or descriptions. It will optimize the update process.
For initial import (if you are importing data into a clear store) use the “Just Add” import method. This will ignore the most time-consuming operation – products mapping. Products from file will simply be added, skipping the check for existing products.This will greatly reduce the time of initial import.
Import images separately to fix PrestaShop import time-out issue
Though products and images are imported via separate threads, importing them together may take a lot of time, especially if you are importing external images. That may lead to the PrestaShop import time-out issue:

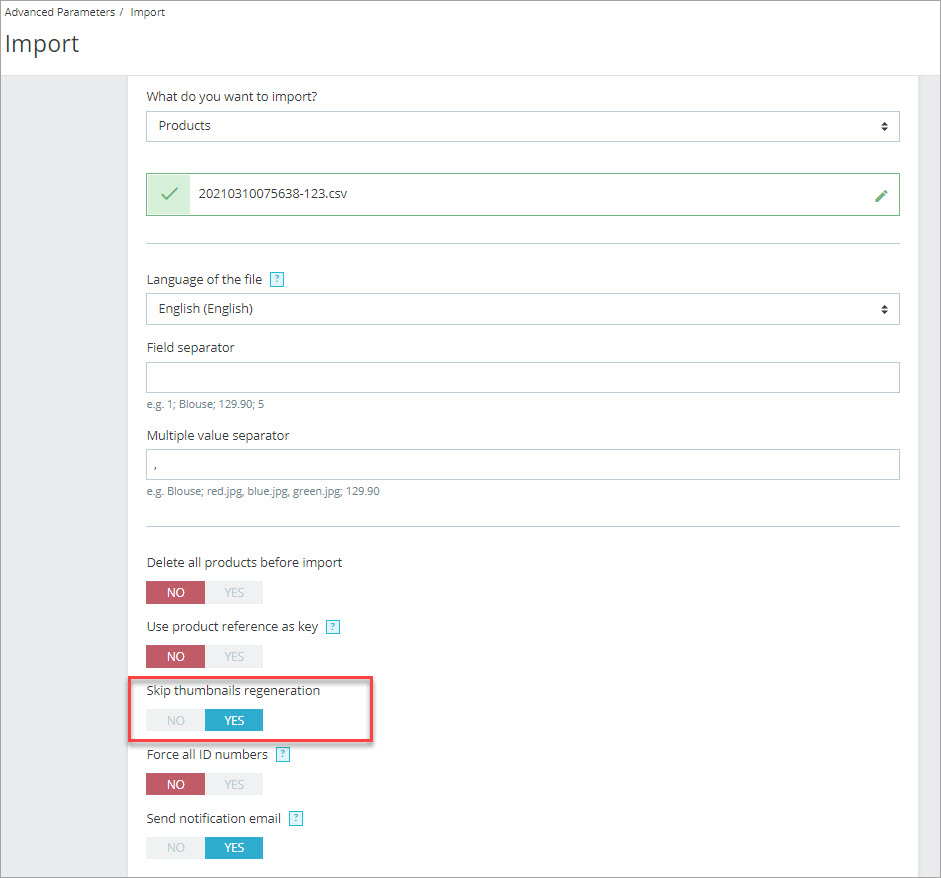
To fix it, enable the “Skip thumbnails regeneration” option when importing products:
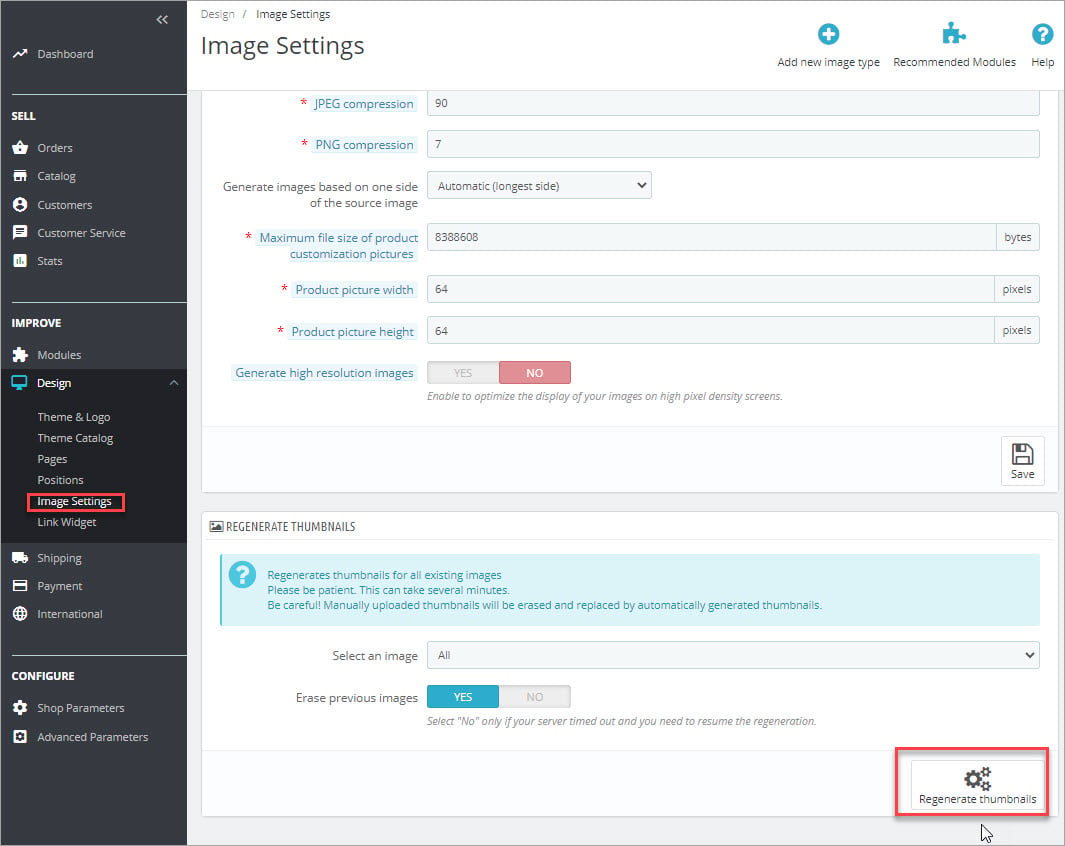
After the import, go to the PrestaShop back office > Design> Image settings and regenerate thumbnails:
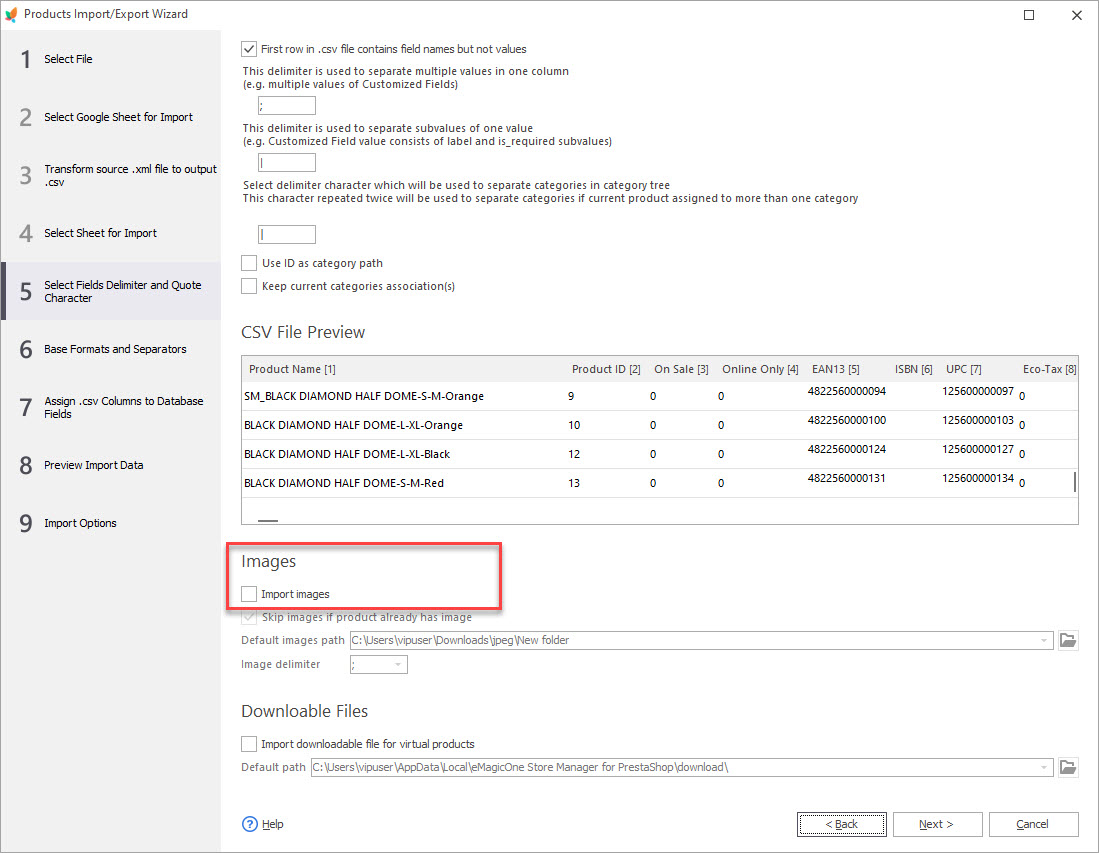
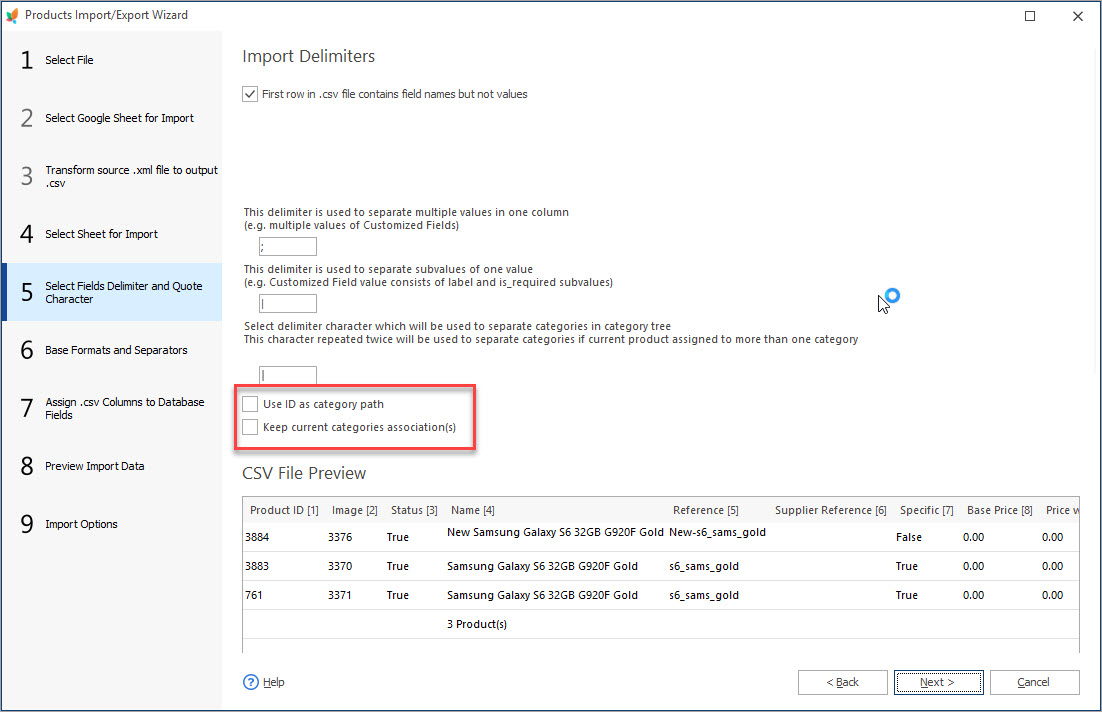
Another solution is to first import products and then import images for the created products. Using this scenario, firstly import all fields related to products except for images. If you are using Store Manager for this, leave the “Import images” option unchecked in the Wizard:
After the products are created, run import one more time. To add images to the existing products, it is enough to import just a column with images and columns for product identification (product name+SKU or product ID). To do so, on the mapping step assign database fields to the corresponding columns in CSV and leave other fields unassigned:
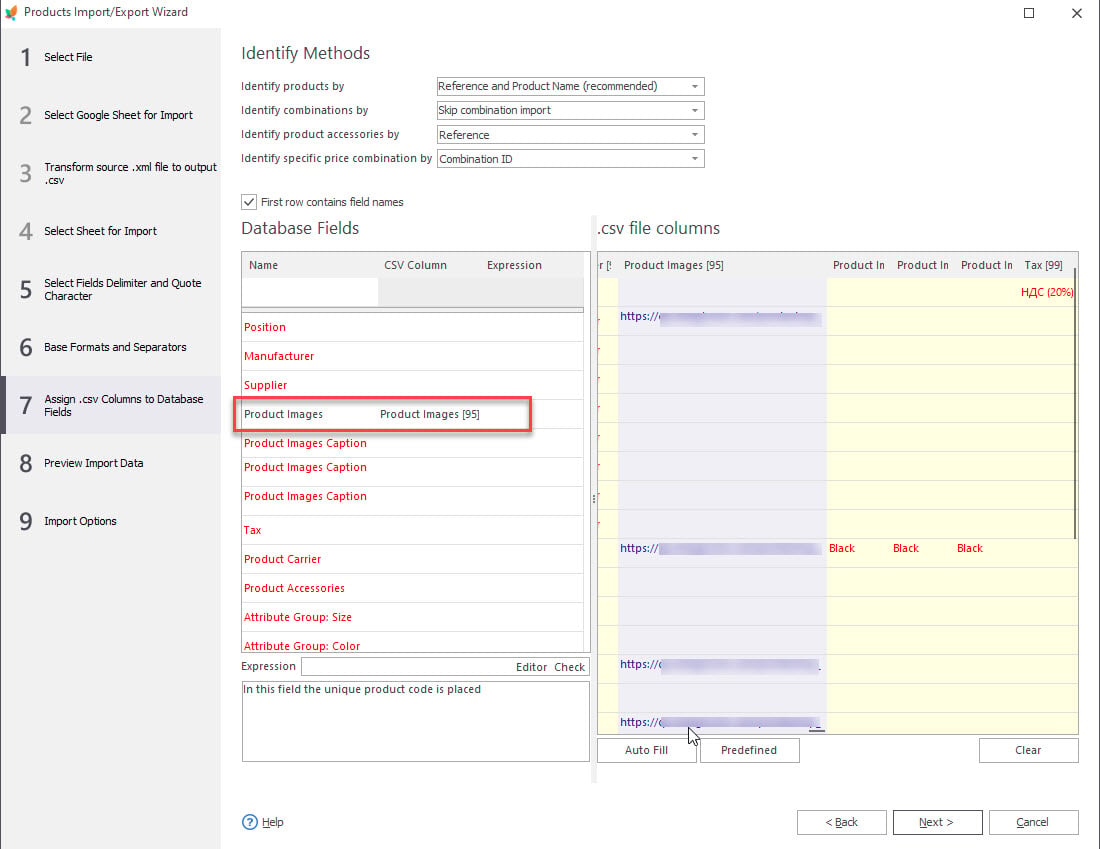
So on the Preview you will see only 2 or 3 columns of data to be imported.
Read more on how to import images.
Additionally, to speed up time-consuming operation of image import and upload, you can temporarily increase the number of threads for upload via FTP. Contact your hosting provider and ask if it’s possible within your hosting plan.
Use Bridge connection type
Store Manager offers several methods of connection to the live store database. One of them is bridge connection. With this connection, Store Manager creates a local copy of your database and syncs changes with the live database, the data being sent in chunks. As all the queries are performed locally, there is no load on the server, and therefore, import completes faster.
Wrapping Up
We hope these methods will help you to import large PrestaShop files successfully. Are you facing any other issues with the upload? Write in the comments, and we’ll try to suggest to you a working solution!
Try the import with the Store Manager at no cost for 14 days
Download the trial
Related Articles:
How to Import PrestaShop Products Into Specific Shops?
Configure settings for importing products into multiple PrestaShop stores at one stroke. Read More…
Make Your PrestaShop Product Import Automated
Discover the benefits of automated product import and the way to set it up. Read More…
How to Upload Excel Files to PrestaShop?
Import store data to PrestaShop in Excel format. Get full instructions. Read More…
Store Manager Extends its Potentials with XML File Import
Find out how to perform PrestaShop import of XML file and what XML import options are available in Store Manager. Read More…
COMMENTS

