Customers, who come to your store, are trying to make a buying choice on their own, without the help of sales personnel, having no possibility to touch or examine desired merchandise. PrestaShop product images are indispensable elements of any product page, since people can view what they are going to buy, get additional information about merchandise, compare with similar products.
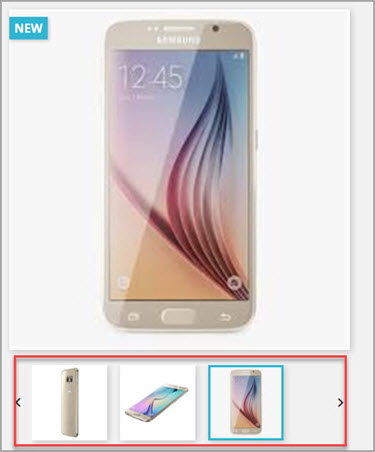
Consequently, another task, merchants are obliged to accomplish regularly, is image management. Store Manager for PrestaShop will help create attractive look of storefront, since it facilitates first-class catalog management, ensures PrestaShop import of multiple images and gives the possibility to attach several pictures to each product.
Images, likewise products are uploaded via product import wizard and might be added to already existing listings or appended with new ones. In order to successfully add multiple photos one is expected to, firstly, arrange import file, secondly, consider import settings.
PrestaShop Image Import File
The import file encompasses data to be transferred to PrestaShop database and these data should be arranged according to certain logic. In case several images refer to one and the same PrestaShop product, list their names in corresponding column of .csv file and detach them by separator.

How to Import PrestaShop Images: Instructions
Product import wizard prepares several steps, within which data upload settings should be configured.
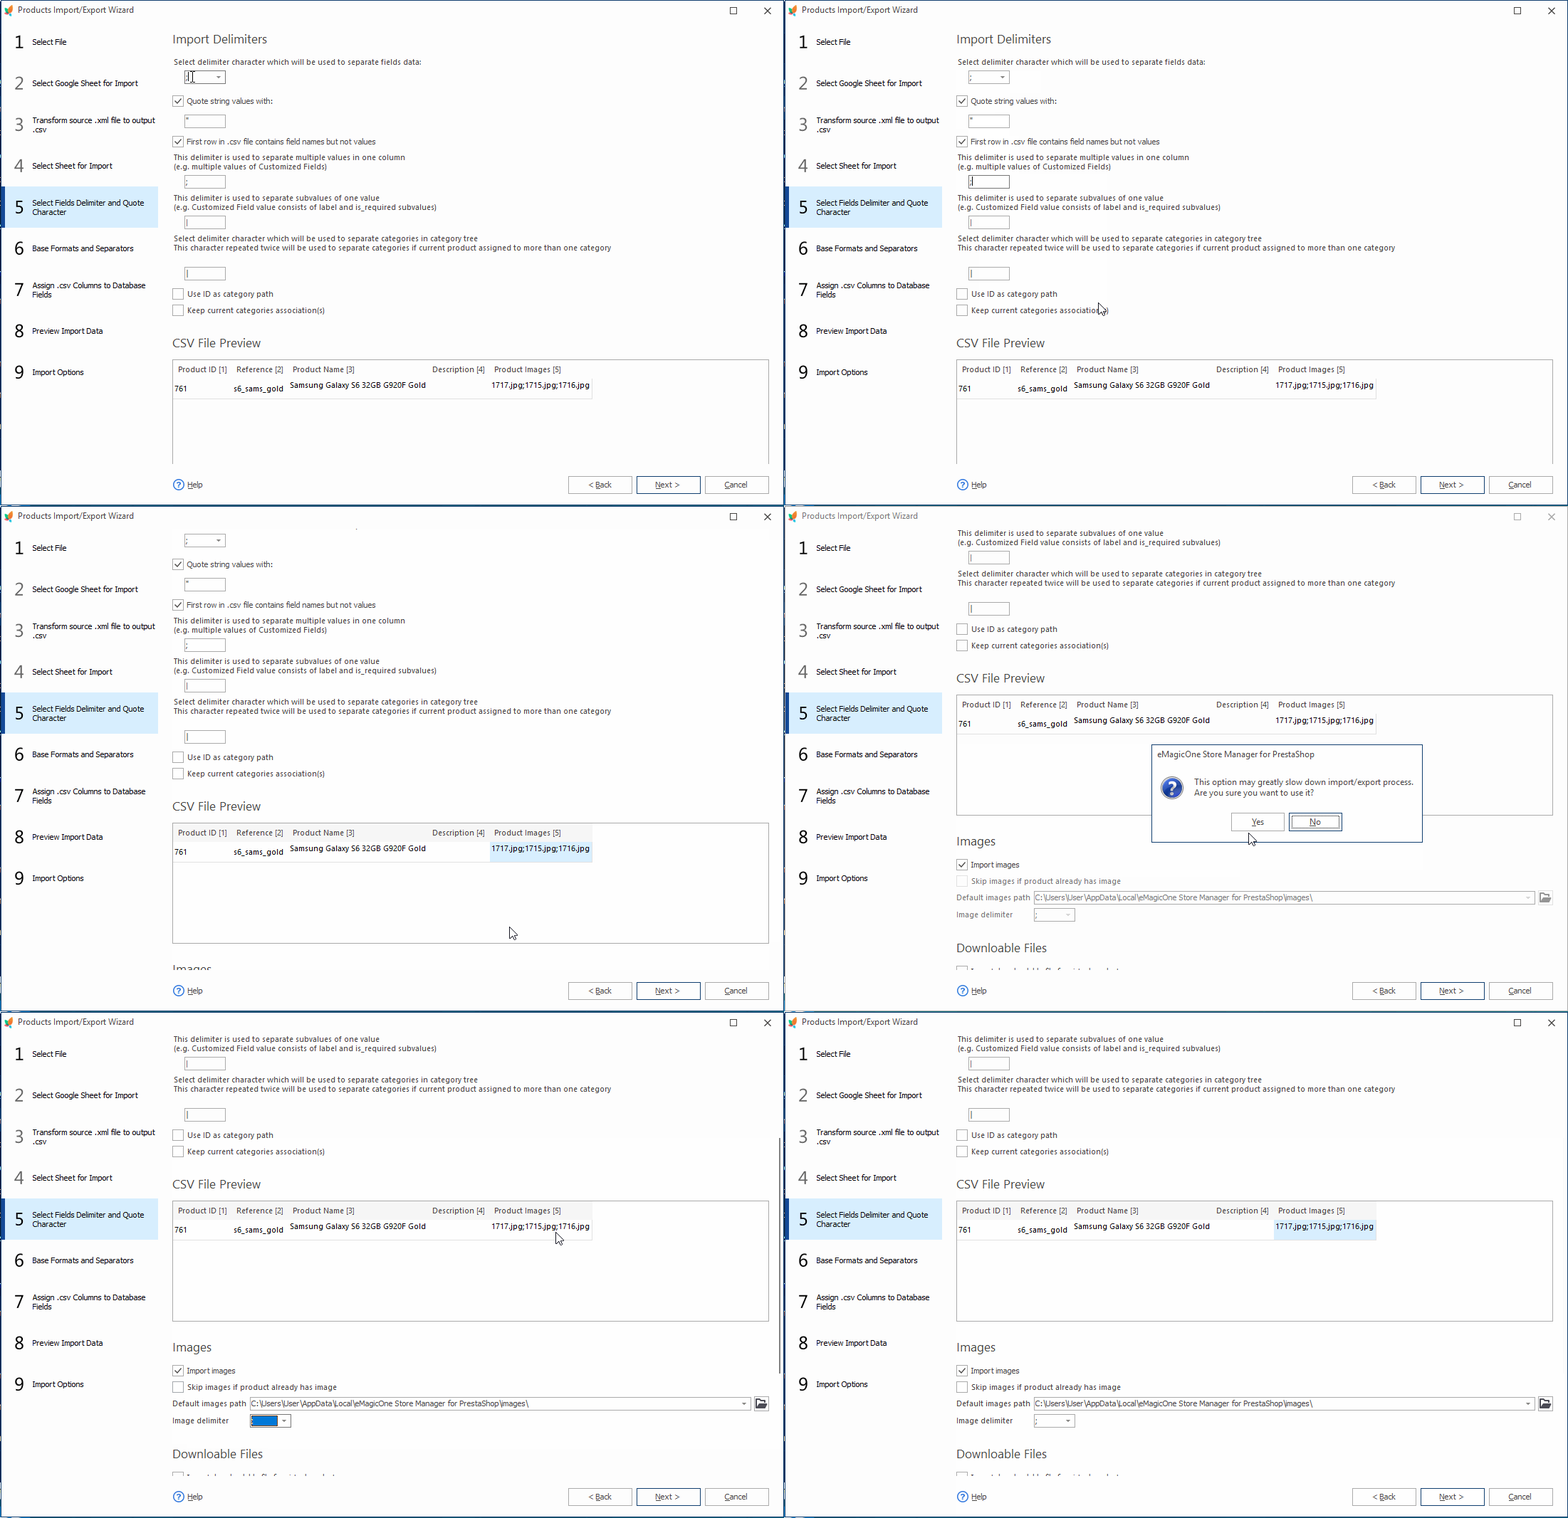
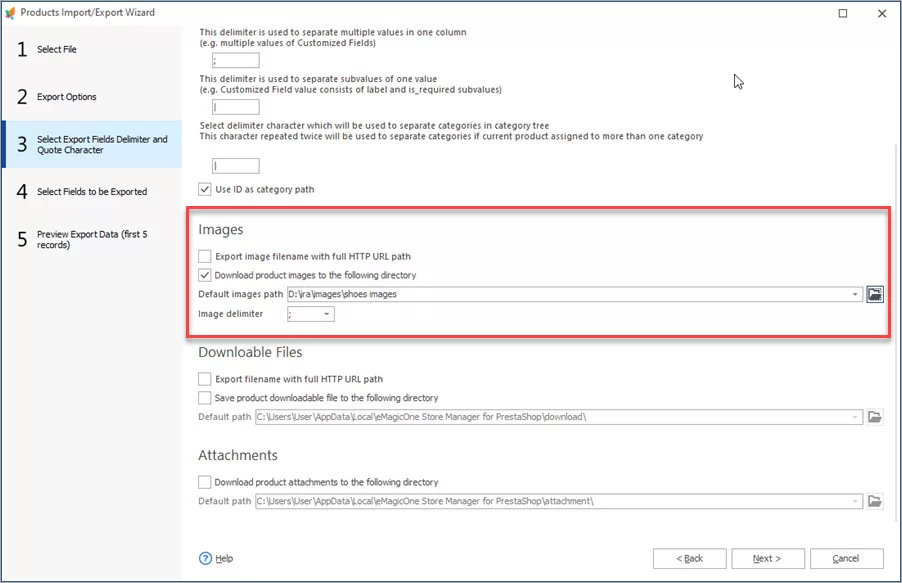
Immediately after you select the file to import from, wizard will switch to the step, where proper delimiters should be selected. In order to import PrestaShop images properly, check the following:
- enable image import checkbox
- select local folder that stores images
- select delimiter that is used to separate pictures in the file
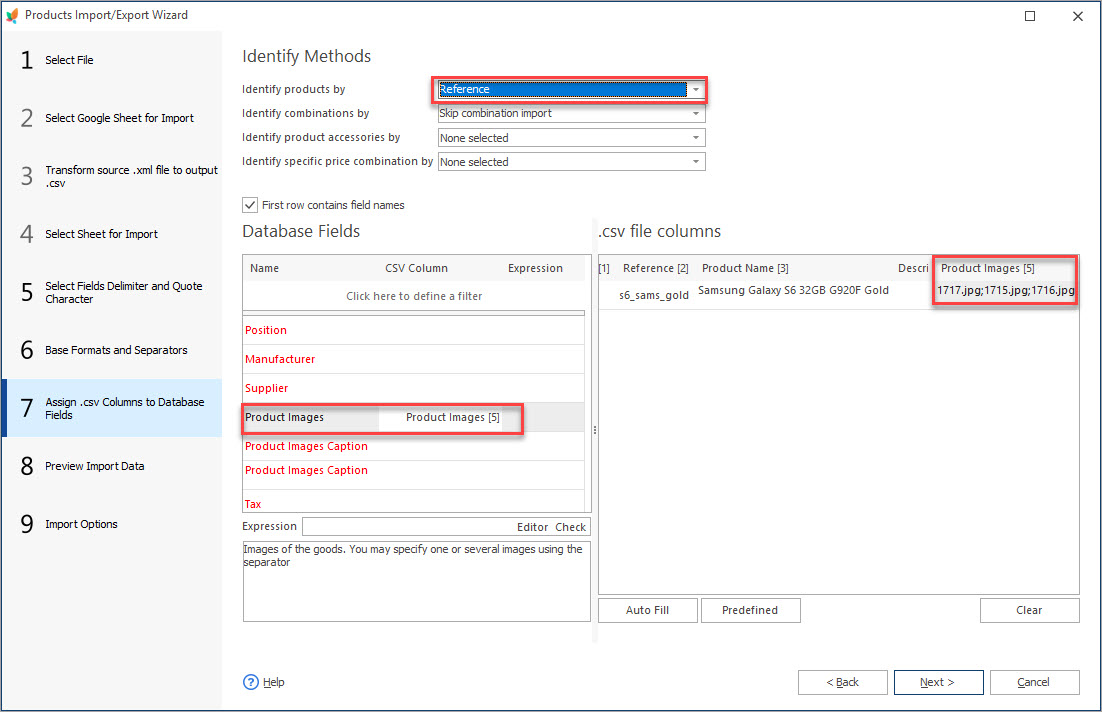
In order to get desired import outcomes you should inspect field mapping. Columns of the file should be allocated to appropriate database fields and suitable product identifier must be selected.
Before commencing on the PrestaShop import of multiple images, set suitable import options, namely import method, product options, shop associations.
It should be indicated that uploading several images to one PrestaShop product listing, the first indicated in the file image will be set as main (cover) image. If you need some other picture to be set as main image at the storefront find this product in the list and switch to Images tab of the lower grid. All the images, assigned to the product, are displayed here. Image, that was listed first in the import file, is displayed first here and is set as cover photo. Whenever you want to change cover, simply check box for desired one and it will be marked as main picture.
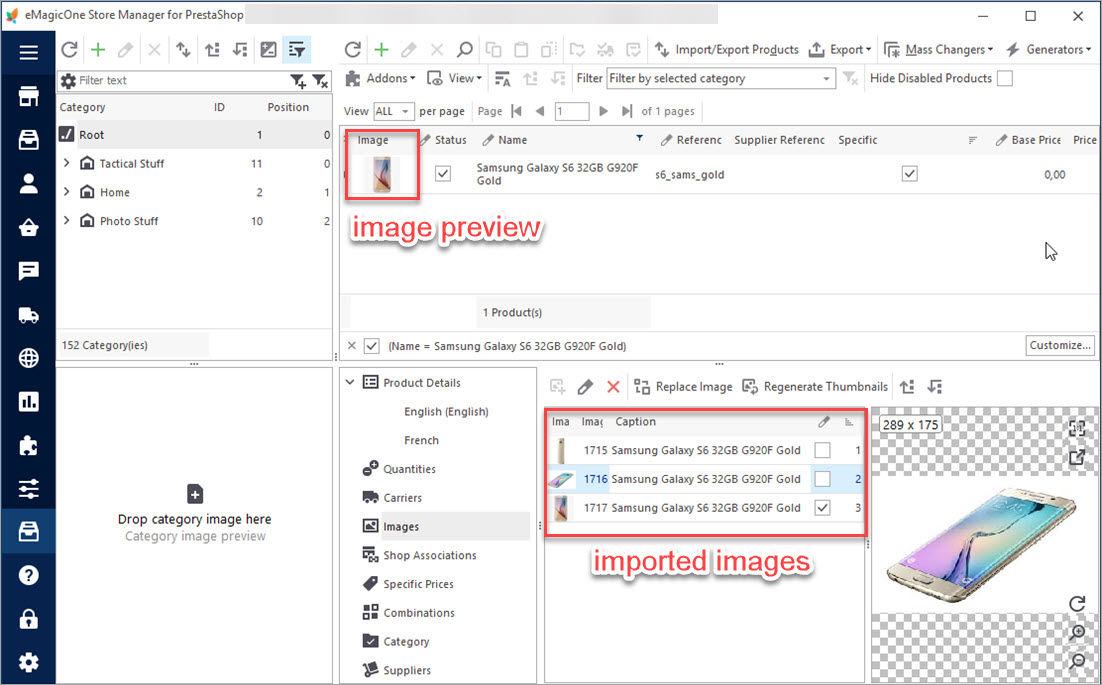
Uploading PrestaShop product images with Store Manager for PrestaShop is a great time saver. It ensures accurate and error-free pictures handling, what is prerequisite of customer-oriented and full-featured web shop catalog creating.
There is free trial version of Store Manager for PrestaShop available for download at prestashopmanager.com/free-download
Import multiple images to PrestaShop FREE Import Images Now
Related Articles:
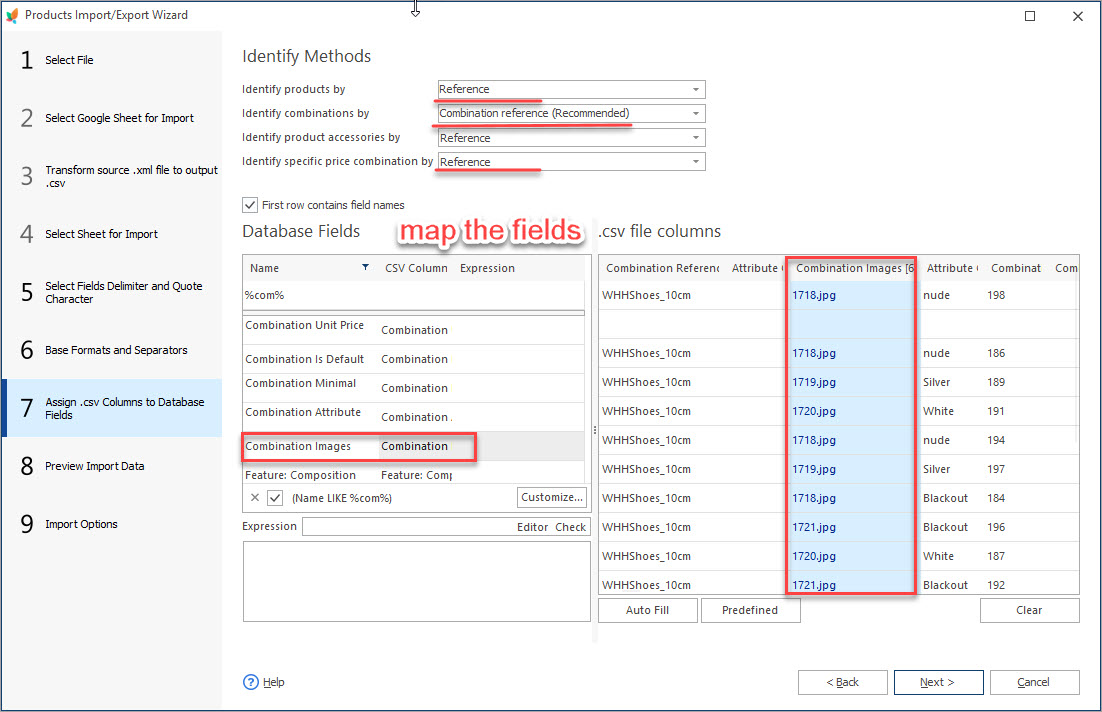
How to Set Different Images to Product Combinations
Find out how to attach different images to product combinations during import or add them manually. Read More…
Update PrestaShop Combinations Preserving Image Relations?
Check detailed instructions on how to update PrestaShop combinations without any troubles with images. Read More…
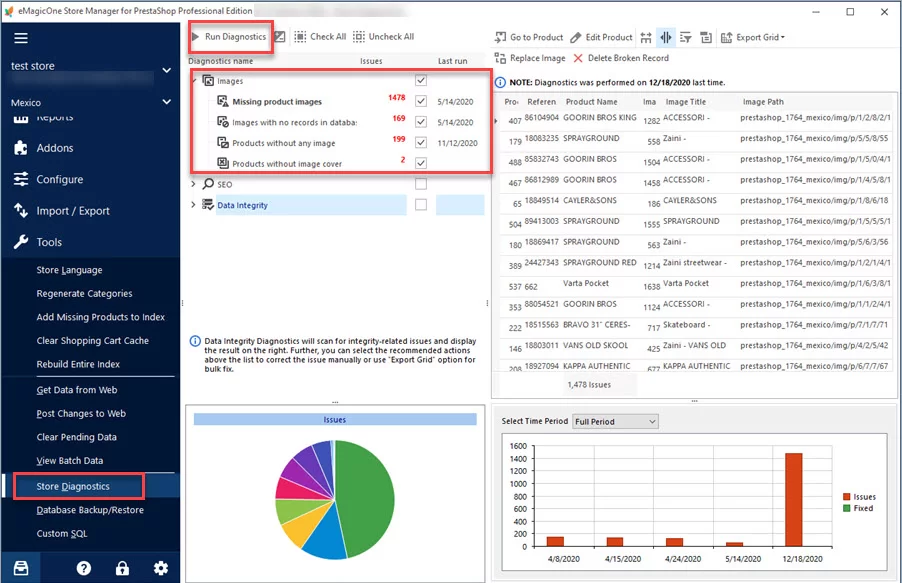
How to Get the List of Products Without Images in PrestaShop
Discover the ways to detect products without images in PrestaShop. Read More…
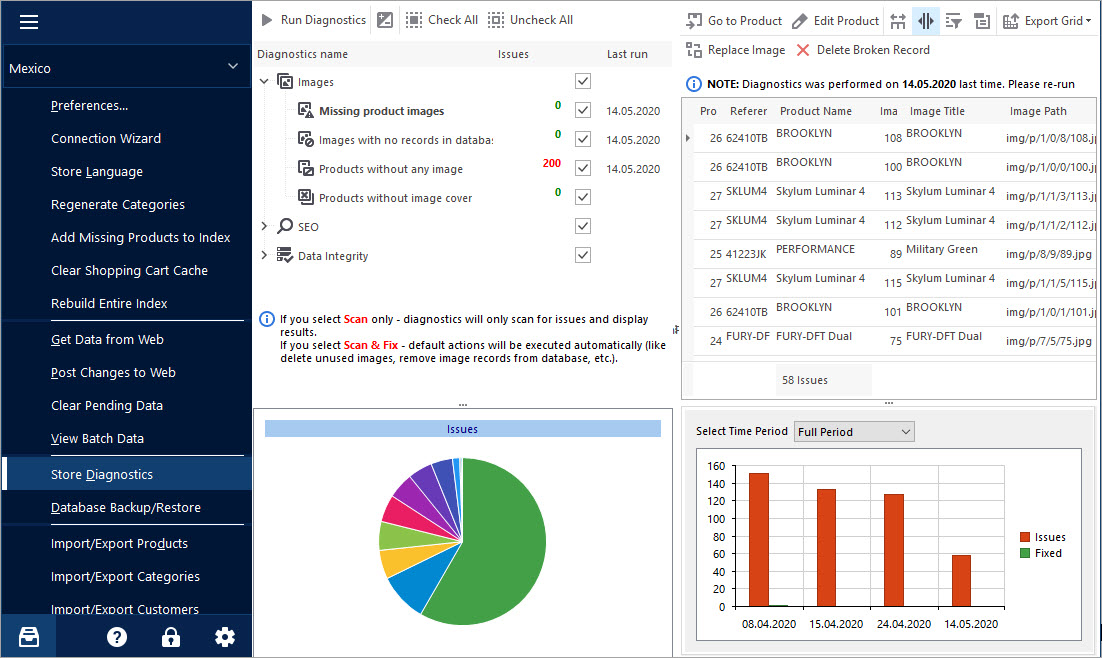
Keep Your PrestaShop Images under Control with Store Diagnostics
Check the ways to handle and prevent issues with missing product images and images not assigned to any product. Read More…
COMMENTS
Hello Antonio,
Thank you for your comment
Store Manager works similarly to admin, so if you upload images in .webp format from admin and they are converted to .jpg, Store Manager will upload them in the same way.
Please note, PrestaShop v 8.1 allow enabling Multiple image formats – in this case images will be uploaded in both formats. Make sure that you enabled the necessary options in admin pannel.
Let us know if you have any other questions.


Hello, I have the latest version of Store Manager but I can’t find the option for .webp images anywhere, I import the .webp images but StoreManager converts them to .jpg
Any solution ?