Convenient filtering helps your site visitors find desired products faster and get from the category page to the product page. Using the PrestaShop faceted search module you can configure a left side filter on the website and improve PrestaShop product search.
PrestaShop faceted search allows you to create a filter for a particular category page and offer a variety of search options: price range, manufacturer, weight, condition, etc.
Follow this tutorial to understand how faceted search works and what settings should be determined for the filters to be available at the PrestaShop frontend.
PrestaShop Faceted Search Configuration Required
To show filtering options at the frontend, you need to find the PrestaShop Faceted Search native module in the back office and configure it accordingly.
In the earlier PrestaShop versions, the module is called Layered Navigation block.
Configure the Faceted Search Module
- In the PrestaShop back office, navigate to Menu > Modules > Module Manager.
- Start typing “Faceted” in the search field to find a “Faceted Search” module.
- Press “Configure” to open module settings.

Create Filter Templates
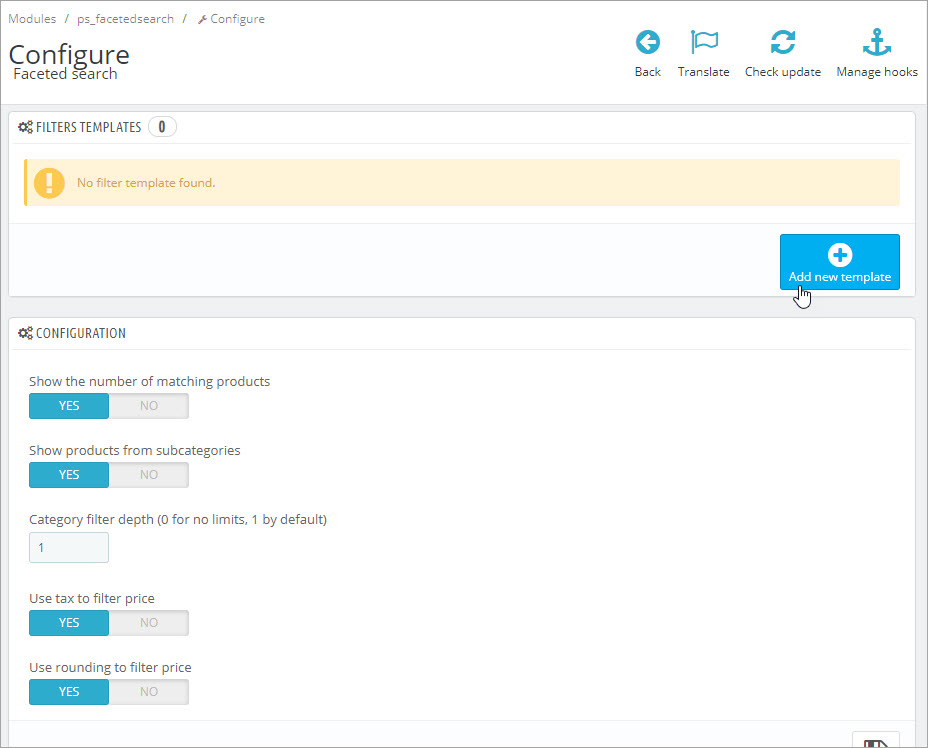
To display filters at the front-end, you should first create a template. In the template, you can specify what product characteristics will be used for filtering, select filter style, etc. Let’s create a template and see how it is done.
- Press “Add new template” at the module page.
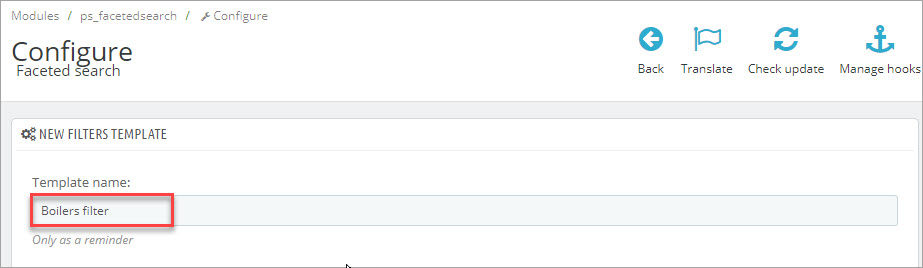
- Input a template name. It will be shown in the backend only, so you can choose any descriptive word or phrase.
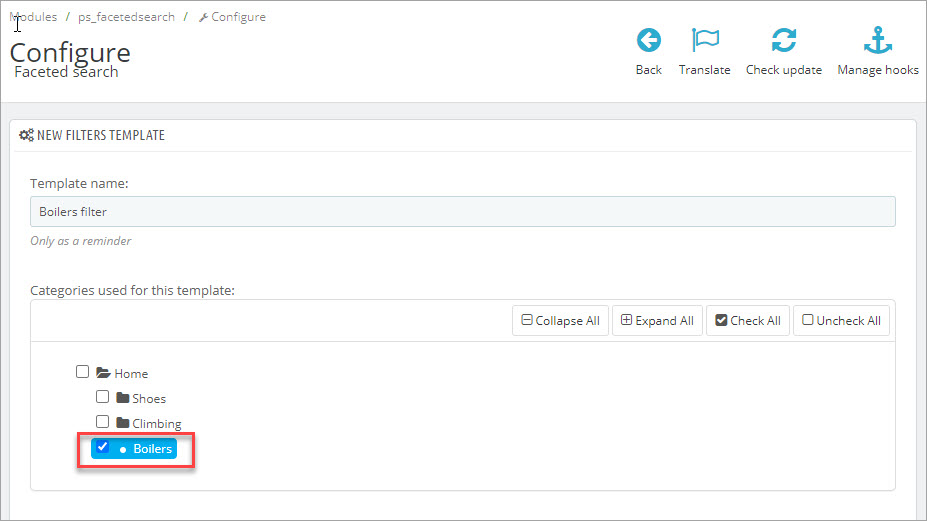
- Select categories where the filter will be displayed.
- In the “Filters” section you can configure the following options: enable the fields that will be available for customers as filter options, select filter style (checkbox, drop-down, radio button, list of ranges for prices and product weight) and number of results. Also, you can sort the options in the filter by dragging them accordingly.
- When you’ve finished configuring the template, scroll to the bottom and click “Save”.
We are going to create a test template that should display in the “Boilers” category only, therefore we check this category in the category tree.
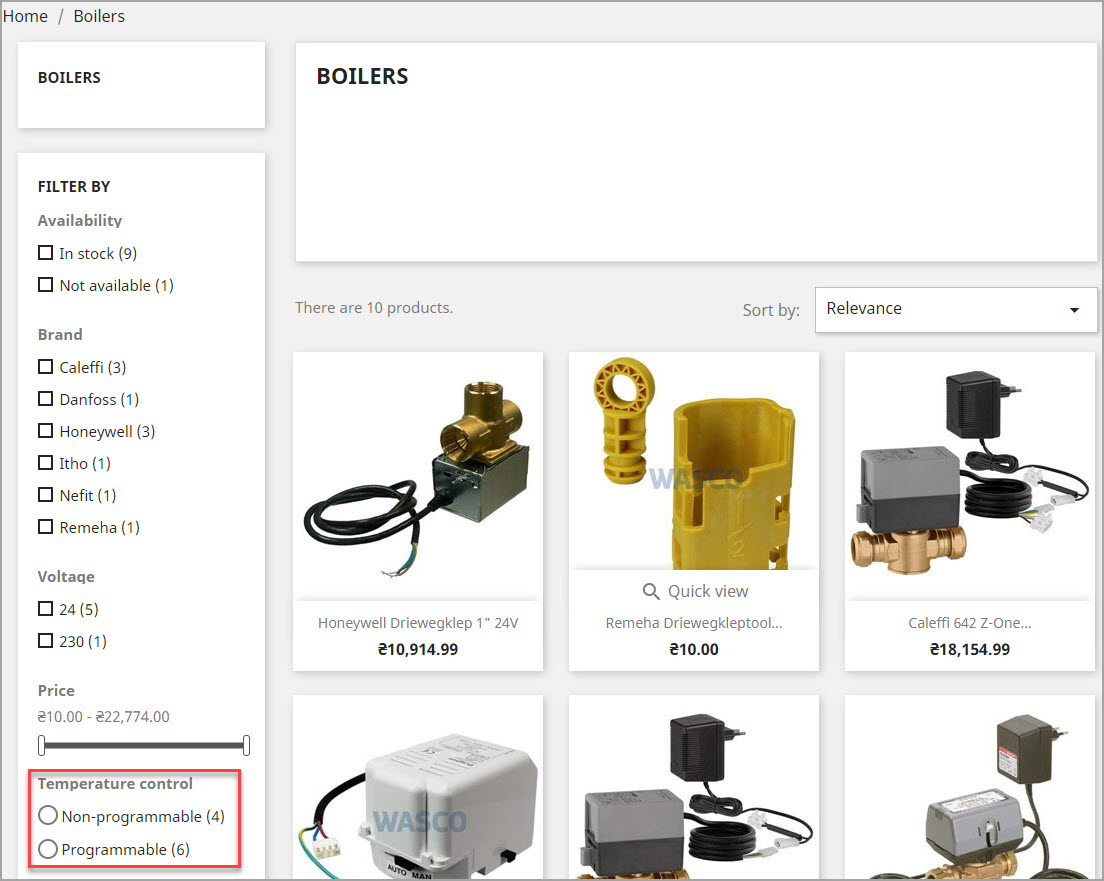
For our test store, we’ve enabled the “Product brand” (manufacturer), “Feature: Voltage”, and “Product condition filters” options:
Let’s check category page at the front-end. As you can see, filter options are now available on the left. When certain check boxes are selected, you can see filtered results:
Things to Check If Filters Do Not Display at the Frontend
- Check if the category you have chosen in the template configuration settings contains at least 1 product.
- Check whether products in the category have the features, manufacturers, attributes you’ve enabled as filter options.
- Run the “Rebuild Entire Index” command.
- Run the “Clear cache” command from the Advanced Parameters > Perfomance > Clear Cache.
- Reinstall the module – open Menu > Modules > Module Manager > Faceted Search > Uninstall. Install the module again.
Manage Features with Store Manager for PrestaShop to Offer Your Users More Filter Options
Product features and attributes are the entities that you use to configure a filter.
Store Manager for PrestaShop offers your several tools to massively add/update features to multiple products and thus offer more precise search for a customer. One of them is Mass Features Changer.
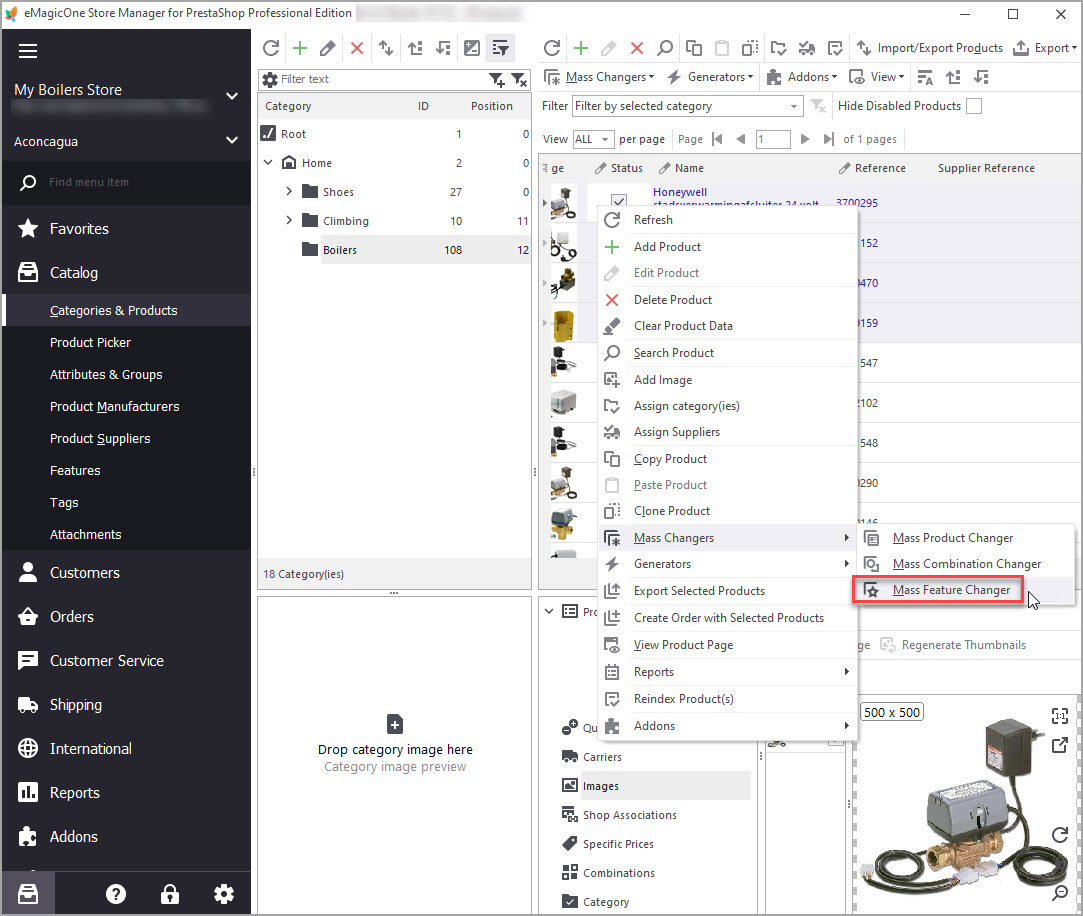
With this tool, you can massively apply feature values to multiple products. Let’s say, we want to offer our users an addtional filter option: temperature control. We add this feature and then add values: programmable and non-programmable. To assign feature values, we select products in the grid and in the context menu click Mass Changers > Mass Feature Changer:
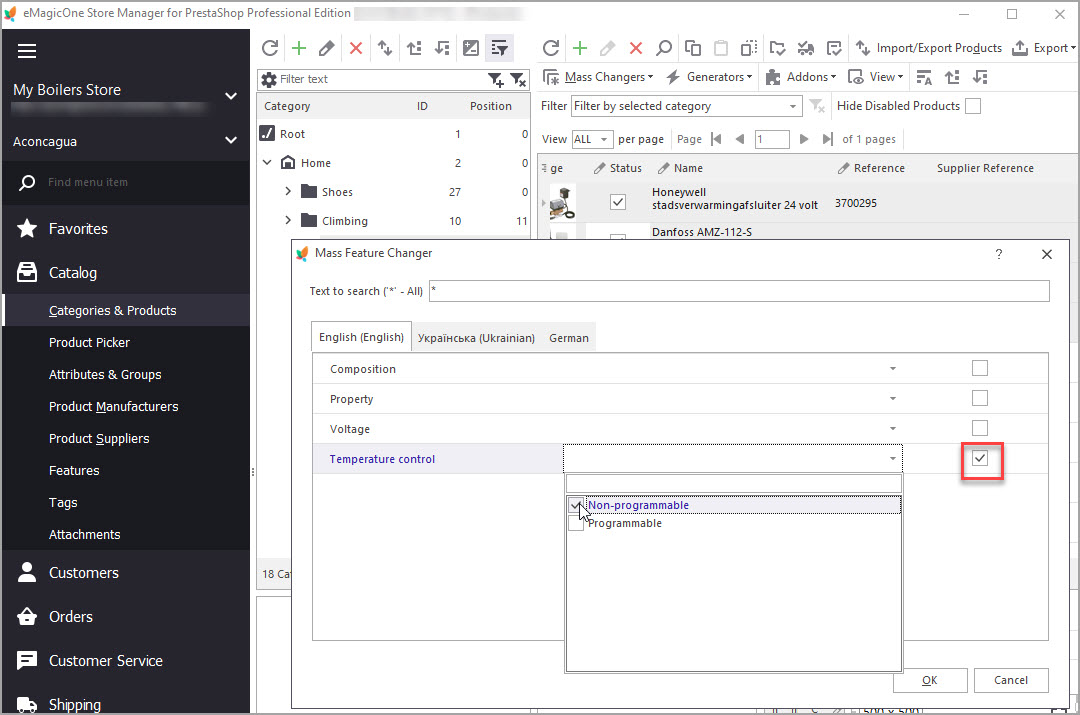
In the open window, we check the new feature (Temperature) and pick a value in the drop-downs (non-programmable):
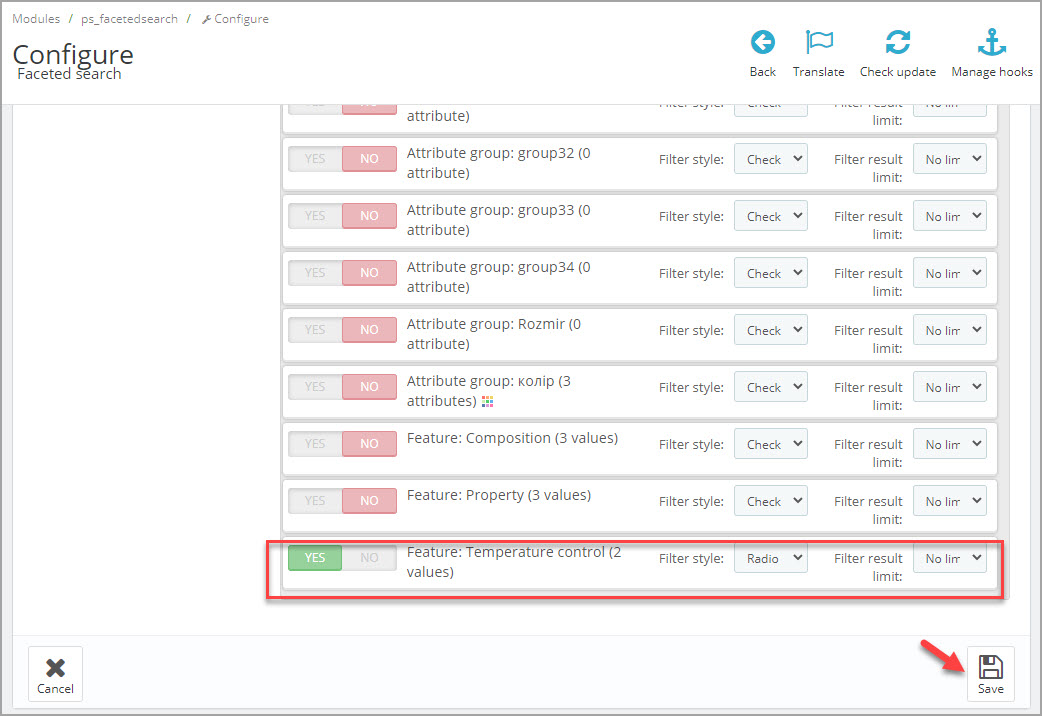
Now let’s go to the PrestaShop backend and add this new feature to the filter (remember to press “Save”).
Now let’s check it at the store front. As you can see, new filter option is available for users:
Read also how to assign PrestaShop feature values via import using the Import/Export Products Wizard.
Simplify user search and increase sales at your PrestaShop website with the PrestaShop Faceted Search module and Store Manager for PrestaShop application.
Try comprehensive Store Manager for PrestaShop filter and search functionality Download Store Manager
Related Articles:
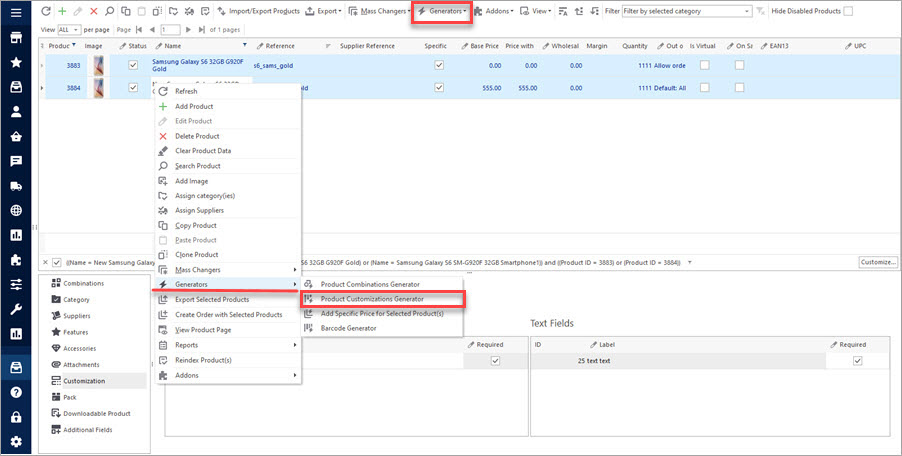
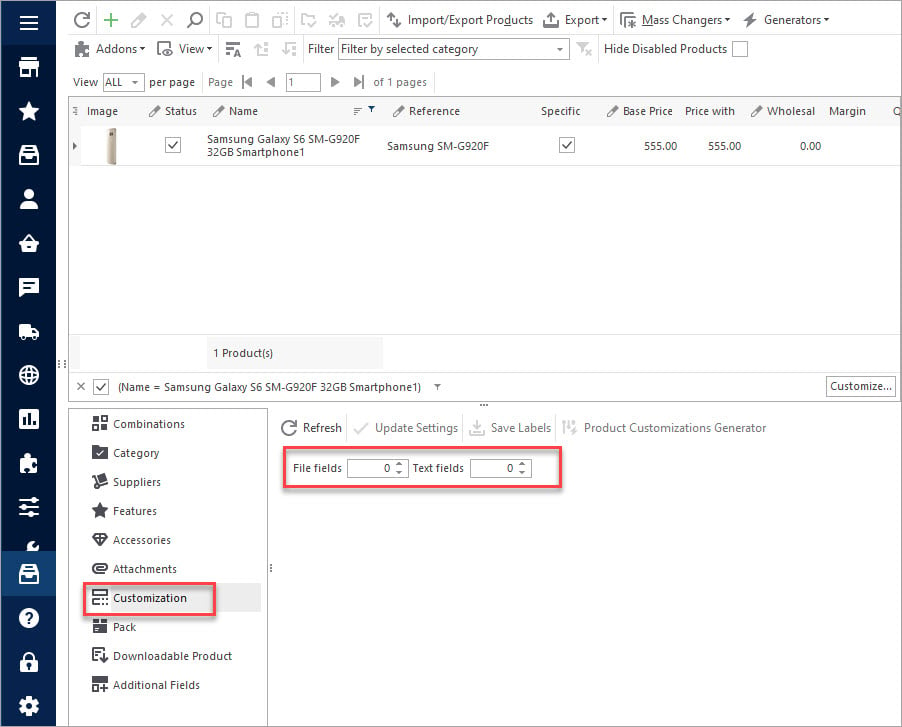
How to Bulk Generate Customization Fields
Use these instructions to create PrestaShop customization fields and attach them to products. Read More…
How to Add Customized Fields to Multiple Products
Adjust PrestaShop fields to your needs. Find out how to create customized fields in PrestaShop. Read More…
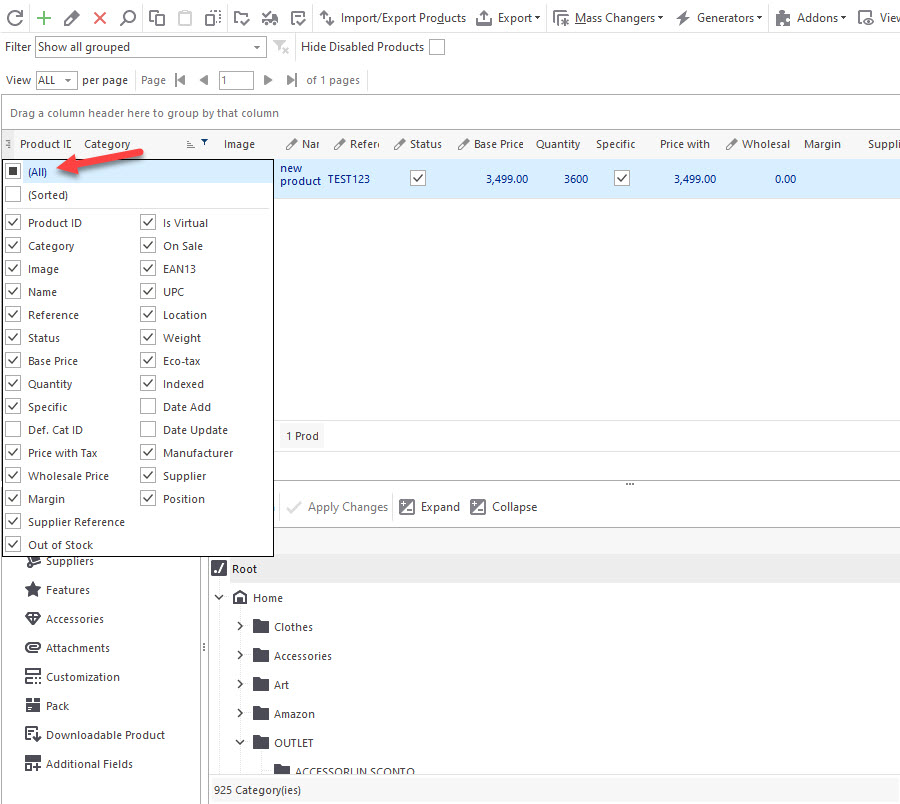
Customize PrestaShop Product Grid Adding Extra Columns to It
Discover the ways to customize product grid in Store Manager for PrestaShop. Read More…
How to Import Multi-Lingual Product Details to PrestaShop
Set import file with products information in multiple languages. Widen your clientele by making your store multi-lingual. Read More…
COMMENTS

