Store Manager for PrestaShop provides two incomplex ways to apply taxes to multiple PrestaShop products: using Mass Product Changer tool or via import. We are going to check both methods.
Bulk Assign Tax Rules to PrestaShop Products via Mass Product Changer
Mass Product Changer is one of Store Manager’s incorporated tools that are aimed to speed up bulk product udpates. No special skills are required to operate with Mass Changer. All you have to do is just to select necessary values from the provided dropdowns and press OK.
Find a detailed guide below.
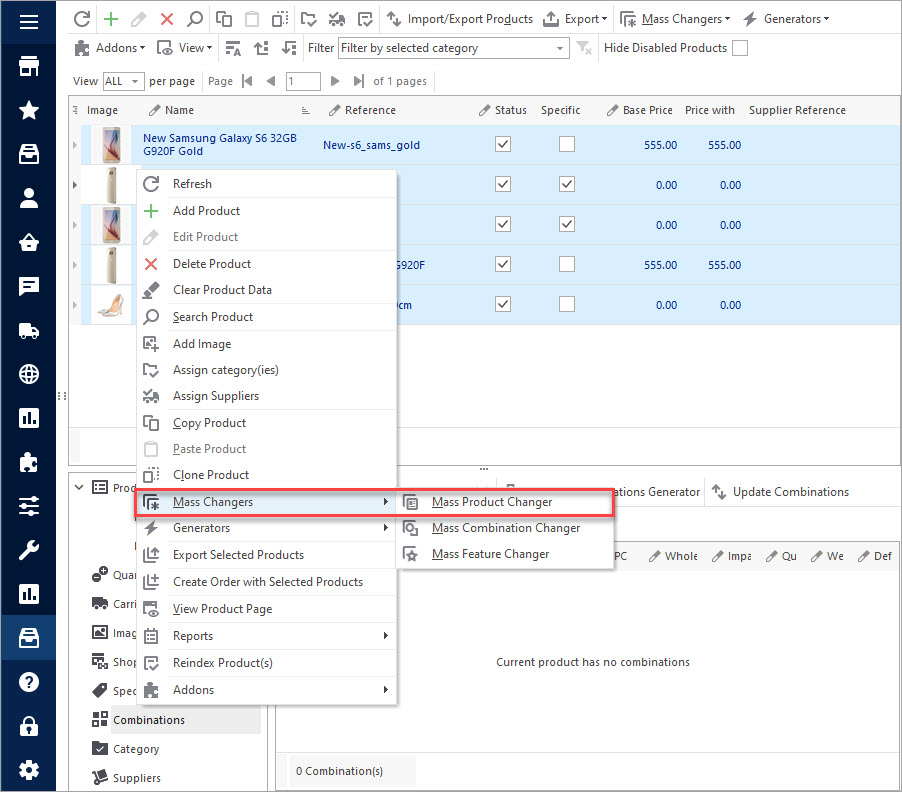
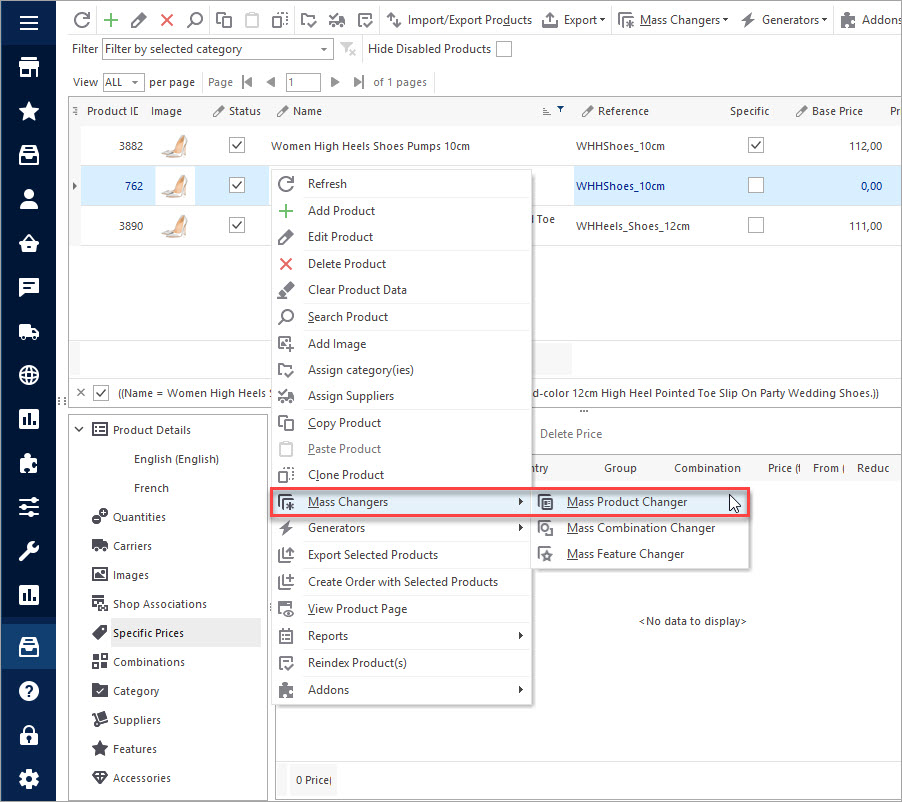
- Go to ‘Categories & Products’ section and highlight products whose tax rules you want to configure. Using context menu select ‘Mass Product Changer’ tool from the ‘Mass Changers’ menu.
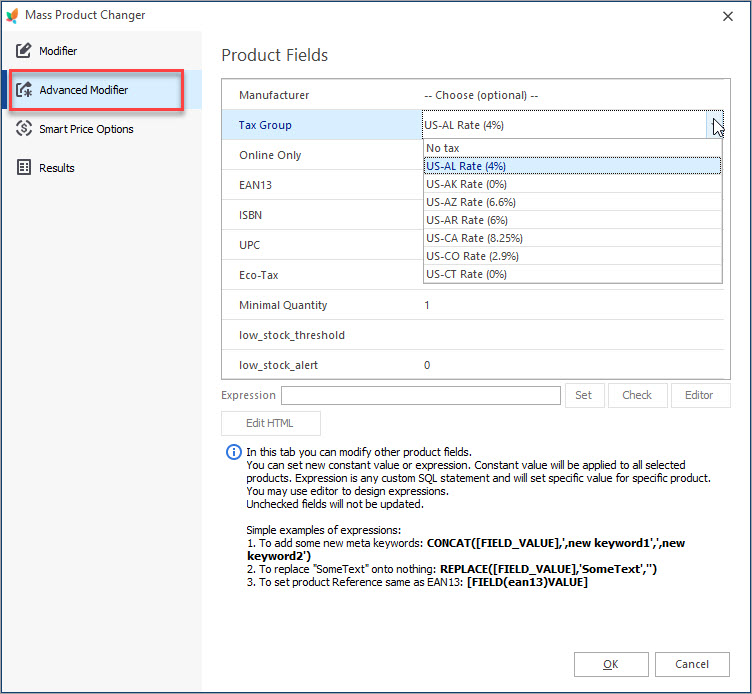
- Switch to ‘Advanced Modifier’ tab and check the ‘Tax Group’ field. Select necessary tax rule from the dropdown. (The dropdown will be inactive untill you check the field).
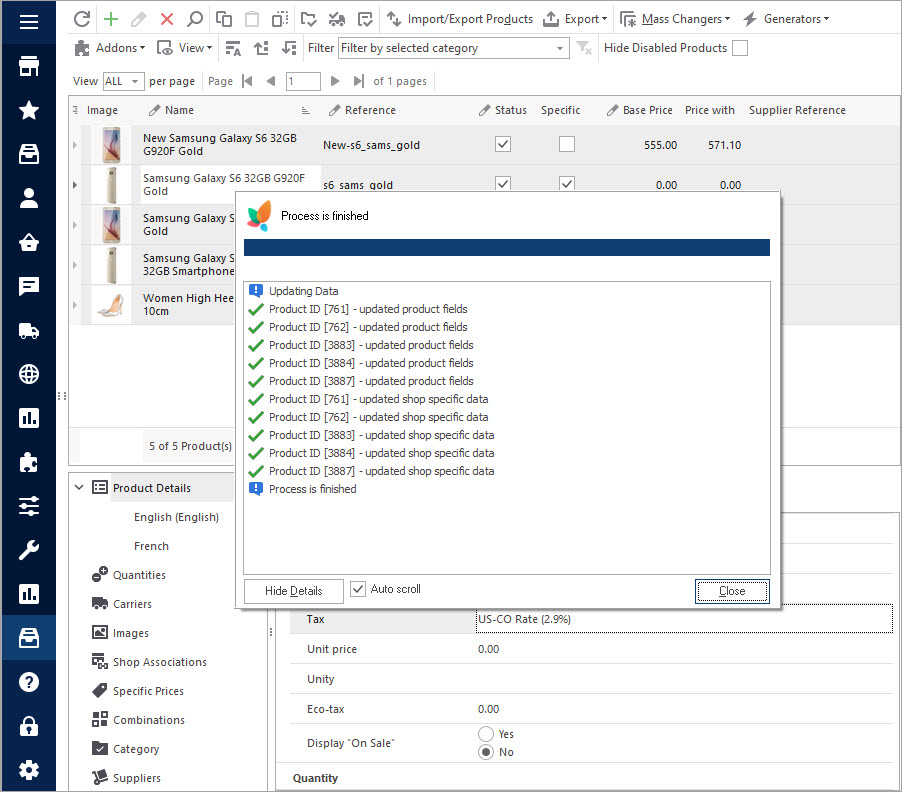
- After clicking OK, there will show up a progress bar displying the changes applied.
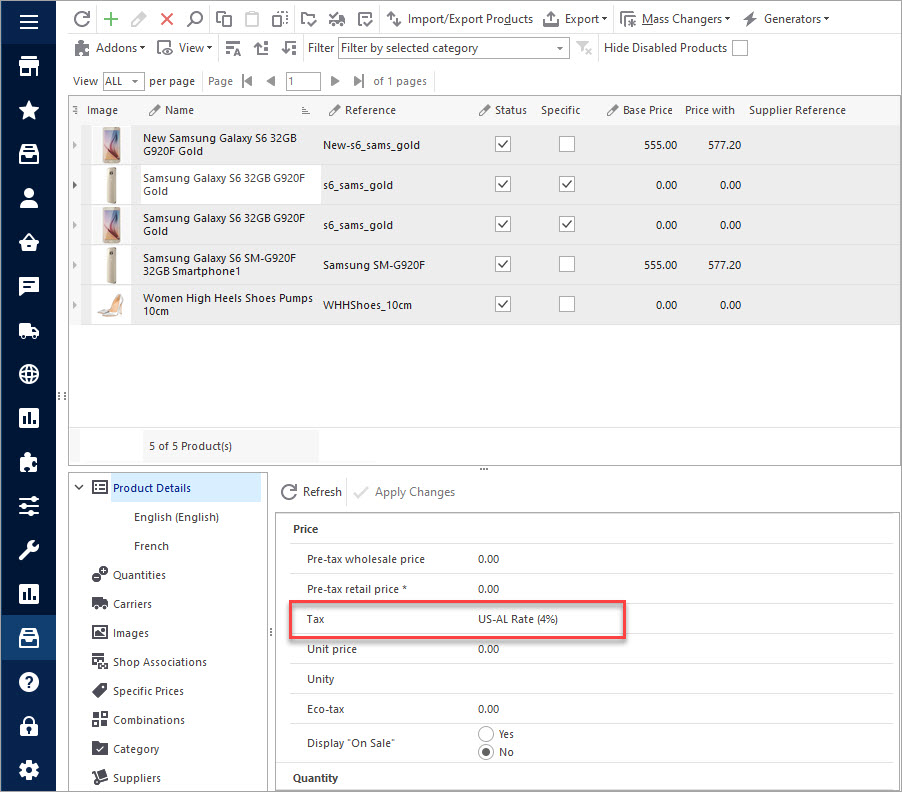
- To check if the tax rule was updated for the selected goods, click on a product and select ‘Main Products Properties’ tab in the lower grid. Scroll down to ‘Price’ properties and find the updated tax rule in the corresponding field.
How to Massively Add/ Update Tax Rules by Import?
As you might already know, Store Manager provides the possibility to update data via importing CSV with a minimum number of columns. To be more specific, it is possible to update/ add PrestaShop tax rules having only two columns in the import file including product ID / SKU and its tax rule value.
Check how to proceed through tax rules import using the following tutorial:
- Prepare a CSV file with products’ IDs / product name / reference and tax rule values. You can add any other columns, if necessary. Here how your import file can look like:
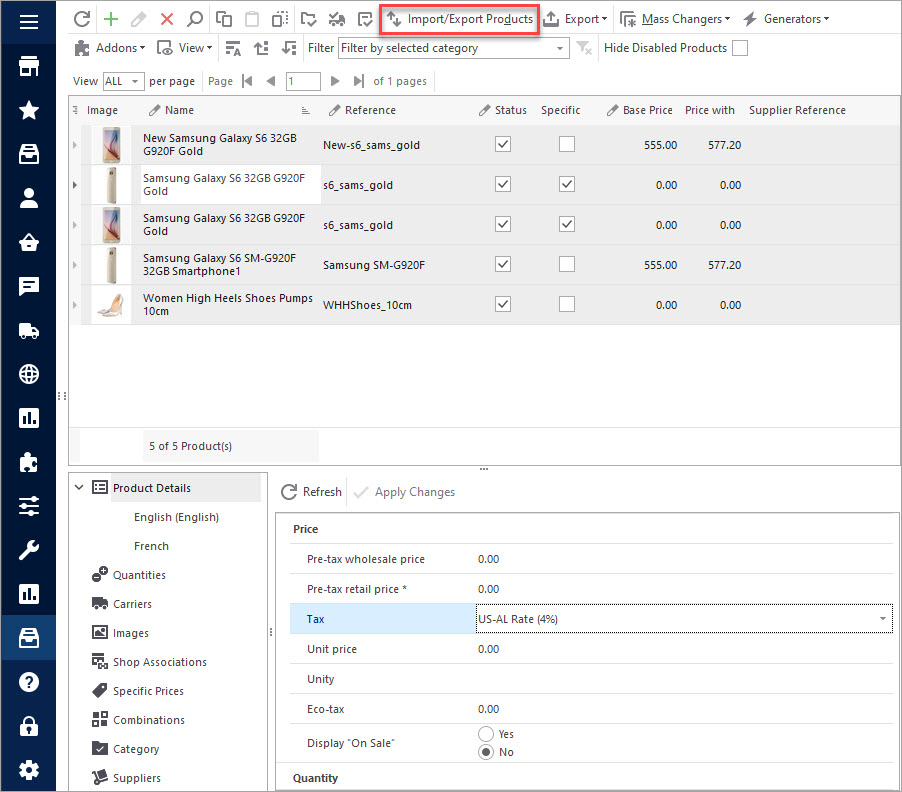
- To start configuring the import settings, go to ‘Categories & Product’ section and launch Import / Export Products wizard.
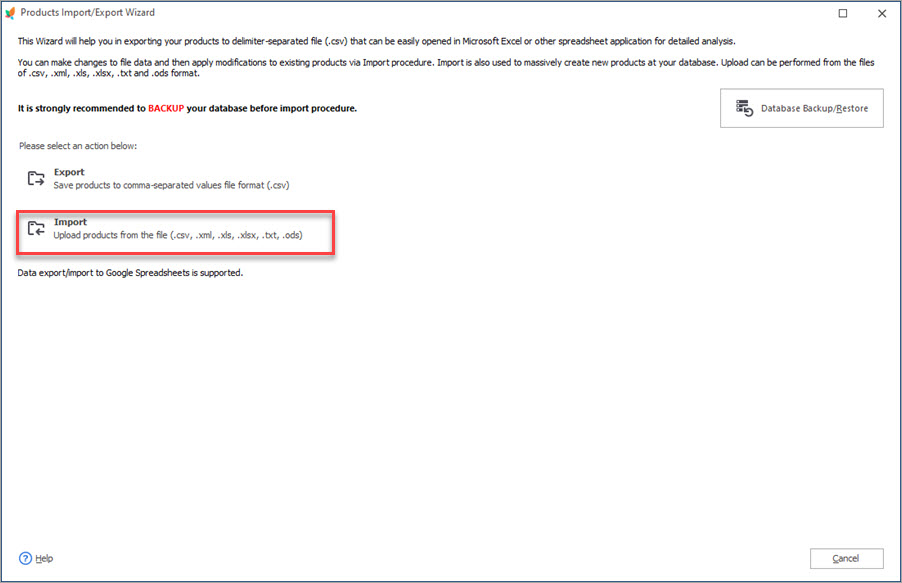
- Select ‘Import’ action.
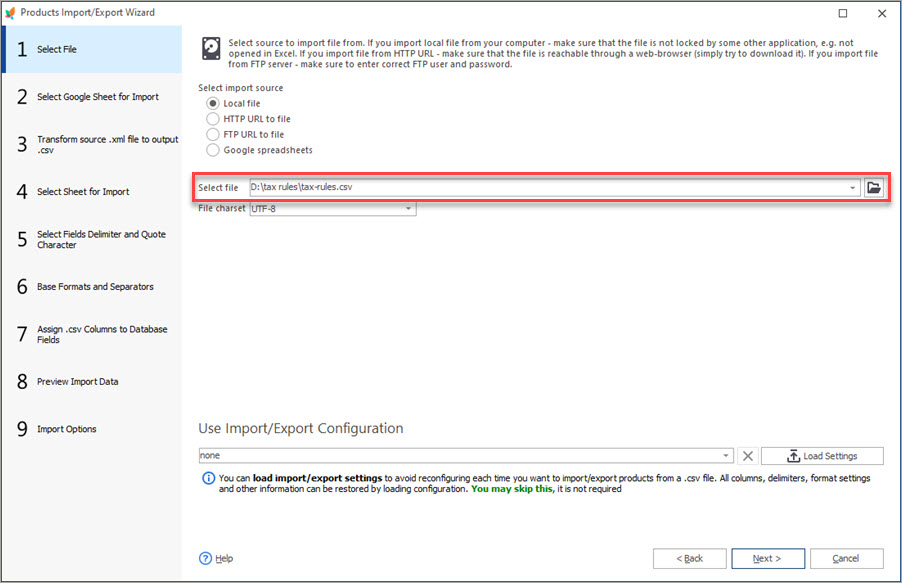
- Select the file to upload using the browse button.
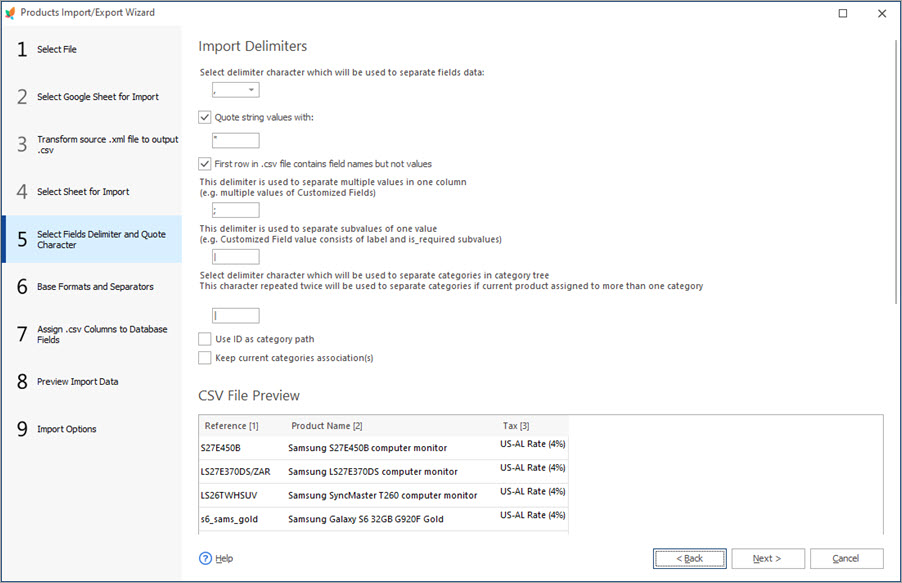
- Select the appropriate delimiters for the CSV columns to be imported correctly.
- On the next step make sure to select a correct product identification method. The option selected should depend on the product identification value specified in the CSV. After that assign CSV columns to database fields using the dropdowns in each field. You can use the database fields filter for a quick search.
- Look through the last import settings and check or uncheck some of the options, if necessary. Then press Import.

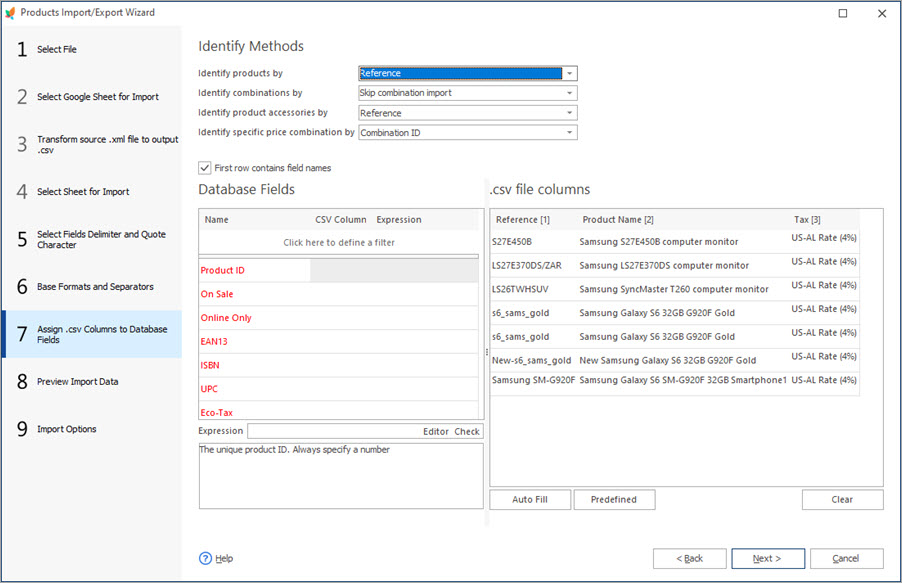
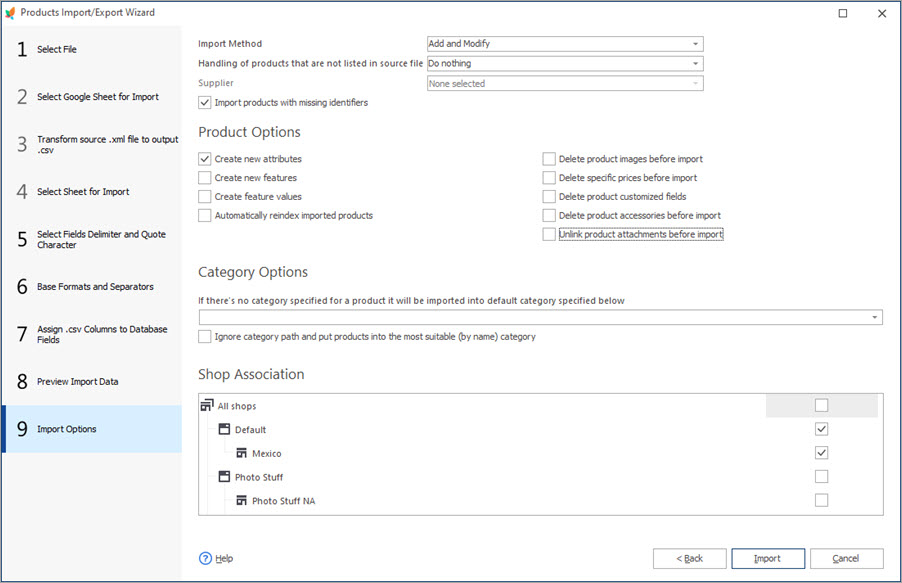
That’s it. Now you can check if the tax rules were correctly updated / added as described in the previous method.
Besides bulk tax application, Store Manager is also capable of multiple other massive product data transformations allowing to speed up store management processes in a huge way. Check more here: PrestaShop Mass Changers
Massively apply PrestaShop taxes for free – FREE TRIAL
Related Articles:
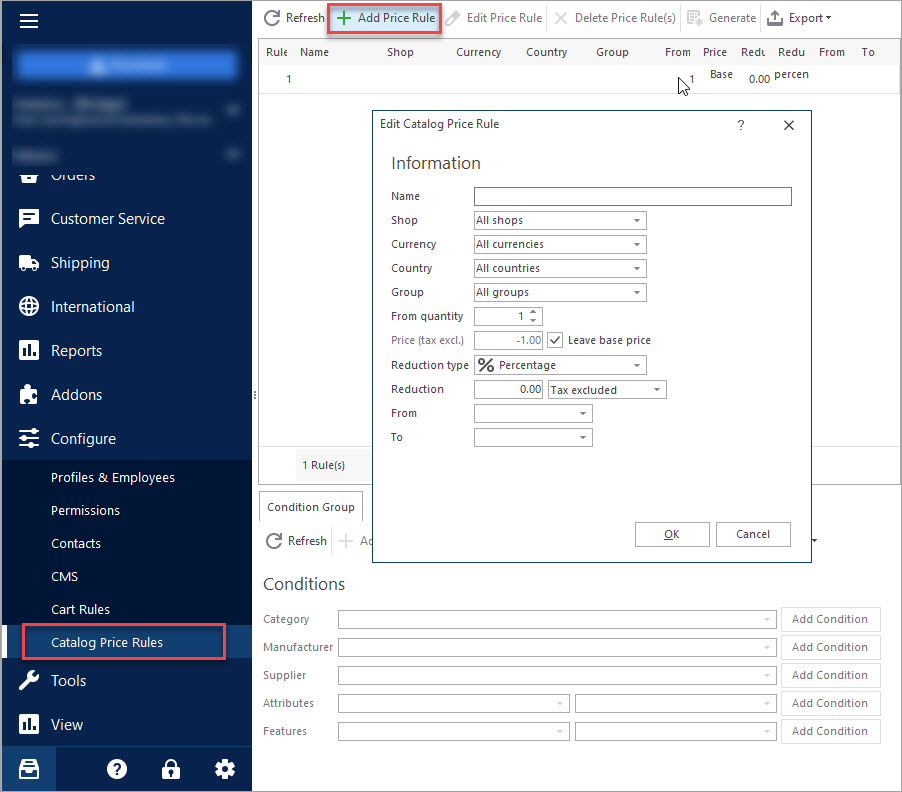
Creating Specific Prices With Catalog Price Rules
Configure PrestaShop price rules and assign them to products in bulk. Read More…
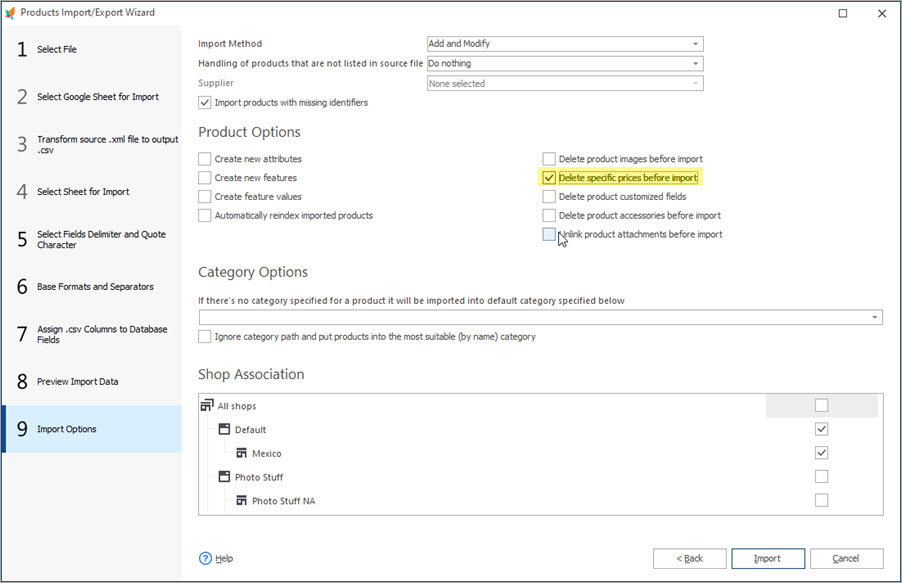
How to Make Bulk Updates of Specific Prices
Discover how to bulk update PrestaShop specific prices or products and product combinations. Read More…
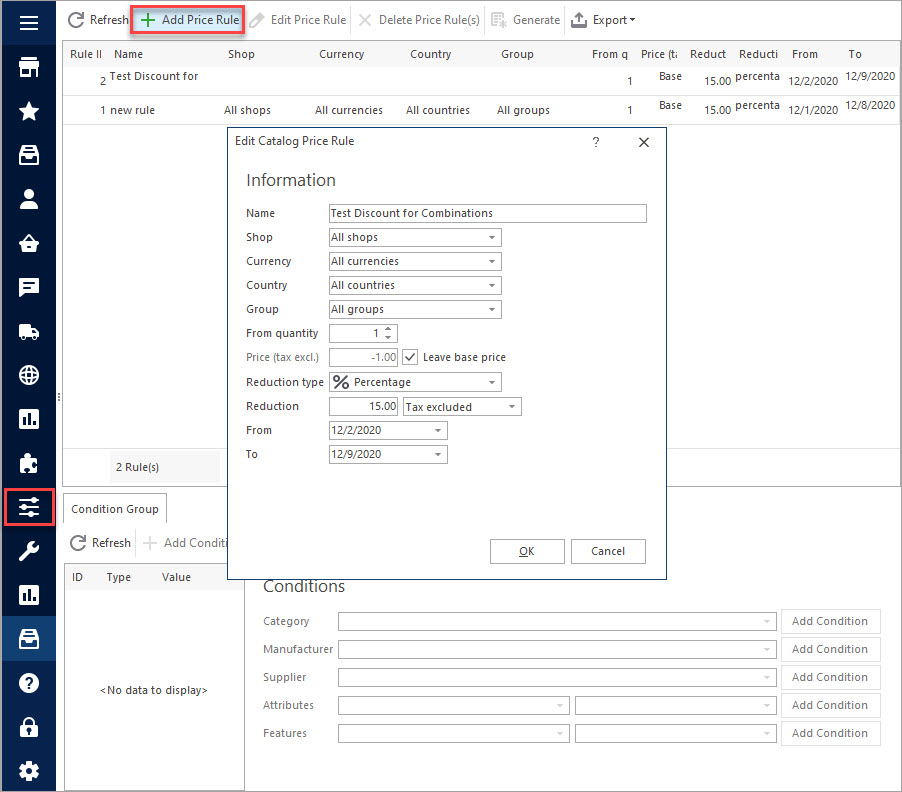
How to Bulk Add Specific Prices to PrestaShop Combinations
Assign specific prices to PrestaShop combination massively using Catalog Price Rules. Read More…
Setting Products ‘On Sale’ in PrestaShop
Find out how to massively add ‘On Sale’ label to products and how to remove it from multiple products. Read More…
COMMENTS

