In spite of all the annoyance and tediousness of creating PrestaShop tax rules, you can’t avoid it if you want to enter the global market in a legal way.
In PrestaShop, sales taxes are by default applied to all countries and zones. It is not possible to simply apply a specific tax to products because of limited tax configuration settings. Check this article to find out how to create and apply PrestaShop sales taxes.
How to Add A Tax in PrestaShop?
Briefly, the system of PrestaShop tax creation and appliance looks like this:
- Create a tax
- Create a tax rule and specify what locations should the tax apply to
- Apply the tax rule to a product.
Let’s get down to the matter in more detail.
To add a tax in PrestaShop, get through the following steps.
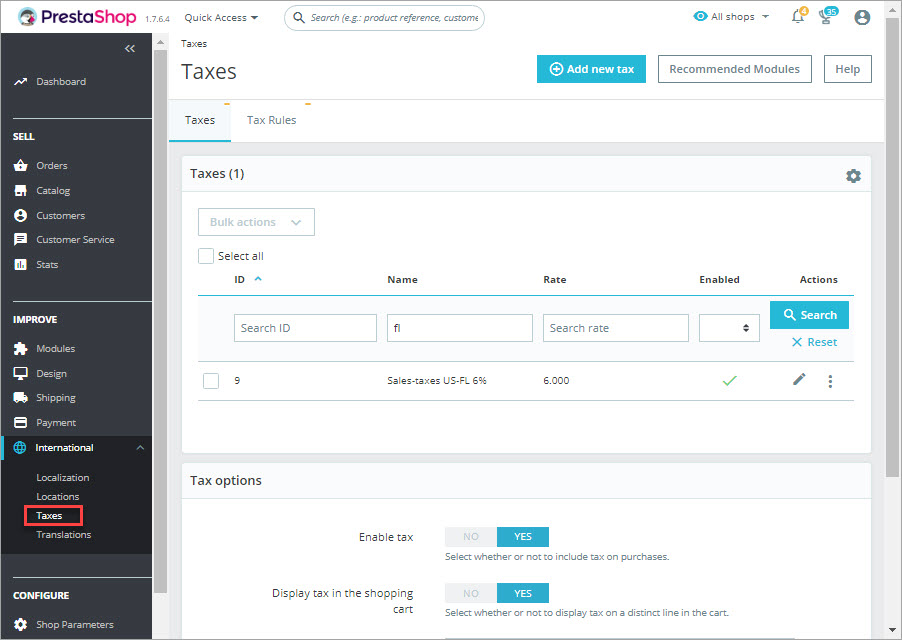
- From PrestaShop admin panel go to ‘International’ => ‘Taxes’. There you will find the list of already created taxes.
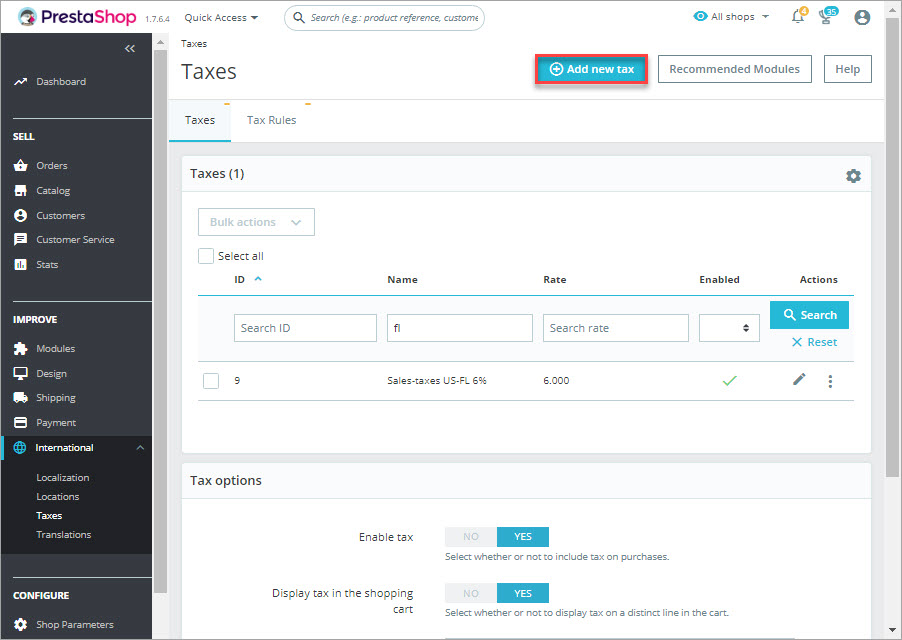
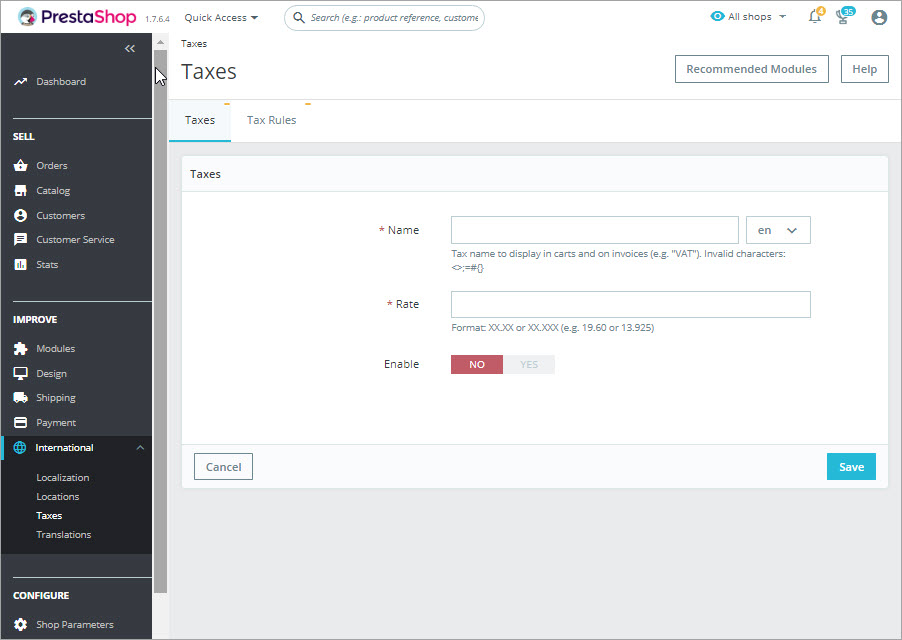
- Press ‘Add new tax’ button and fill in the required details.
- Name – for convenience, it is recommended to include the name of the country and percentage rate applied
- Rate – percentage charged from pre-taxed prices
- Enable – activate or inactivate the tax using the slider button
Bear in mind that you initially add a few taxes simply by selecting the default language during Prestashop installation.
Tax Rule Creation Guide
With the help of tax rules you can apply taxes to specific countries and regions. Tax rules should be set for each tax.
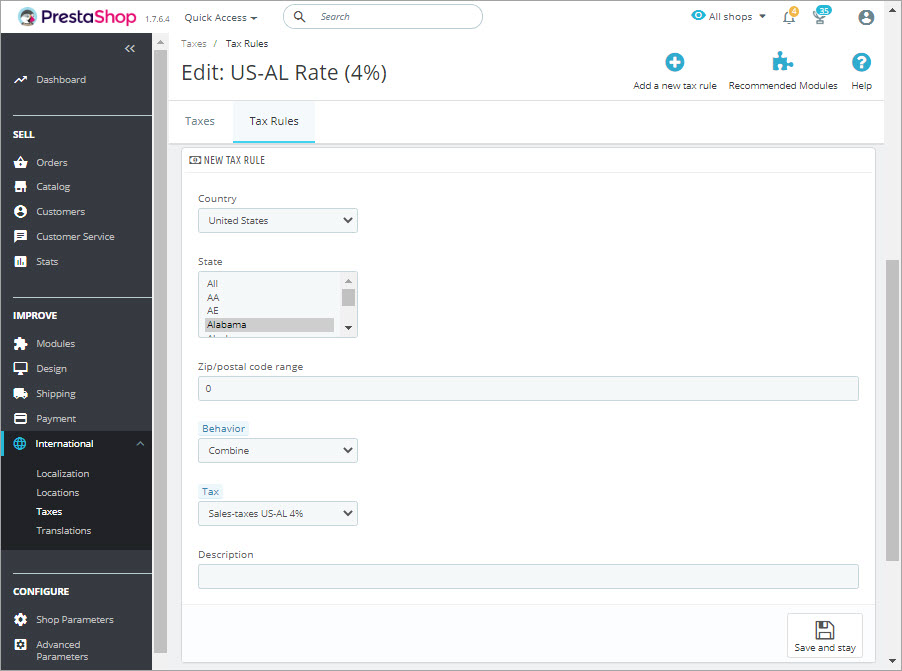
- From PrestaShop admin panel go to ‘International’ => ‘Taxes’ and switch to ‘Tax Rules’ tab.
- Press ‘Add new’ button and specify tax rule name and shop association. Make sure to enable the rule.
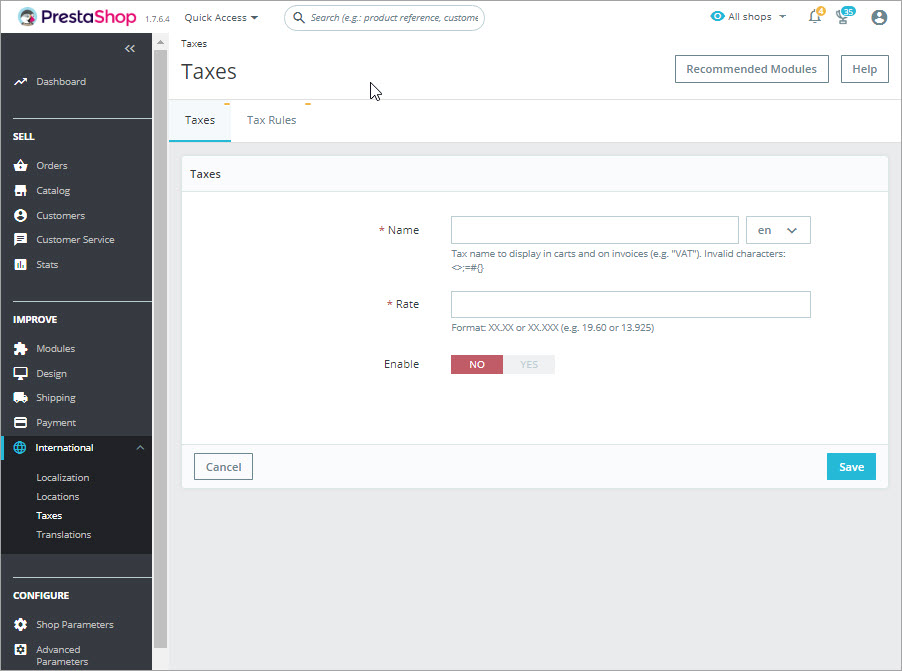
Country – specify the country of tax rule appliance
Zip/ Postal code range – you can also enter set a zip or postal code range to define the location of tax appliance
Behavior – sometimes, custome’s address may match a couple of taxes. You can set how should the tax rule behave in such case:
- This tax only
- Combine
- One after another
Tax – select necessary tax from the dropdown
Description – it is possible to add a short note to the tax rule
How to Apply PrestaShop Tax Rules?
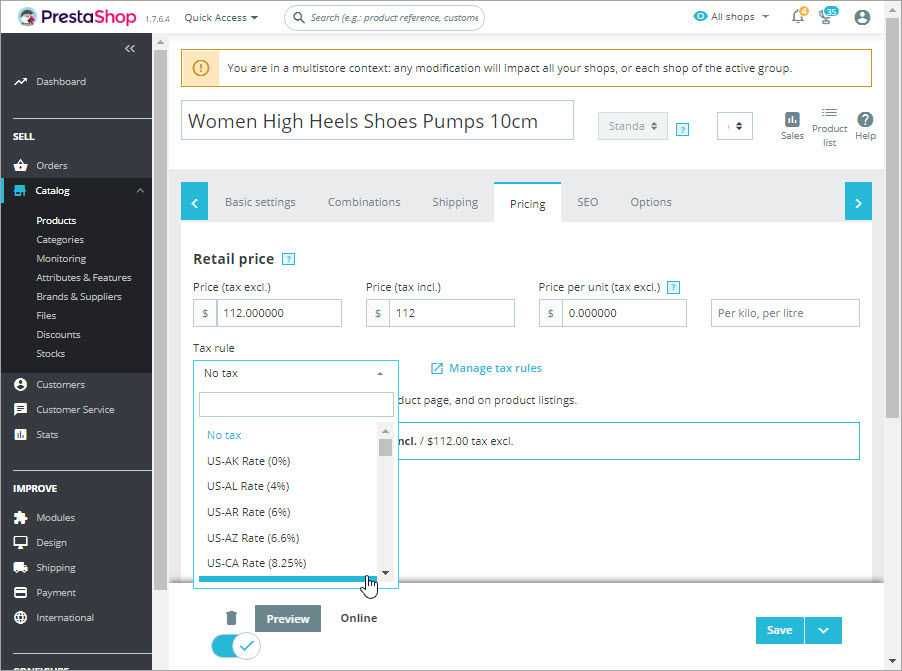
In PrestaShop, taxes are applied per product. That’s why it is a good idea to create taxes and tax rules first and only after that add products. Here how you can apply a tax to a product:
- Go to ‘Catalog’ => ‘Products’ and select necessary item
- Open ‘Pricing’ tab and select suitable tax rule from the dropdown.
Advanced Way to Manage PrestaShop Taxes And Tax Rules
With Store Manager for PrestaShop you can handle both taxes and tax rules within one window. The application allows to create, edit and delete taxes and tax rules without any switching to other windows or tabs. You will have all tax-related information provided in front of you.
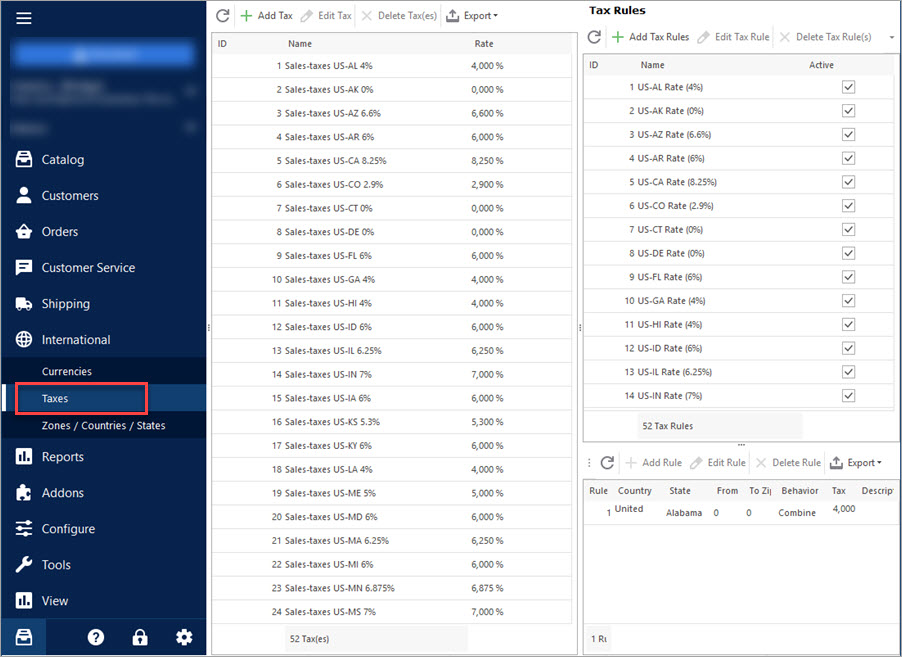
To add new taxes / tax rules or modify / delete the existing ones, use the corresponding buttons on the toolbar. If the buttons are inactive, make sure to click on a tax / tax rule record.
In addition, it is possible to export taxes and tax rules to Excel or HTML in one click for additional processing.
Bulk Apply Specific Tax to Multiple Products
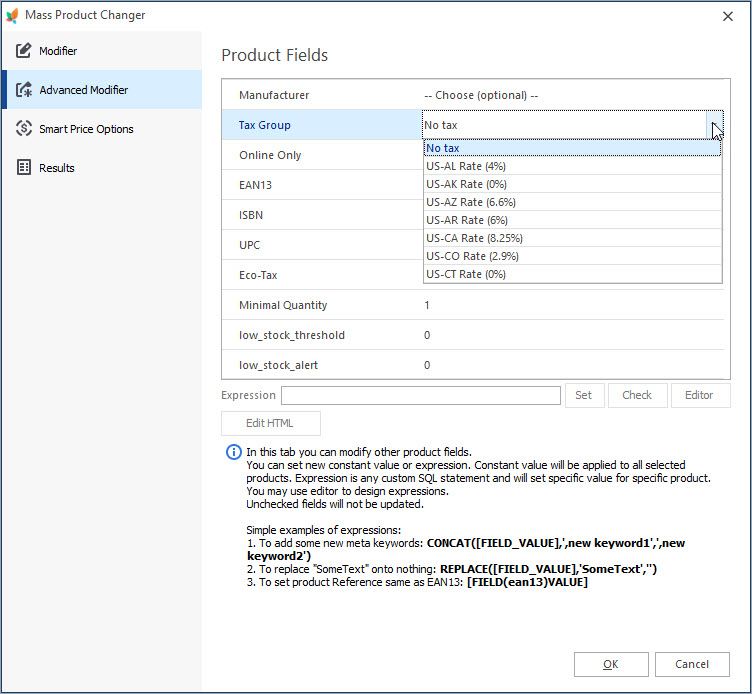
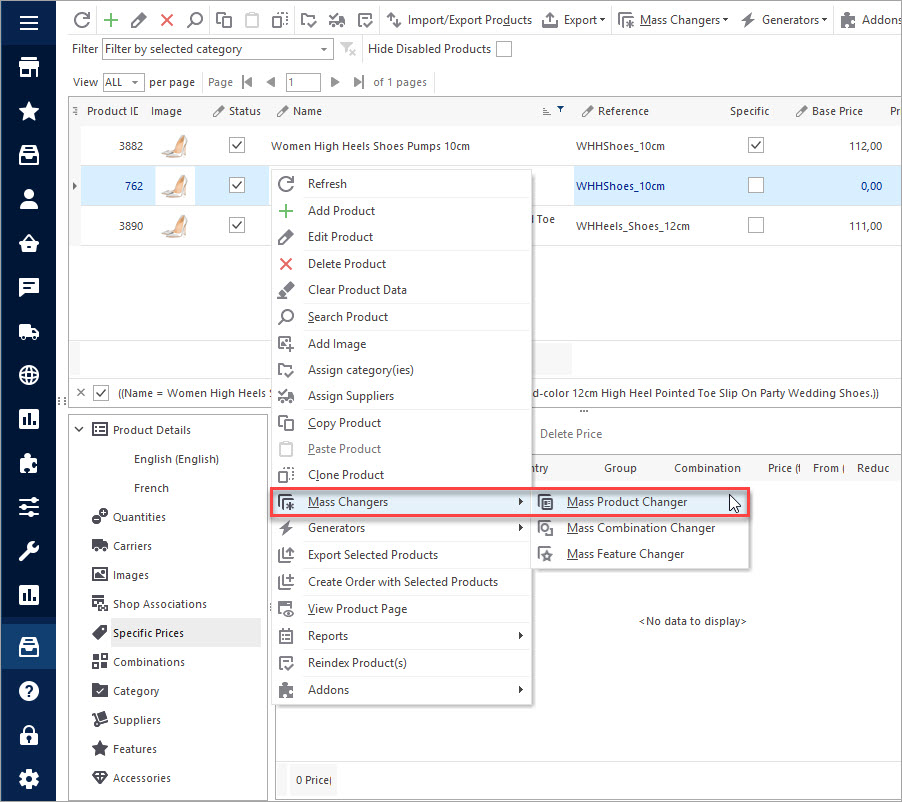
Store Manager allows massive applience of a tax rule to muliple products using Mass Product Changer tool or via CSV import.
When applying a specific tax to PrestaShop products with the help of Mass Changer, just highlight necessary goods and launch the tool using the context menu.
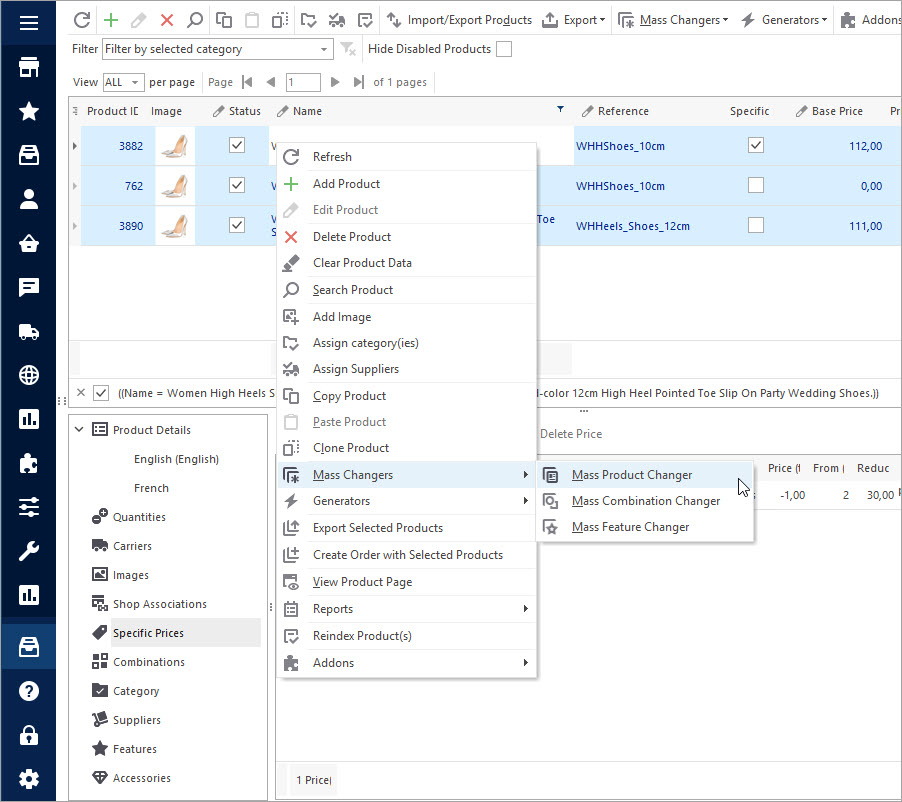
Select Tax Group to apply it to selected products
Create and apply PrestaShop taxes for free – FREE TRIAL
Related Articles:
Creating Specific Prices With Catalog Price Rules
Configure PrestaShop price rules and assign them to products in bulk. Read More…
How to Make Bulk Updates of Specific Prices
Discover how to bulk update PrestaShop specific prices or products and product combinations. Read More…
How to Bulk Add Specific Prices to PrestaShop Combinations
Assign specific prices to PrestaShop combination massively using Catalog Price Rules. Read More…
Setting Products ‘On Sale’ in PrestaShop
Find out how to massively add ‘On Sale’ label to products and how to remove it from multiple products. Read More…
COMMENTS

