Reporting is an efficient store management tool allowing you to transfer your business performance statistics into separate files each containing specific data on customers’ activities in your online store. Store Manager application can provide you with all necessary instruments to conveniently create PrestaShop custom reports.
Besides standard reports, the program allows you to make custom reports depending on your personal purposes (note, that in this case, you need to have basic SQL skills). You can edit and design reports using a wide range of instruments.
PrestaShop Custom reports require a little more effort and time than the ones based on ready-made templates. Though they provide you with the possibility to fill the document with your own content and organize it the way you want. ‘Custom Reports’ section contains a few ready templates. In case none of them suits your purposes, you can create a new one.

PrestaShop Custom reports creating may be divided into two stages: SQL queries building and designing. You have to begin with the technical part. Press ‘New report’ and specify its name. You will be taken to an editor where you can build and manage SQL queries the report will be based on.

Enter Visual Query Builder and specify the queries to select the required information. The queries can be loaded from your computer or created in the lower grid of the editor.

Selecting a row from the sidebar list, you will get a table with the details which will be used as a base for SQL query. Besides, you can add some other conditions to the queries (Aggregate, Sort Type, Sort Order, Grouping, etc). Press ‘Run Query’ to check their correctness. If there are no errors, press ‘OK’.

Now you can proceed to the Report Designer and properly arrange the required data. Use the Insert Bands option to add fields to your document. If you wish to create a simple format report, it is enough to add the following bands: Report Title – for the name of your report, Page Header – for column headers, Page Footer – for placing page number, date, etc. and Master Data – to attach the required data.

To enter the text into these fields select the Edit Text tool and drag it to the needed place.

Double-click on the Master Data band and specify the database to be attached and the number of records.

Add a text object and select the ABC option which will take you to the Expression Editor. Here you can configure the data layout in your report. Press ‘Variables’, select Line#, and press ‘OK’.

After that open Expression Editor again, enter the Data tab, and double-click the first data column.

Perform such ‘Text Object>ABC>Variables>Data’ manipulation with all of the columns to structurize the information into lines.
In order to add page number and date to the Page Footer, select the System Text option. In the System, Memo settings specify Page# as System Variable and select the attached database.

The same algorithm can be used to add the date to the footer, but in this case, you have to select the Date# system variable.

Preview the report and if no changes need to be applied, you can print it or save it to your computer as an HTML file, Excel table, JPEG image or PDF file, etc.

Prestashop Custom Report Preview

Prestashop Custom Report Options
If you want to send custom report by e-mail directly from Store Manager, you need to first save the document to you computer. Then proceed to Store>Email Templates. You can use the ready-made templates or create your own one using HTML code. Do not forget to specify the encoding charset.

In the right grid you can find Attachments button. Press ‘+’ to add the created report from you computer.

Once the template is ready, configure the E-mail settings in the corresponding tab using either Simple Settings (specifying your e-mail address and password) or Advanced settings (setting up SMTP details). To check if there are no errors, you can send a test e-mail. In order to send the report, press OK.

Prestashop Custom Reports Email Simple Settings

Prestashop Custom Report Email Advanced Settings
Track your business activities and keep the discovered statistics documented and stored in PrestaShop reports with Store Manager for PrestaShop!
Create PrestaShop custom reports via Store Manager now! – Free Download
Related Articles:
PrestaShop Report (Create Simple Report)
Generate simple reports using ready-made built-in templates and study your store statistics. Read More…
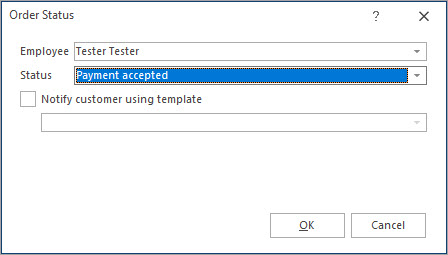
Massive Operations Over PrestaShop Orders
Find out how to filter PrestaShop orders, export them and update their statuses. Read More…
Print PrestaShop Receipts via Till Printer
Check the way to print PrestaShop till receipts in few clicks. Read More…
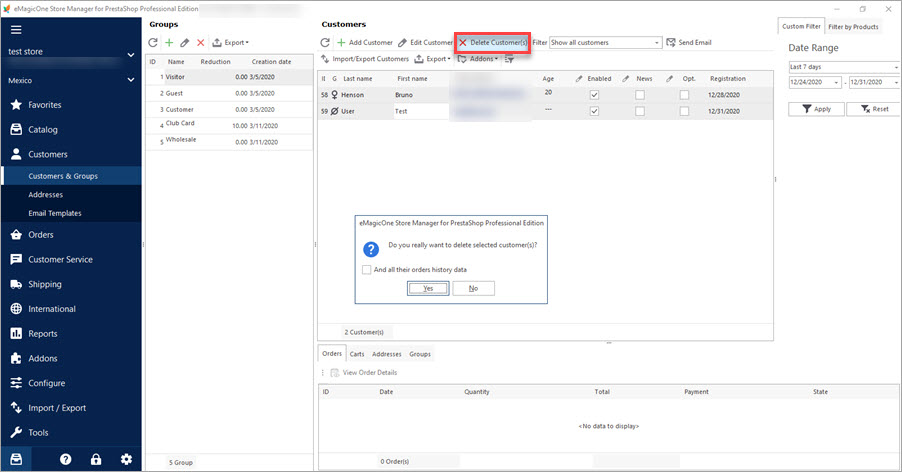
Mass Operations over PrestaShop Customers
Export or remove customers massively. Filter customers by group. Read More…
COMMENTS

