PrestaShop shipping integration of ordered at your store goods is the task that involves lots of work to do. You have to prepare, pack the package and yourself make shipping label with all the details. It is only the beginning. Further you in most cases have to go to the post office, stand in long lines, pay high fees and spend lots of time sending packages to necessary destinations.
Probably, you do not want to deal with that all. If you use USPS to deliver goods and have a printer with black ink, along with some other household materials, you can integrate with shipping service and bring post office to your home. This way you will be able to print shipping labels right from your PC, without waiting in any lines or dealing with postal workers.
You will not have any troubles with delivery and your customers will be satisfied with the clarity of shipping policy and punctuality and transparency of shipment fees and prices.
Easy shipping management is possible by means of integration with Stamps – leading service that offers postage. This will definitely be a solution for those who sell in the US and from US to the whole world (service supports delivery to more than 200 countries). For that you need to make a little bit of investment, but returning and saved efforts will bring you more benefit.
PrestaShop – Stamps Integration can be set by having account at Stamps.com and making use of additional modules. One of them is USPS Shipping Integration addon for Store Manager for PrestaShop. The combination of this two applications allows store owners to stop worrying about chores of manual shipping handling.
What are the Benefits of PrestaShop Shipping Integration Addon?
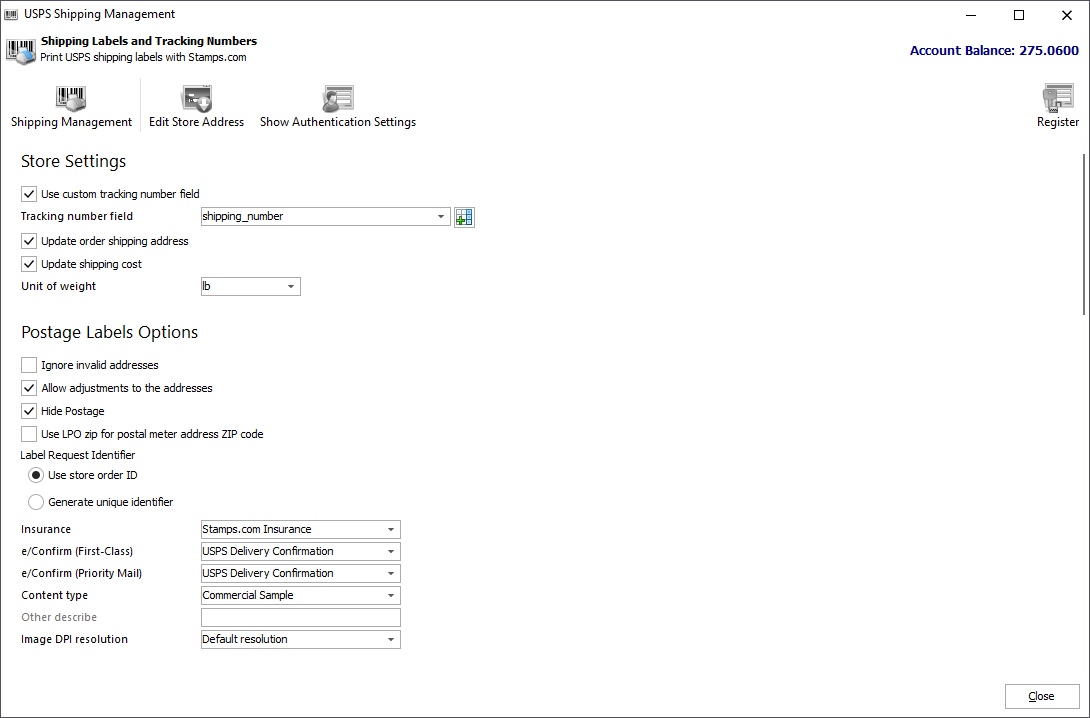
- Shipping labels are a necessity. You will be able to make printable labels easier. After all, if you do a bad job making your labels, for example, indicate incorrect information or do typo, you could face some problems – including having your package returned. With shipping labels created using PrestaShop USPS shipping there will be no mess and you will be able to print out labels directly from your computer.
- Use custom tracking number (update it if necessary). Tracking number is used to get information on the status of your package – like departure times from points on the way to your location and expected delivery day.
- Verify shipping address before actual label printing. This way you can make sure that you are sending package to correct location and it won’t be returned as incorrect delivery.
- Select package type from available options (small, medium, large or default).
- Manage confirmation of delivery, order content type and other postage options.
- Configure package weight without any efforts.
Detailed step-by-step instructions with explanation of all options that can be configured within addon, you can find here:
https://shipping-integration-documentation.emagicone.com/quick-start-guide/get-shipping-rates
Print shipping labels from your home with only a few tools required! Download Store Manager for PrestaShop with built-in Shipping Integration addon (should be registered additionally) and easily set PrestaShop – Stamps Integration –
https://www.prestashopmanager.com/free-download/
Related Articles:
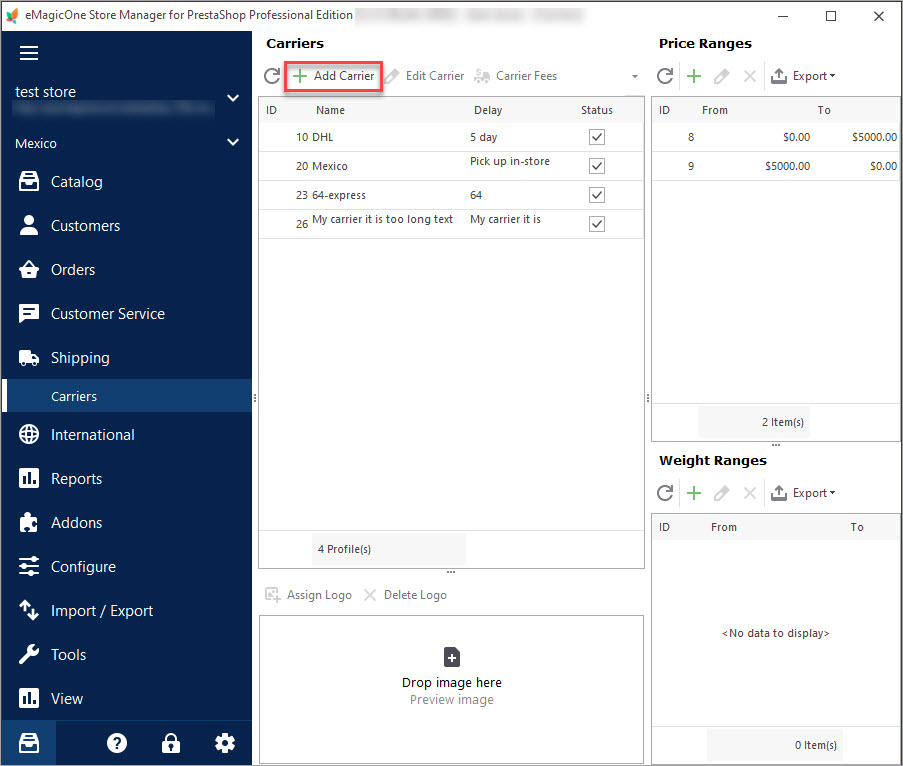
PrestaShop Carrier. How to Create Shipping Carriers
Use this guide to create PrestaShop Carrier (set shop associations, shipping fees and assign carrier to products). Read More…
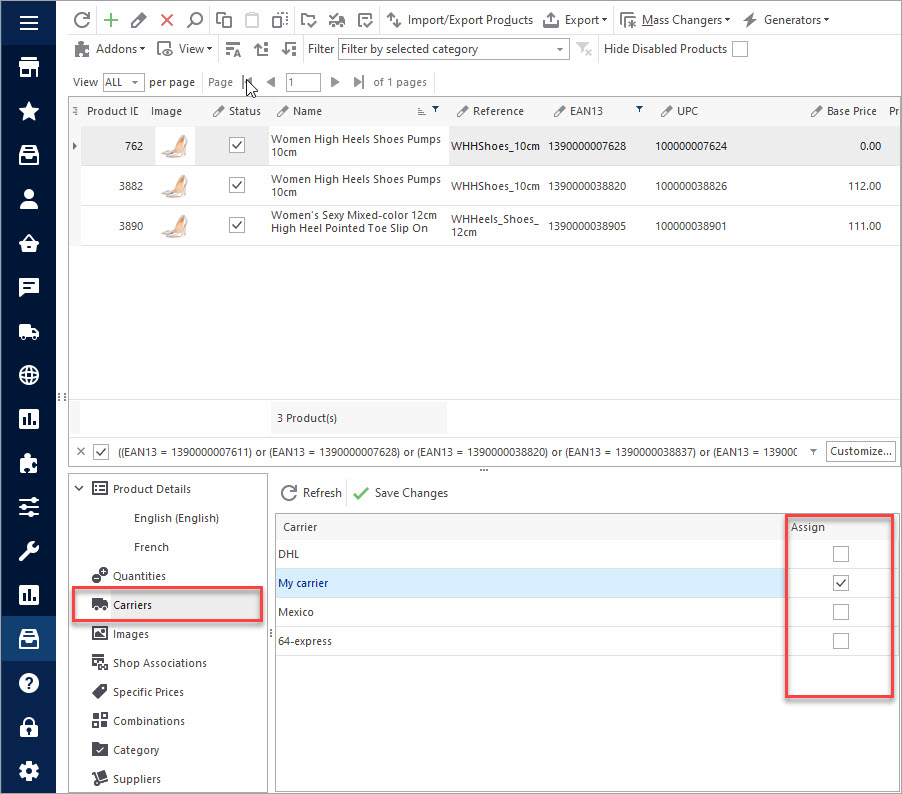
Assigning Carriers to PrestaShop Products in Bulk
Assign PrestaShop shipping carriers to products manually or set up massive assign via import. Read More…
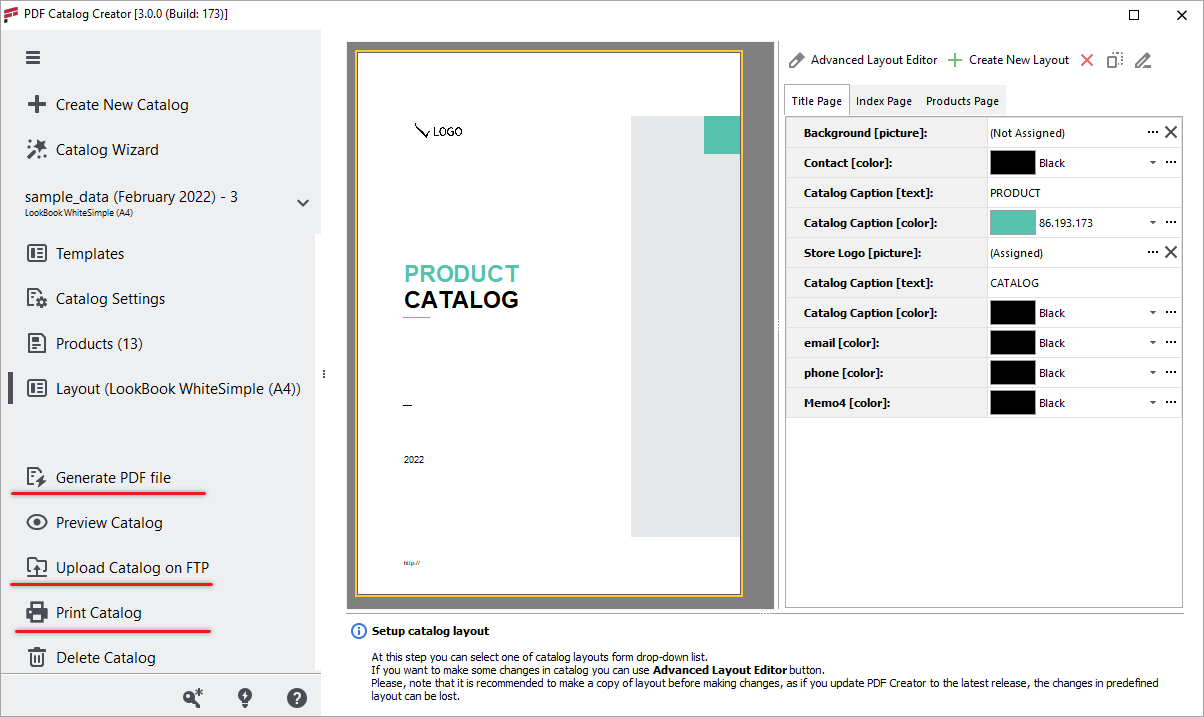
Make PrestaShop PDF Catalogs with Products
Use these step-by-step instructions to generate a customized PrestaShop PDF catalog. Read More…
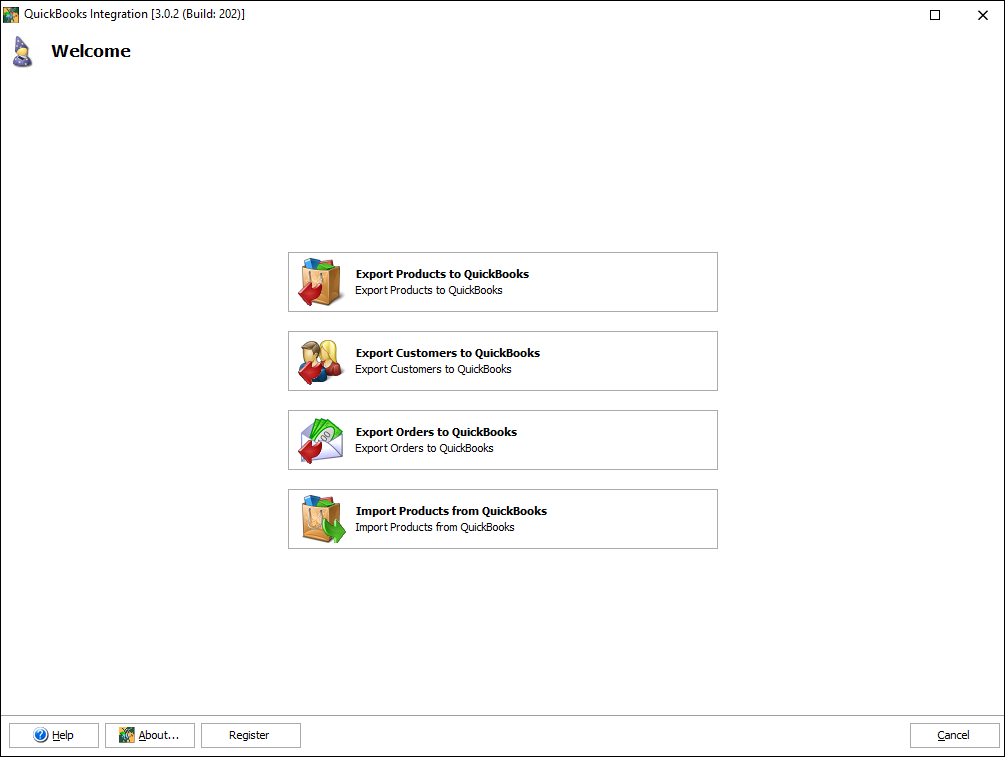
Work with QuickBooks Using PrestaShop QuickBooks Integration Addon
Find out how to smoothly export your PrestaShop products, orders and customers to QuickBooks. Read More…
COMMENTS

