Shipping is indisputably one of the most essential parts of your day-to-day business efforts. It really influences customer shopping experience and selecting a reputable company to carry the deliveries is important decision to make.
When speaking about shipping management in PrestaShop, we consider carriers. PrestaShop carriers are the companies that fulfil order delivery, to be more precise, they handle shipping needs and ensure your customers receive orders. PrestaShop requires carriers to be assigned to products over your store catalog otherwise they will not appear at the checkout page as one of shipping companies.
In the post below we are going to demonstrate how to associate items with suitable carriers using Store Manager for PrestaShop. Below you can find tutorial on two modes – manual carrier assign or by means of import.
Manual Mode
Store Manager for PrestaShop facilitates manual PrestaShop carrier assign to this or that product within you store catalog. The procedure is quite understandable and does not require complex manipulations. Just these steps to be followed:
- Highlight the product, carrier should be assigned to, in Store Manager (Store -> Categories&Products).
- Move down to the lower grid with multiple tabs and select ‘Carrier’ one.
- The list of all available carriers at selected shop will display. Check boxes for PrestaShop carriers current product should be associated with and hit ‘Save Changes’ on the toolbar.

In this way you can attach carriers to products one by one what might seem tedious when multitude of products should be processed.
Bulk Assign PrestaShop Carriers Via Import
With Store Manager you can bulk assign PrestaShop carriers in one go importing them. This functional possibility has been added to Store Manager in version 2.24.0.1475.
Important:
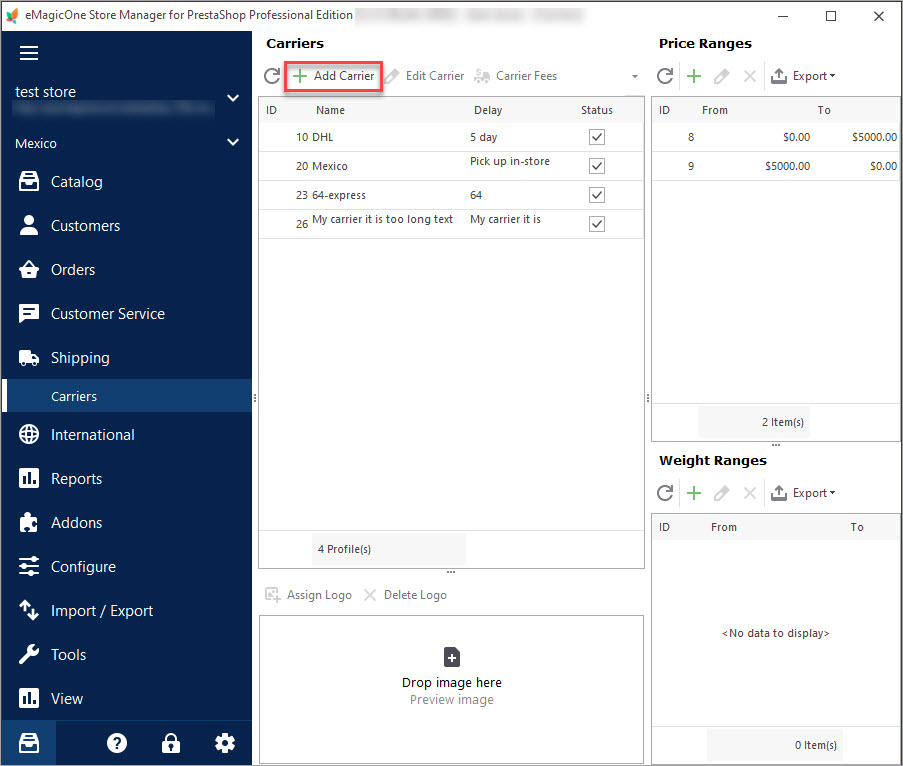
Carriers are not created, only assigned to PrestaShop products in this way. It means you should first add them in ‘Administration -> Carriers’ section of Store Manager and set all the fields required. Once carrier exists at PrestaShop, you can specify it in the import file and get assigned to products afterwards.
Below you can find the screen capture of the sample import file we use to bulk assign PrestaShop carriers. Current product listings have been added to the store previously and now we update them with suitable carriers.

The file, we use to batch ascribe carriers, includes details required for product update – products reference and carrier – as well as extra fields, such as category, price, status. As you have already noticed, we assign more than one carrier to each of products. These carriers are provided within one cell in the import file and are separated by multiple value delimiter.
In our case reference will be used to identify products over you webstore in the process of import. You can use any of product identifiers for product update though you can not use ID if you are uploading new products to PrestaShop, since Store Manager does not force ID when creating a new product.
Want to Test Store Manager Import? Download FREE Trial Click to Download
Keep these recommendations in mind when setting up import file and once it is ready start import process (import/export wizard is available on product toolbar and under Tools->Import/Export->Import/Export Products).
Further you need to specify settings throughout import wizard steps what is in details outlined in this post – PrestaShop Import: How to Perform Product Upload from CSV File to PrestaShop
What concerns bulk PrestaShop carrier assign options, you are supposed to consider the following:
- multiple carriers for one products are provided within one column in the import file, separated by multiple value delimiter. If this is true in your case, you need to indicate in the import wizard the same multiple value delimiter, you have in the file, as it is shown at the screenshot
- match headings of your import file to predetermined fields at PrestaShop database. Make sure carrier column is assigned. Select the identifier to update or create products in the process of import


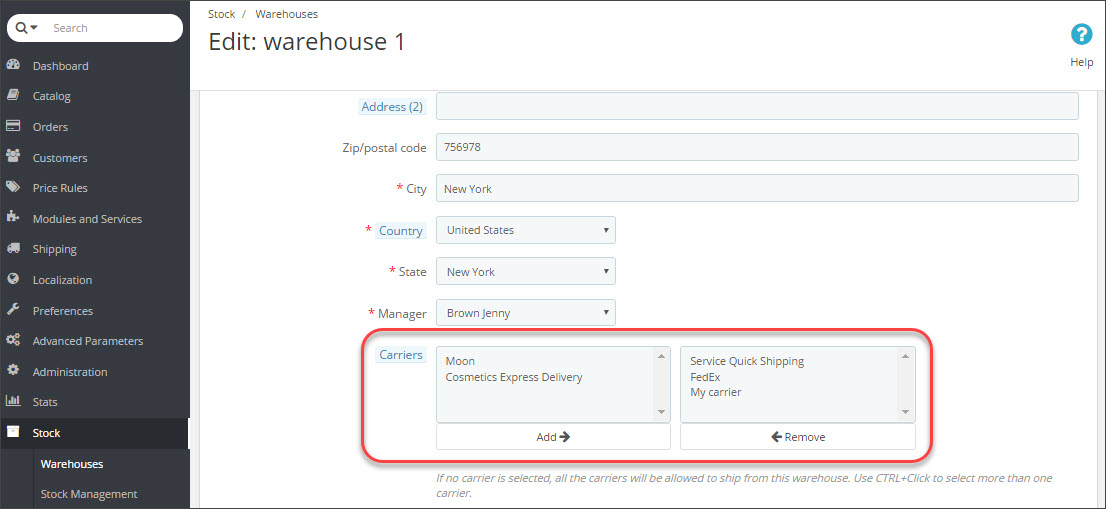
Proceed with upcoming import settings and check the results in Store Manager. At the screenshot below you can see one of our test products we assigned PrestaShop carriers to via import. The carriers, provided in the file, are marked in the lower grid, so they have been associated successfully.

When customers add current product to the cart and proceed with checkout, assigned carriers will be offered on ‘Shipping’ step.
PrestaShop assign carriers to products massively is really a handy feature when dealing with different kinds of carriers and products. You can bypass monotonous daily routines and offer customers various shipping options inputting minimum time and efforts. This is a new approach to your shipping management offered by Store Manager application.
Assign PrestaShop Carriers to Products FREE with Store Manager Assign Now
>Related Articles:
PrestaShop Carrier. How to Create Shipping Carriers
Use this guide to create PrestaShop Carrier (set shop associations, shipping fees and assign carrier to products). Read More…
PrestaShop Carriers Are Not Available At Checkout
Find out the reasons PrestaShop carriers are inactive and how to fix them. Read More…
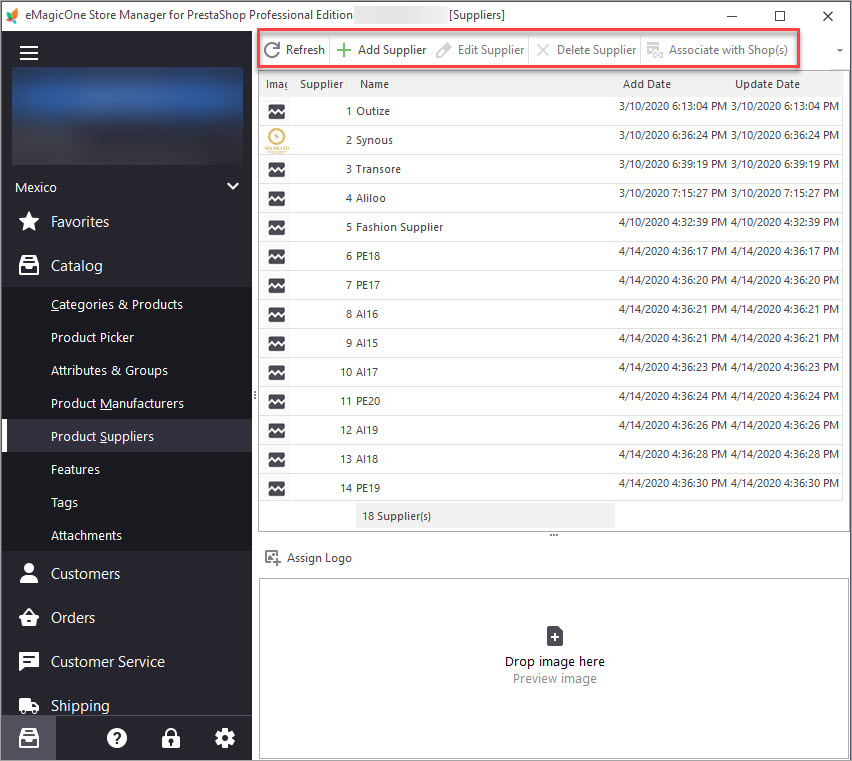
PrestaShop Product Suppliers
Generate suppliers lists and assign them to products via Store Manager. Read More…
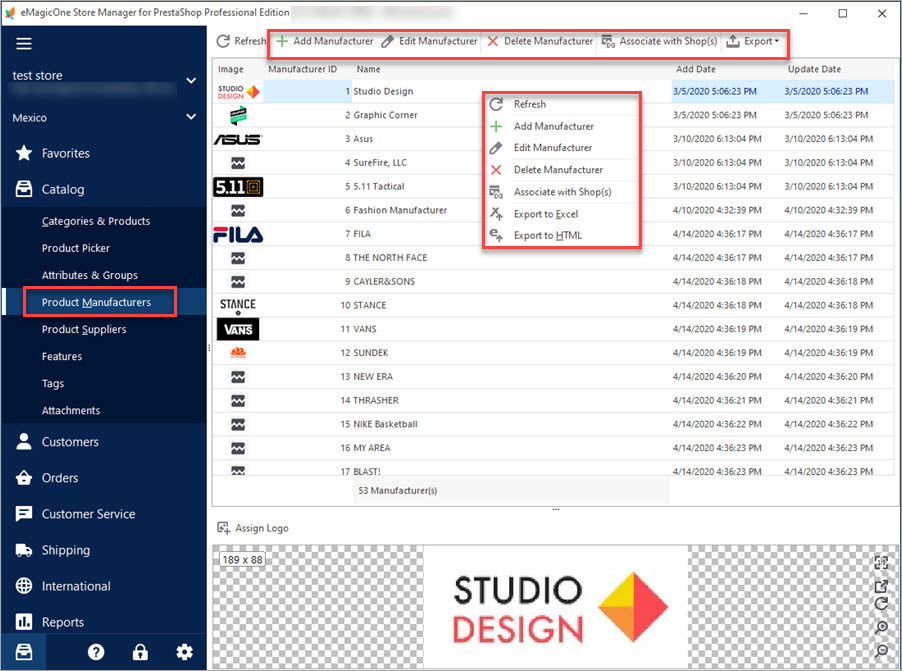
PrestaShop Manufacturers
Use these tips to manage PrestaShop manufacturers from your store backend and using Store Manager. Read More…
COMMENTS

