Selling products you have to remember that in most of countries the goods are taxable. It means that depending on the locality of the buyer there are different tax laws. Taking into account this fact some additional sum of money is added to the order total as a tax.
In PrestaShop you can apply a specific tax rate for a country, a set of countries or states/regions. For that you need to create PrestaShop taxes, tax groups and tax rules and assign them to your products.
Store Manager for PrestaShop has a flexible taxes management system and using this application you can handle taxes in more approachable manner.
Let’s see how much the it is easier to handle PrestaShop taxes using Store Manager application.
Creating PrestaShop Taxes&Tax Rules
Taxes and Tax Rules work together in order to create tax fees. In Store Manager all PrestaShop taxes and rules are accessible from one place, thus there is no need to reload the page and switch from one browser page to another.

Let’s say, you decided to create PrestaShop taxes for buyers from the US. As you might already know, the states there have different tax value charged.
1. First you create the name of tax with value. Taxes don’t have any geographical location associated with them, they are simply a label and percentage.
So we create taxes like – ‘US Sales Tax – Alabama’ with rate 4%, ‘US Sales Tax – Arizona’ with rate 5.6%, ‘US Sales Tax – California with rate 7.5% etc

2. As we are going to have multiple tax rules for users from the USA, we create tax group – ‘US Tax’.

3. Under this group we create rules, selecting the country and appropriate state and from drop-down selecting particular tax (created at the step 1).

Repeat procedure for other states to add multiple rules on the basis of various taxes of different states.
Assigning Group of Tax Rules to Products
There is no need to open each product via edit form, as in Store Manager you can see Tax settings and change them in the lower grid just moving to and from the product list.
You can select tax group from the drop-down as shown below. Do not forget to apply changes.

Total product price will be recalculated taking into account tax value of certain tax group. In our example we have applied tax group ‘US Taxes’ with various states and different fees values. Thus, a user from Arizona will be charged 5.6% fee to the total additionally and a buyer from California – 7.5% fee.

Add/ Change PrestaShop Tax Rates in Bulk
Store Manager for PrestaShop allows to change tax group in 2 ways:
1) Using Mass Product Changer:
- Select all the goods for which you need to add to change tax rate.
- Choose Mass Product Changer tool from the main menu or context menu appearing after you right-click at any of selected items.
- Open ‘Advanced Modifier’ tab and from the drop-down select necessary tax group. Tick box next to the tax field when you are ready to update it and press OK.
- Check the results of the process.


2) Via Export/Import
- Select products you need to change tax settings for, right-click and select ‘Export Selected Products’
- Open received file and find the column ‘Tax’. Put in this column the name of the tax group.
- Import the spreadsheet back to apply changes.

Configure taxes easier with Store Manager for PrestaShop. Change tax rates of products massively with this helpful tool, downloading free trial version using ‘Try for FREE’ button at the top of the page.
Related Articles:
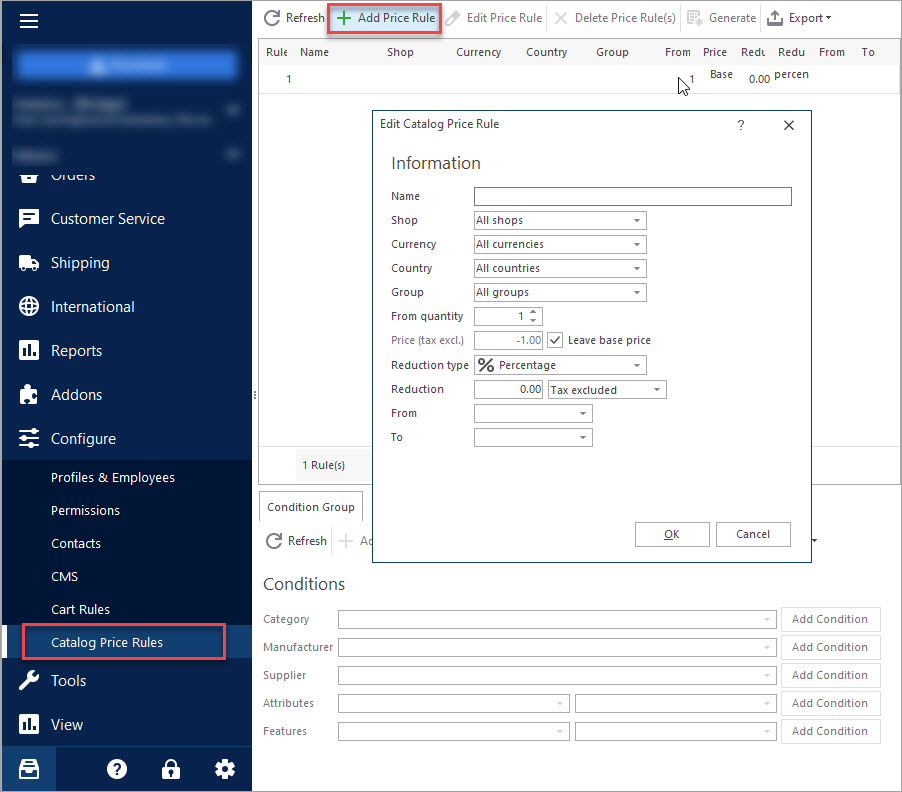
Creating Specific Prices With Catalog Price Rules
Configure PrestaShop price rules and assign them to products in bulk. Read More…
Round Prices For Dozens of Products in Bulk
Find out how to round prices to nearest whole number. Set smart prices ending on 95 or 99. Read More…
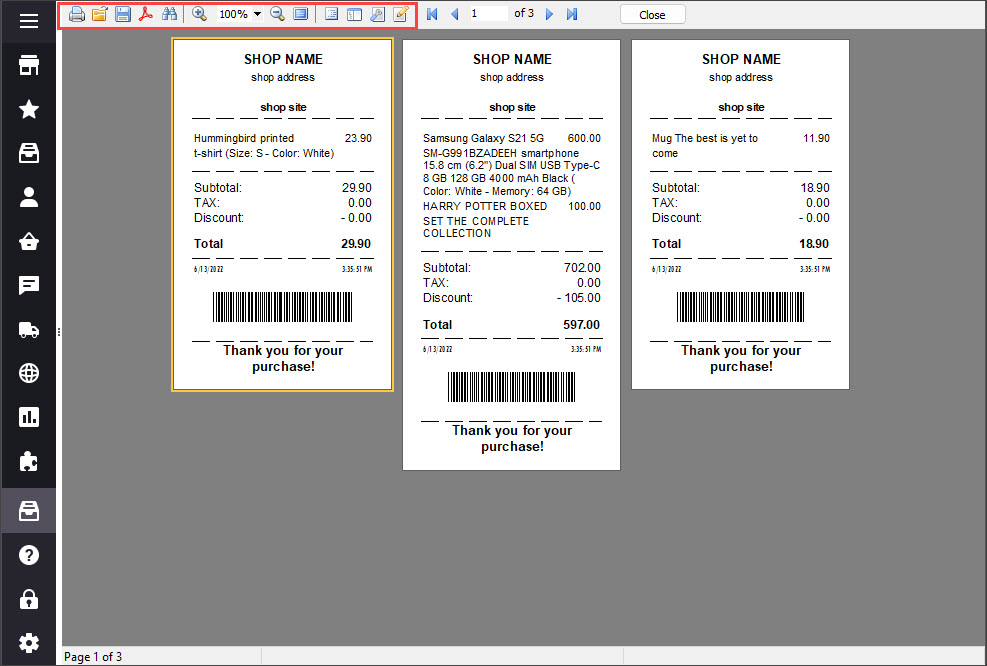
Print PrestaShop Receipts via Till Printer
Check the way to print PrestaShop till receipts in few clicks. Read More…
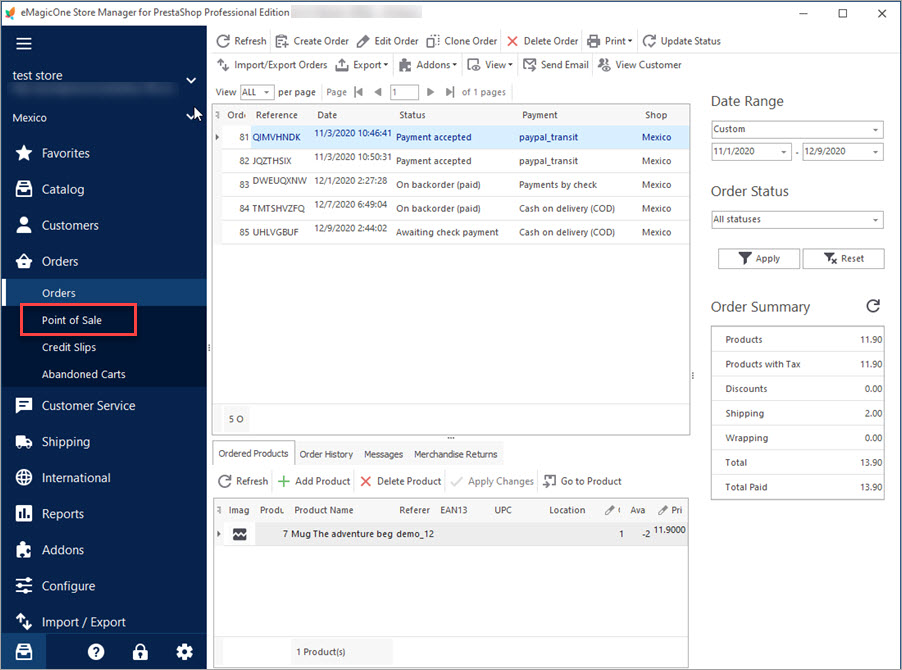
How to Create Order via One-Page Wizard of POS
Get step-by-step instructions on how to create PrestaShop order, change it’s status, specify delivery and payment method. Read More…
COMMENTS

