By default, PrestaShop requires an import file to have be in a CSV format. So, if you get a product feed from your supplier (or some other source), you’ll most likely start looking for a PrestaShop XML import module or some file converter.
Store Manager for PrestaShop lets you bypass the inconvenience of manual data convertion. Its import wizard works with different file formats, including XML.
Pre-Import Tasks
To receive a desirable outcome and avoid mistakes during import, consider the following:
- Set up FTP connection if you are going to import product pictures.
- check your source XML file and ensure that it contains necessary fields.
- Backup your database to be able rolling back to the previous site version if necessary.
Steps to Configure PrestaShop XML Import
Product Import Wizard organizes the procedure of PrestaShop XML import into several logical steps. Follow the tutorial below to complete the task successfully.
1. Open Store Manager for PrestaShop and launch the Import/Export Products Wizard
You can start up the wizard from the sidebar Import/Export menu, a product toolbar or using a context menu.
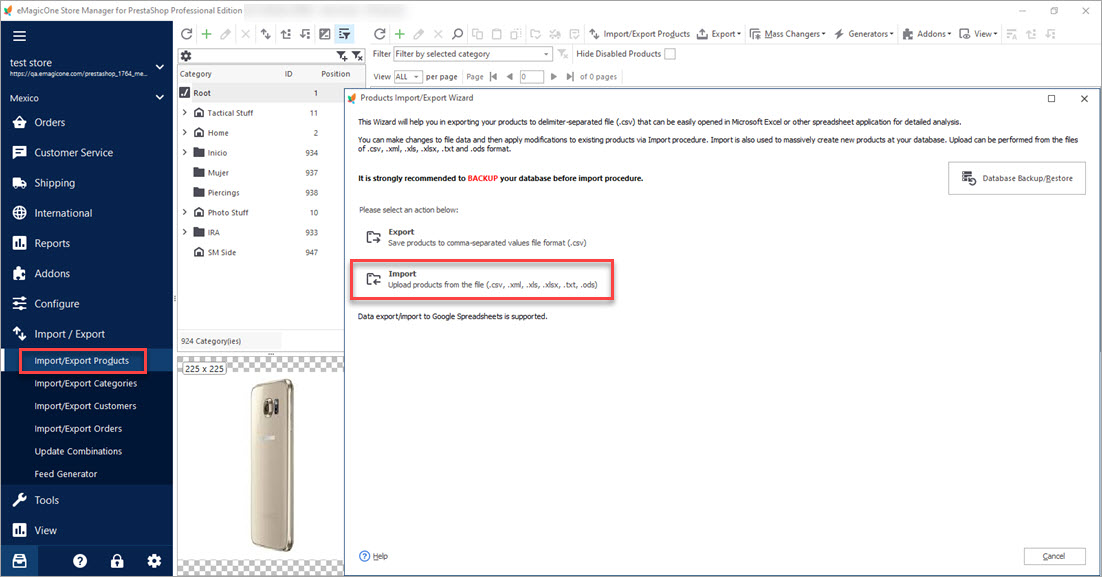
Afterwards follow the steps in the wizard to complete PrestaShop XML import successfully.
2. Select an XML File for Import
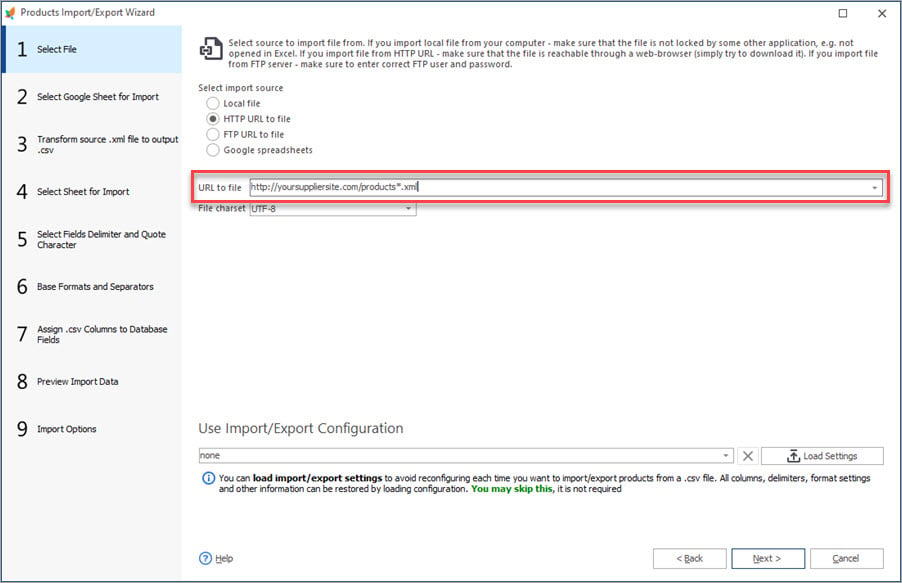
In the first step of the import you’ll be prompted to select the location of the feed. It can be a local file or that placed at a remote location. You must firstly select the source of the file and afterwards specify file settings.
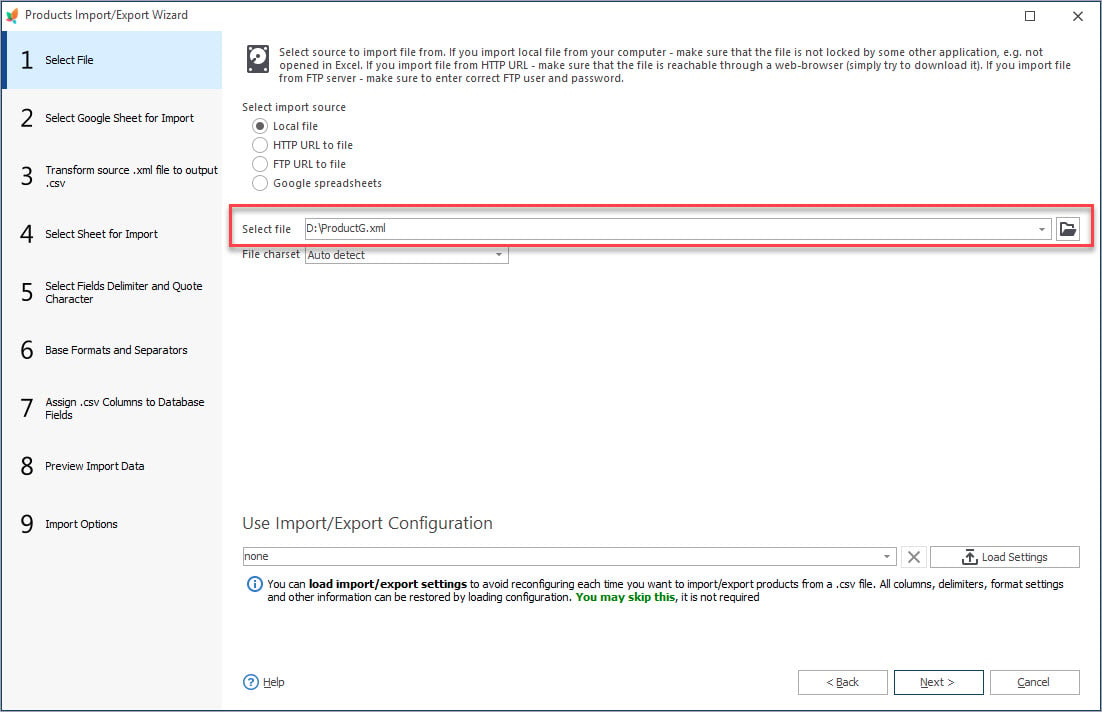
3. Convert XML Data to CSV
This stage of PrestaShop import is responsible for transforming XML data to CSV. Firstly, select base product node, that contains all the details on a product. Afterwards set transformation mode depending on the node structure. Once you are done with this, proceed with fields associations – define what CSV column an XML node refers to. Pick an XML node from the list to the left and drag it to the corresponding CSV column on the right.
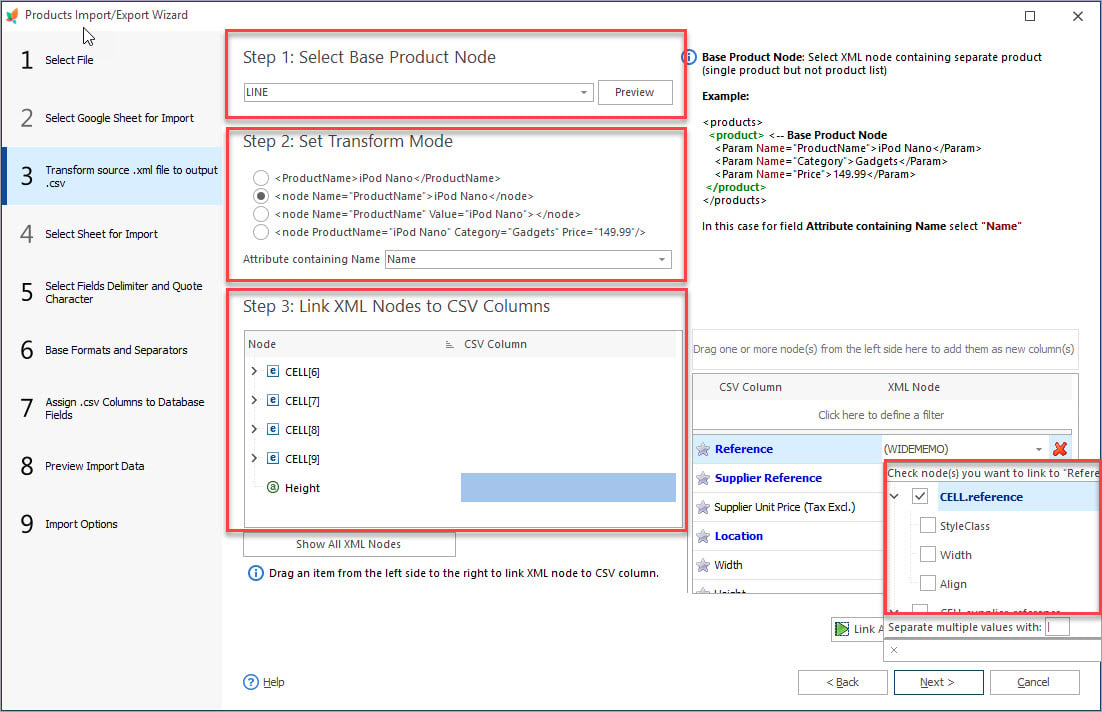
4. Designate File Delimiters
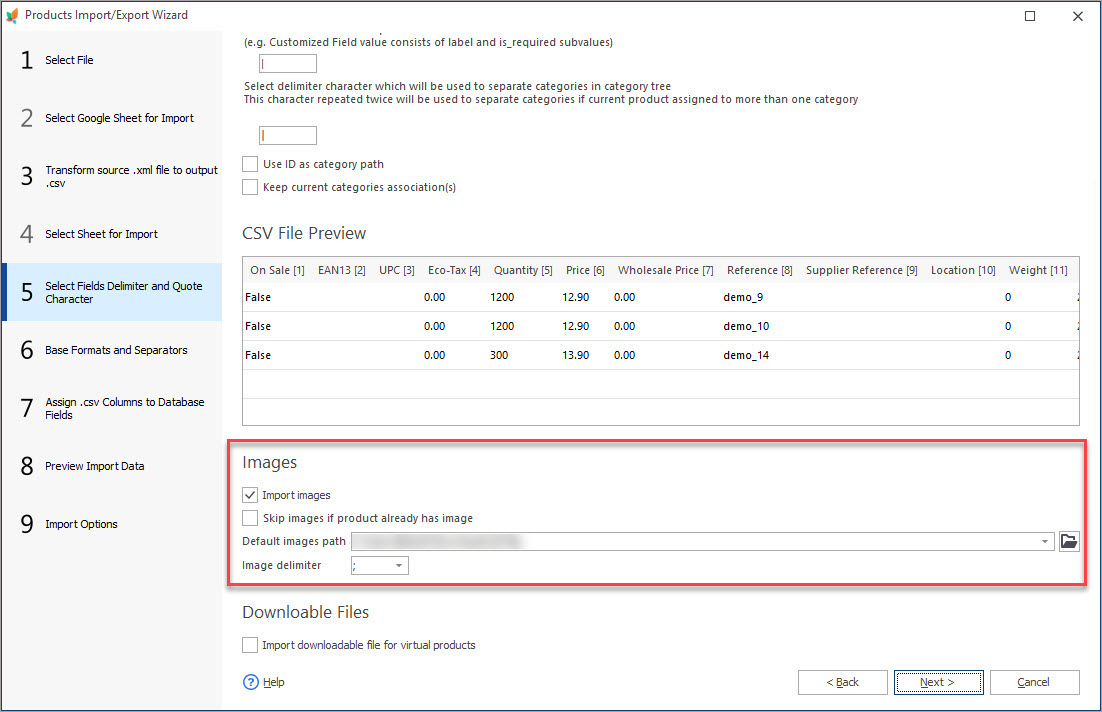
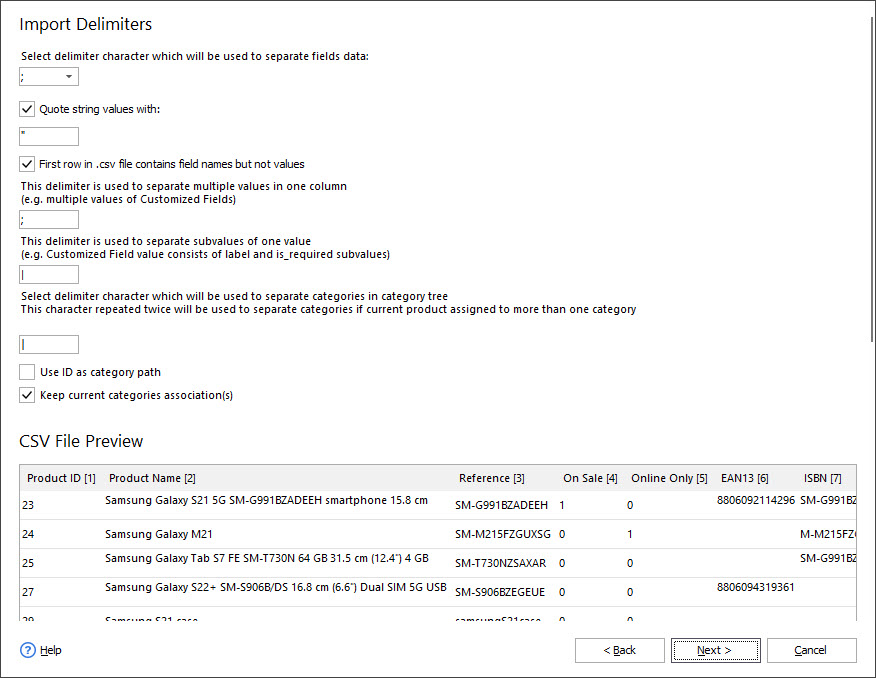
After information has been converted to CSV, the following wizard window comes up. Here you should set delimiters that are used to detach multiple values, subvalues of values, as well as a character used to detach categories in a category tree. The data you are going to transfer is displayed in preview window below.
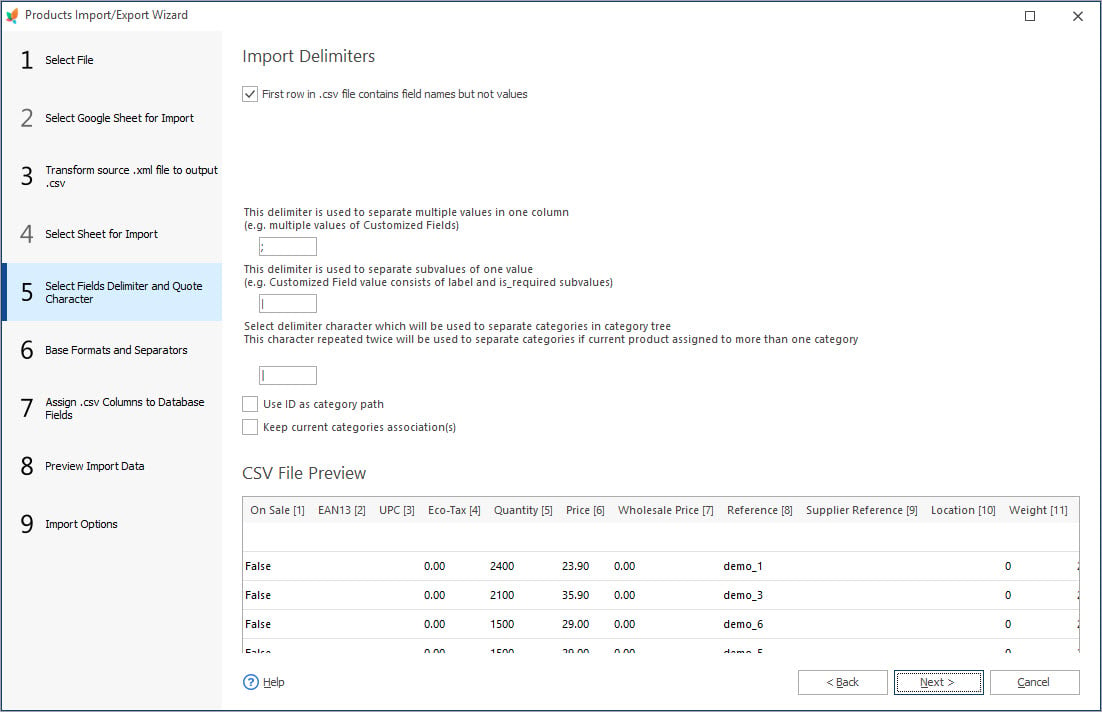
If you are going to upload images, downloadable products or attachments, proceed with corresponding settings.
5. Set CSV Columns-Database Fields Associations
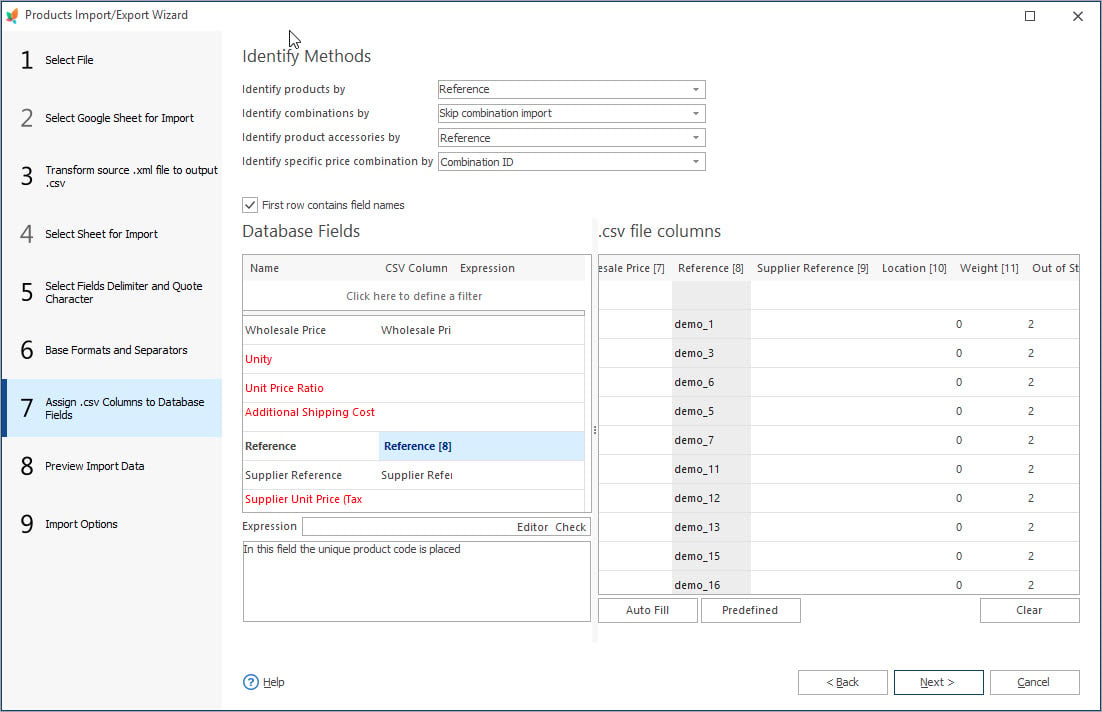
On this step, you should indicate what fields at PrestaShop database this or that .csv file column corresponds to. Opt for product identifier and combination identifier, if product attributes come in the file.
5. Proceed With Import Options
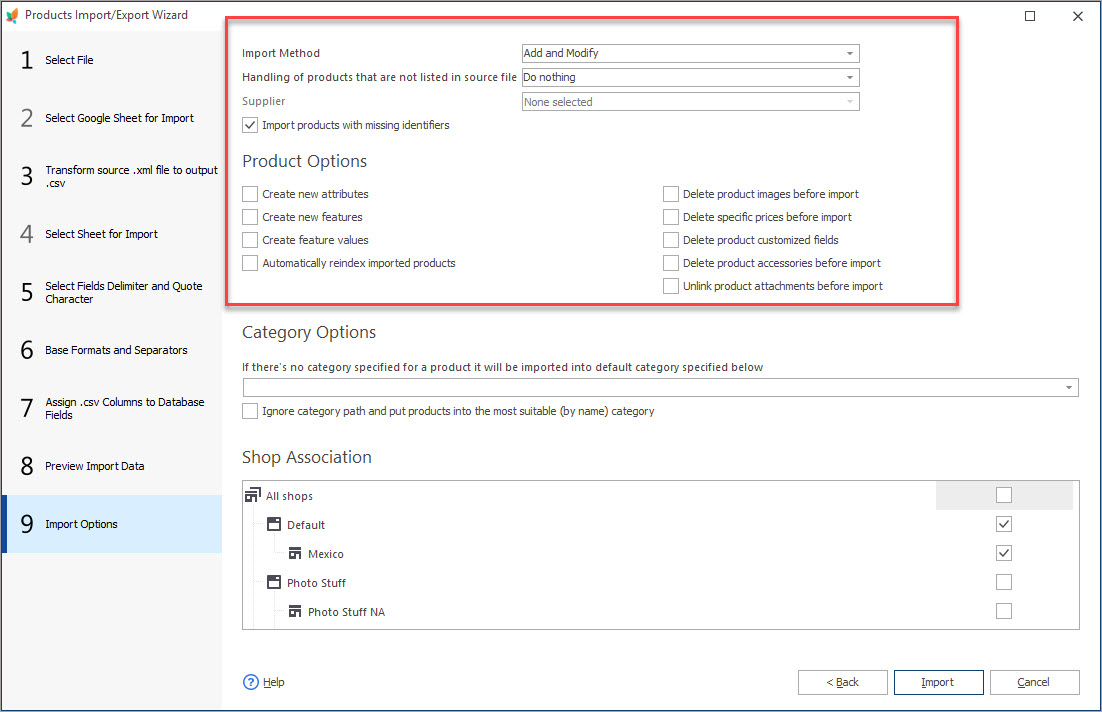
Before you commence on PrestaShop import itself, you should set proper import options – data upload method, actions over products that are not recorded in the file, category options, choose necessary product options and category associations.
Being able to import PrestaShop XML data on the fly opens new possibilities and perspectives for efficient store management. Upload feeds with Store Manager for PrestaShop and experience all the advantages of efficient data management.
Upload XML feed to PrestaShop FREE with Store Manager for PrestaShop
Import Now
Related Articles:
PrestaShop Import – Supported Formats
Discover what import file formats are supported by PrestaShop admin and what import solutions are offered by Store Manager for PrestaShop. Read More…
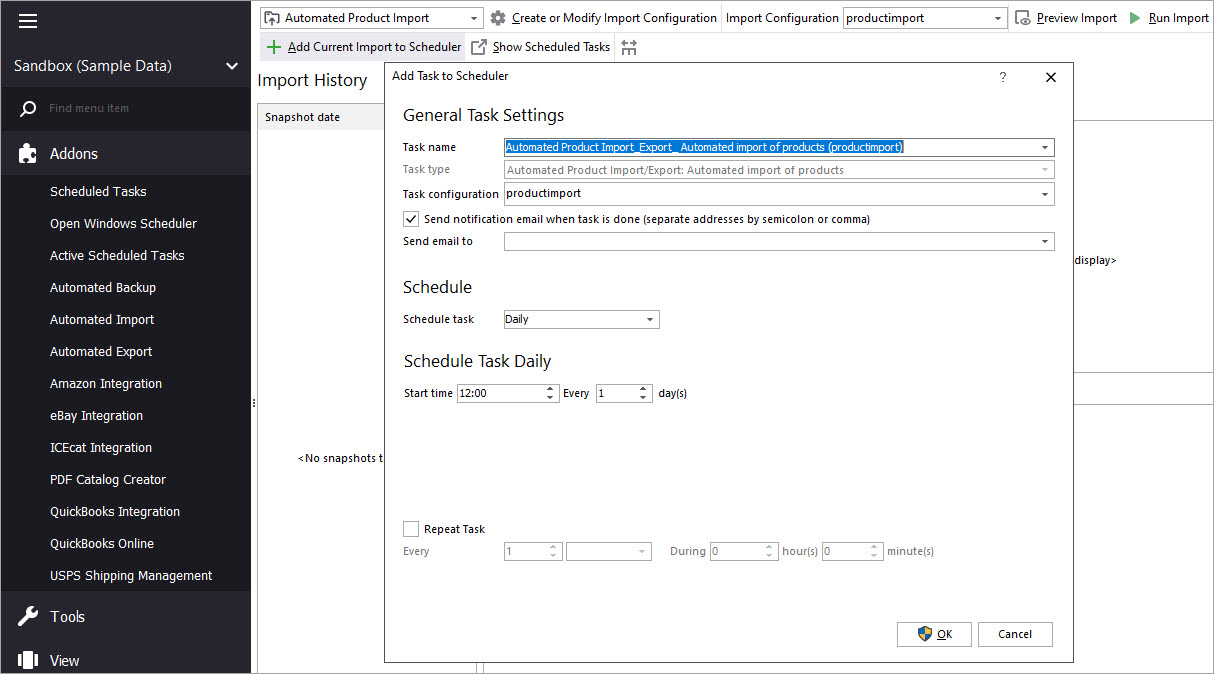
Make Your PrestaShop Product Import Automated
Discover the benefits of automated product import and the way to set it up. Read More…
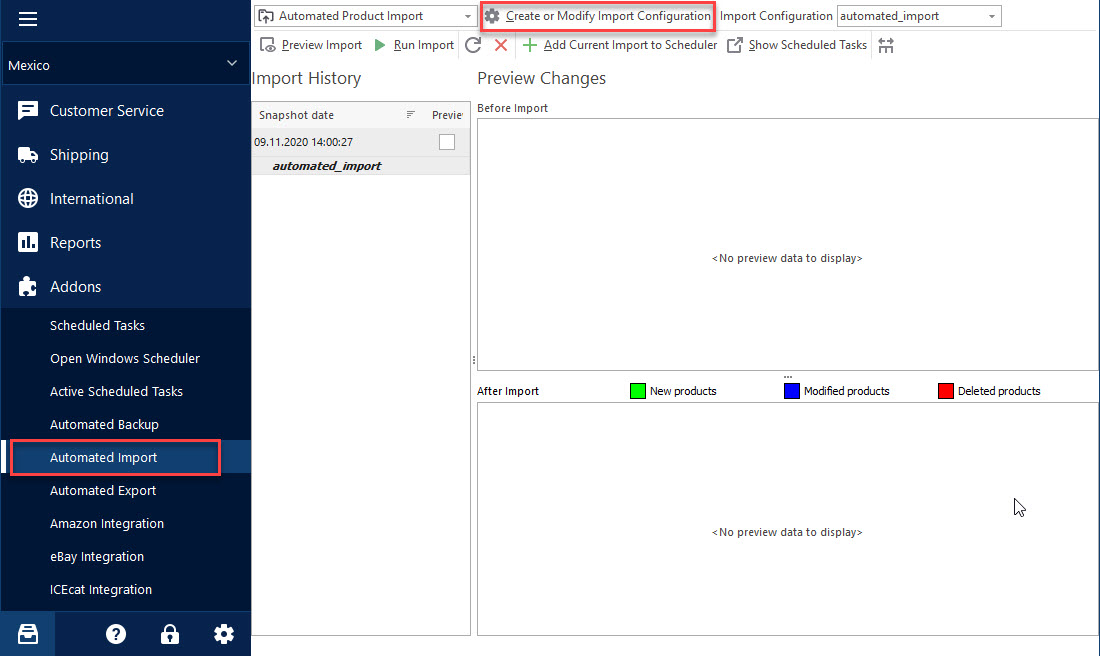
How to Accomplish PrestaShop Cron Import?
Add new import configuration or edit existing one. Create and check scheduled tasks. Read More…
Auto-Select and Import the Latest File from a Directory
Set automatic selection of the latest file from local or remote directory and import it to your store. Read More…
COMMENTS

