How to Import PrestaShop Product Attachments
Creating customer-oriented product listings is occasionally impossible without providing more detailed information about the product. There might be a plenty of reasons to implement such a practice: product manuals, digital instructions, demos, technical documentation, etc and you can cope with this task using PrestaShop attachments option.
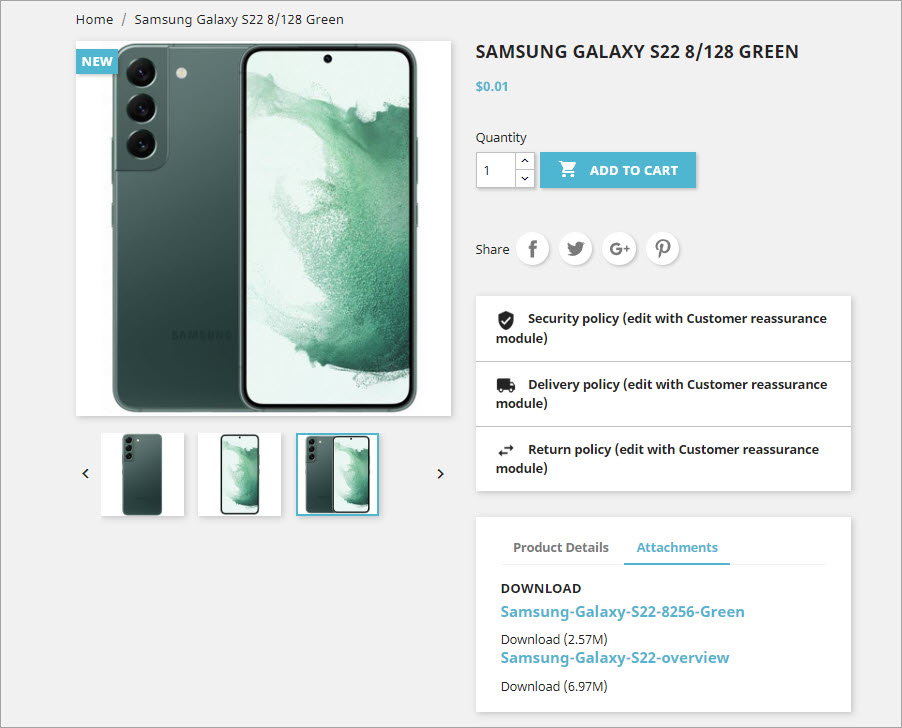
Attachments, you ascribe to products, display on the storefront, and are accessible to shoppers regardless of whether they are purchasing or simply viewing this item. Since you might have abundance of PrestaShop attachments that should be assigned to abundance of items, the idea of doing it in bulk have definitely crossed your mind. And this idea can be easily fulfilled with Store Manager for PrestaShop.
Method #1: Import New Attachments to PrestaShop
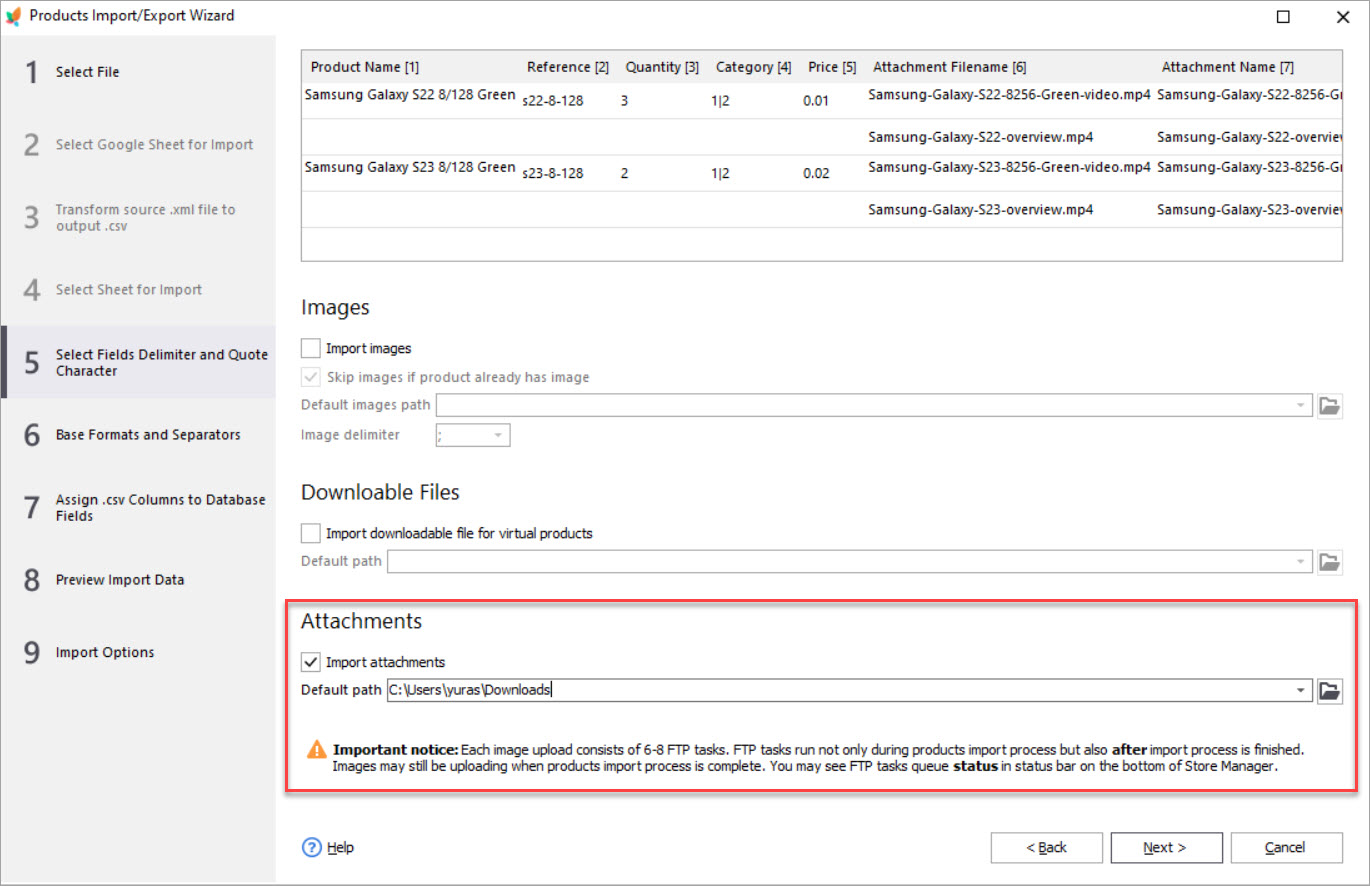
You might need to add absolutely new PrestaShop attachments to your existing products or upload new attachments with new products simultaneously. Beside necessary product details, you should consider ones, related to attachments. In order to create attachments in the process of import, you should include their details in the import file, like attachment name, filename and description. This is a screen capture of our test import file, used to create attachments and assign them to existing at the store merchandise.

- Attachment Name – this name will display for customers at the frontend
- Attachment Description – short overview of your PrestaShop attachment that will display for visitors
- Attachment File – actual file, your users can download with extension, e.g .pdf, .mp4, .png etc.
To import PrestaShop attachments you should configure import settings, that is assiduously described in this post – How to Import CSV Files to PrestaShop. One more point to be underlined is that you should enable attachment import and specify what folder source files are stored at your computer. Don’t miss these configurations on ‘Select Field Delimiter and Quote Character’ step of the import wizard. If you skip this, attachments will not be created and linked to products respectively.
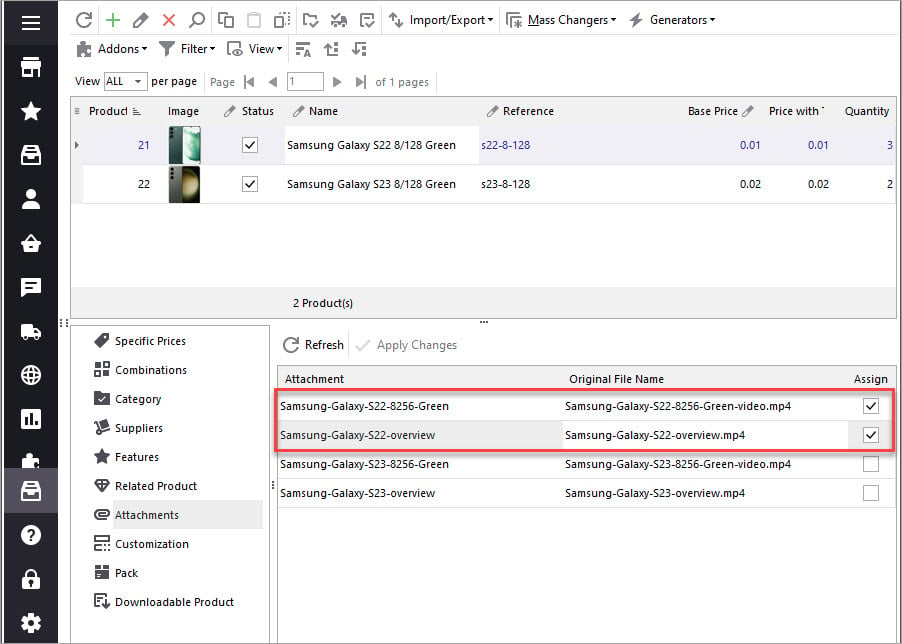
Once import of PrestaShop attachments is completed, you can check whether additional files have been assigned to required products.
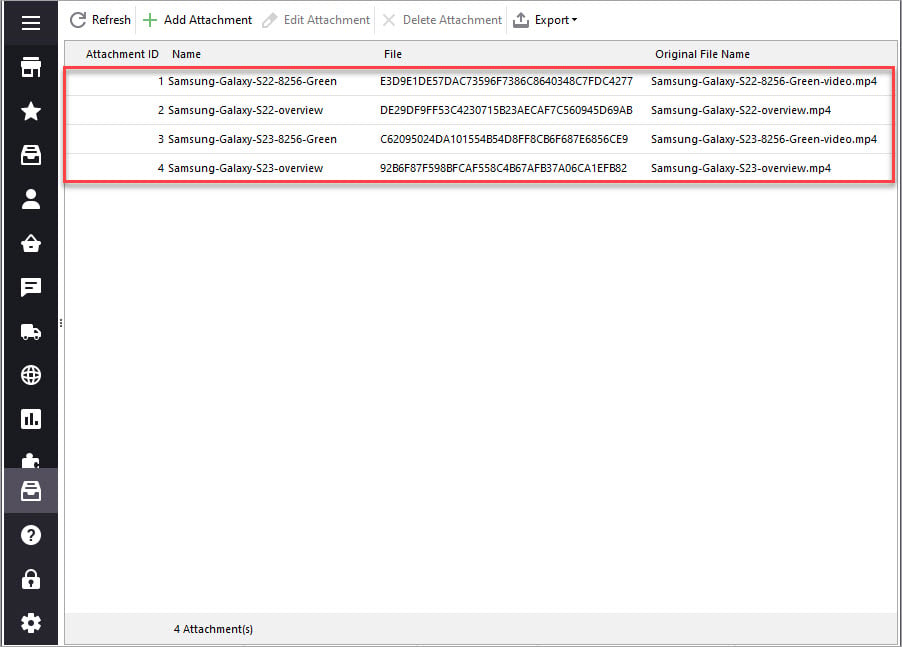
Method #2: Assign Existing PrestaShop Attachments
Suppose you have created additional files in PrestaShop, but they are still not ascribed to products. You can associate them to multiple products at once through import. Concerning attachment details, it is required to have their names in the file to get them assigned to products. When speaking about the product details, everything depends on whether you are updating or creating items.

We update existing PrestaShop products and our test file contains minimum product details. Whenever you are creating products, provide all the necessary info to make the listing prominent.
Having additional files arranged in the spreadsheet, you can fulfil ordinary import like it is outlined in this article – How to Import CSV Files to PrestaShop
Store Manager for PrestaShop provides you more flexible and approachable way to handle attached documents. Now you can massively assign attachments to all necessary products via import and avoid adding them on per-product basis.
Import PrestaShop Attachments FREE with Store Manager Import Now
Related Articles:
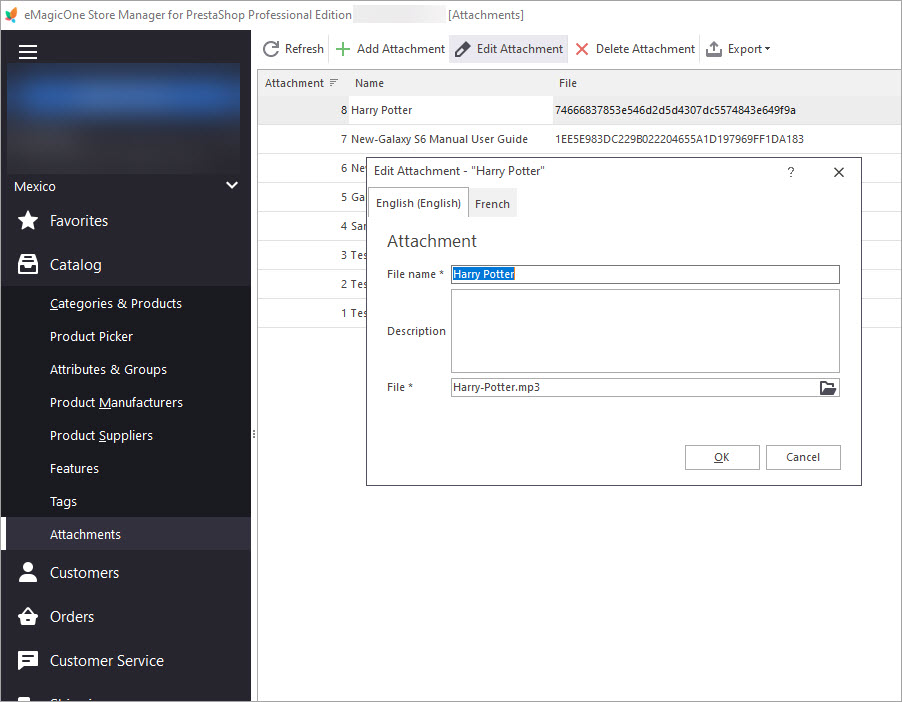
Bulk Assign Attachments to Products
Find out how to add downloadable attachments to products massively or individually. Read More…
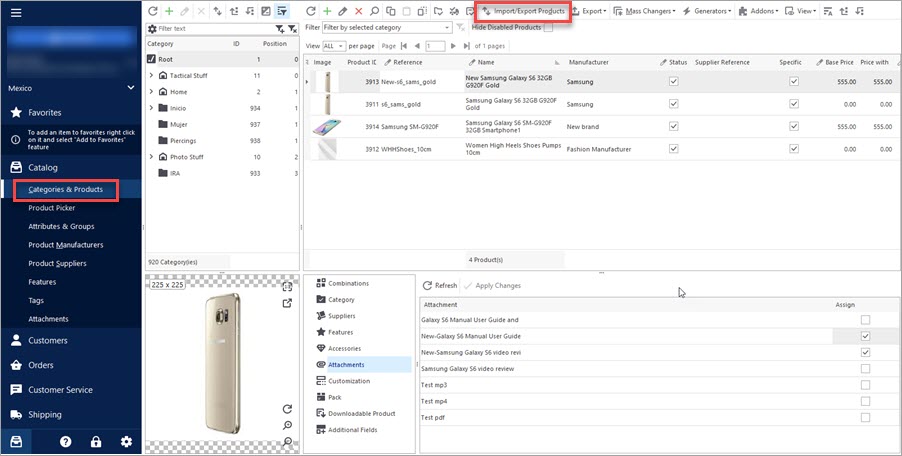
How to Export Files Added as PrestaShop Attachments
Check two simple methods of accomplishing PrestaShop import of product attachments. Read More…
How to Embed Videos in PrestaShop Product Description
Easily add videos to product description for a perfect presentation of your merchandise. Read More…
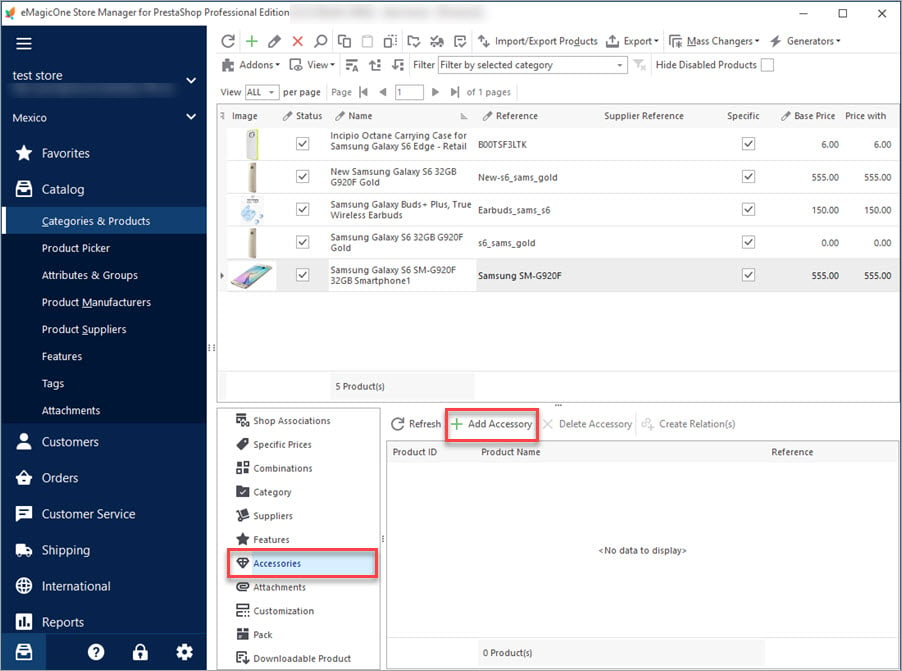
PrestaShop Product Accessories
Get a detailed explanaion of what PrestaShop accessories are and how to add them to products. Read More…
COMMENTS

