As an online merchant, you have plenty of options to extend your online presence and promote products beyond the PrestaShop web store. Amazon, eBay, Google Merchant are just a few to name.
The good news is that most online platforms allow submitting your products in bulk via file upload or feed. Though, each platform has different requirements for the structure of the import file and field names. So, what you need is a tool that would let you export your store listing in a format compatible with a specific target website. This tool is PrestaShop Feed Generator.

What is PrestaShop Data Feed Generator Tool and How to Use It for Product Export
Data Feed Generator exports PrestaShop catalog data into a file compatible with the selected marketplace or digital platform. The tool has a built-in list of feed templates. By choosing one, you can create a product feed for Google Merchant, as well as add, update product details and prices on Amazon.
When you select a template the tool pulls out the data from certain fields in your PrestaShop store and assigns it to the matching fields in the template. As a result, you have your store data exported to a CSV file on your computer or FTP, or Google Docs.
Steps to generate PrestaShop product feeds
- Download Store Manager for PrestaShop and connect the application to your store (if you don’t use Store Manager yet).
- Run the Feed Generator tool and select a feed template from the list.
- Export the file following the prompts in the Feed Generator Wizard.
- Submit the feed to the target website and promote your products!
Let’s review in detail how to generate feeds with the Store Manager for PrestaShop.
1. Download Store Manager for PrestaShop and Connect to Your Store
Download the trial version of Store Manager for PrestaShop and install it on your computer. Open the application and connect Store Manager to your store database following the instructions in the quick start guide.
2. Run the Feed Generator Tool and Select Feed Template From the List
Open Store Manager, go to the Tools tab, and click the Feed Generator icon on the toolbar:

Currently, Feed Generator allows you to:
- Update Inventory and Price for simple products listed on Amazon
- Update Inventory for simple products listed on Amazon US
- Publish Raw Materials product type on Amazon US
- Add Google Merchant feed
New platforms will be added shortly. Stay tuned!
3. Export the File Following the Prompts in the Feed Generator Wizard
So in the open window, you will see available feed templates:

You can use these default XML files as they are or customize them according to your needs.
Let’s create a feed for Google Merchant. Select the default feed, clone it, and enter the feed name.

When you create a new feed it automatically becomes active. So press “Next” to launch the Wizard:

The first step in the Wizard is to select an export target file. You can specify the path to the existing document (that is convenient when you want to update the feed) or create a new one.
When exporting feed to Google there are 2 options available at the moment:
- First one is to export file in .tsv format to Google Drive (offilne folder) and submit the feed.
- Also you can export feed to Google Spreadsheets, but you will need to request API to be able to upload feed to Google Sheets directly.
In case you choose to export file to Google Drive using offline folder, please select export target as “Local file” and specify the local path to the Google offline folder. See here for detailed instructions.
In case you choose to request your own API and connect to your Google SpreadSheets, select Google SpreadSheets – Add account and specify your API key and proceed to login. See here for detailed instructions.

Once you are authorized, you will see your Google SpreadSheets. If you want to create a new file press ”+” and name the document. Then click OK to return to the Wizard.

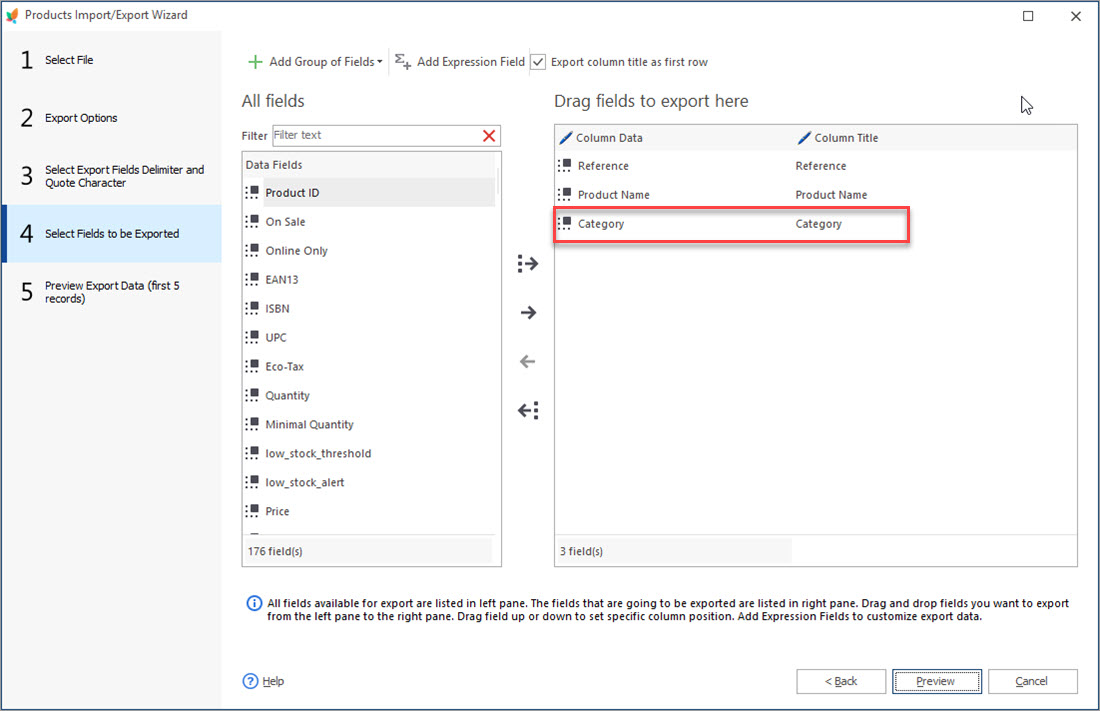
In the next step, you should select which products you want to export. The Wizard will display your category tree so you can find a necessary subcategory by expanding it:

Now you can select a relevant category on Google Shopping. If you don’t select a category Google will assign it automatically. Though, there is a risk that automatically selected categories will be irrelevant. So it’s better to specify it manually.

Now it’s time to map the fields from your store to the ones required by the target website. Required fields are marked with an asterisk and mapped automatically. You can select another field from your store by clicking on the field value in the right column. Also, you can specify the values for additional fields like “sale_price” clicking on the empty row:

On the last step, there are several options to select. Specify whether variations should be exported or skipped.
Important for product variations!
Feed Generator wizard supports the export of variations for Google Merchant Feed as is.
Export of product variations into Amazon feed is performed by our support engineers individually. Contact us at [email protected] for assistance.
Also, check if the currency and dimensions are correct:

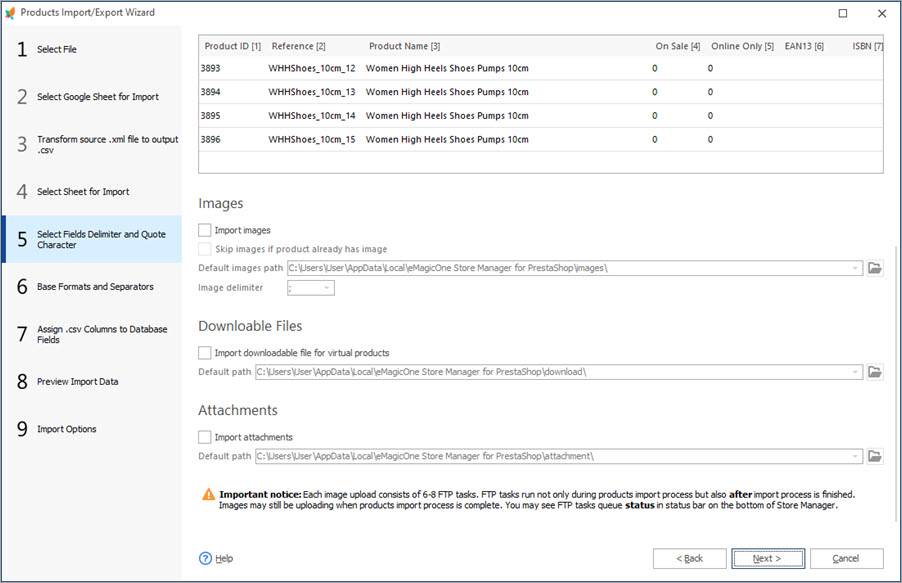
And finally, review the details and view the result file:

You can now check the exported data in Google Drive (Offline folder or Google SpreadSheets, depnding on the option that was chosen):

4. The next step is to submit the Feed to the Target Website and Promote Your Products!
Now when you have your .tsv file on Google Drive or Google Spreadsheet file, it is ready to be uploaded to your Google Merchant Center (Next).
Use PrestaShop Feed Generator free within Store Manager for PrestaShop!
Download FREE TrialRelated Articles:
How to Upload PrestaShop Feed to Facebook Marketplace
Steps to Generate PrestaShop Feed and Feature Products on Facebook MarketplaceRead More…
PrestaShop – Export Categories
Get a detailed algorithm of exporting the categories with products or exclusively category structure using export wizard. Read More…

Export PrestaShop Products From Specific Categories
Discover all possible ways of exporting PrestaShop selected product information from specific categories. Read More…
Import Products to PrestaShop using Store Manager
Get insight into main PrestaShop import options including import method, handling products not included in imported file, category options etc. Read More…
COMMENTS

