In this PrestaShop tutorial for beginnes, we’ll describe how to prepare for and complete the installation. If you want to get all the possibilities offered by the platform, we recommend installing the newest PrestaShop version available for download at the official PrestaShop website.
- Pre-installation Actions
- Steps to Install PrestaShop
- Download PrestaShop installation package
- Copy installation files to your store server
- Create store database
- Run the PrestaShop Installation Assistant and Complete the Installation
- Add products via Store Manager for PrestaShop
Pre-installation Actions
Get a domain name and hosting
Domain name is your website address. You can use the domain name provided by the web hosting you’ve chosen or purchase it from an independant domain name registrar.
It is recommended to choose the second variant, in order to avoid any possible problems with keeping your domain name in case you decide to change your host.
Check PrestaShop system requirements
PrestaShop needs the following server configuration in order to run: check PrestaShop website.
Download an FTP client
FTP is a standard communication protocol used for the transfer of computer files from a server to a client on a computer network. The most recommended FTP client is FileZilla. Having installed FileZilla or another FTP client, you will be able to connect to your web server.
Steps to Install PrestaShop
Download PrestaShop Installation Package
Copy Installation Files to Your Store Server
Create Store Database
Run the PrestaShop Installation Assistant and Complete the Installation
- Missing permissions to your files
- Memory or execution time limits
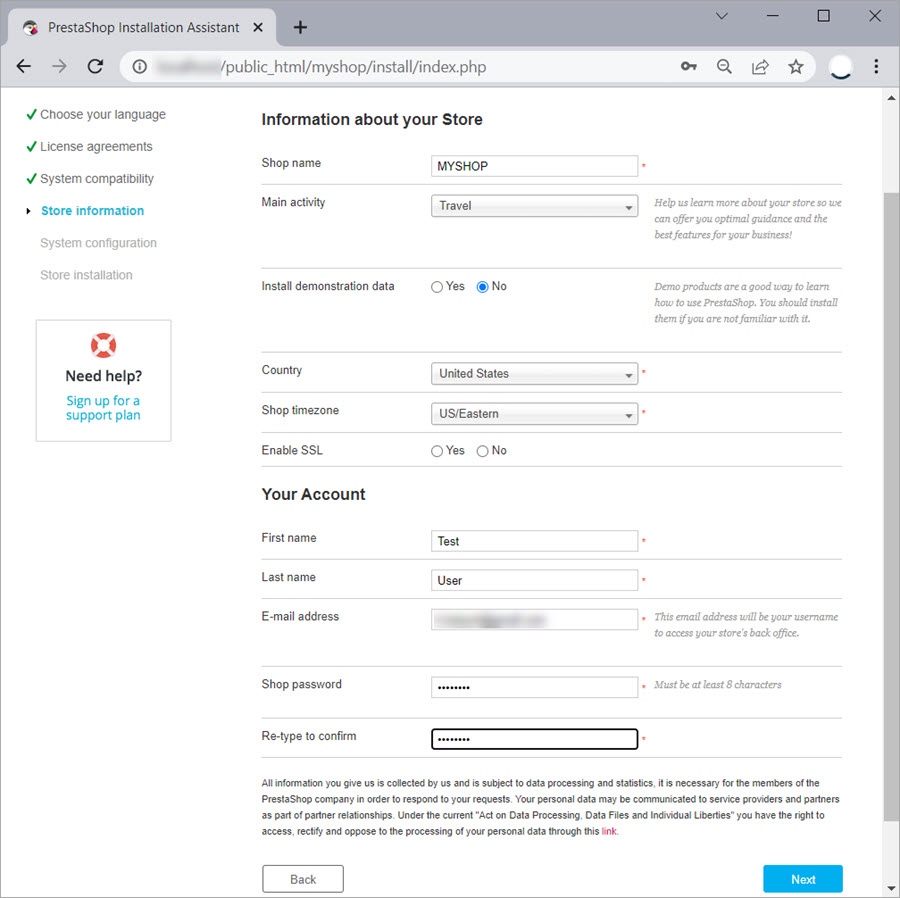
- Shop name
- Main activity
- Demonstration data – check only if you want to get acquainted with the PrestaShop functionality before adding your own products.
- Country
- Address
- Shop timezone
- Enable SSL – enable this option if you have the certificate purchased. If you don’t have the certificate yet, you’ll be able to configure it later in the back office.
- Admin user data – enter your first and last name, email address, and password
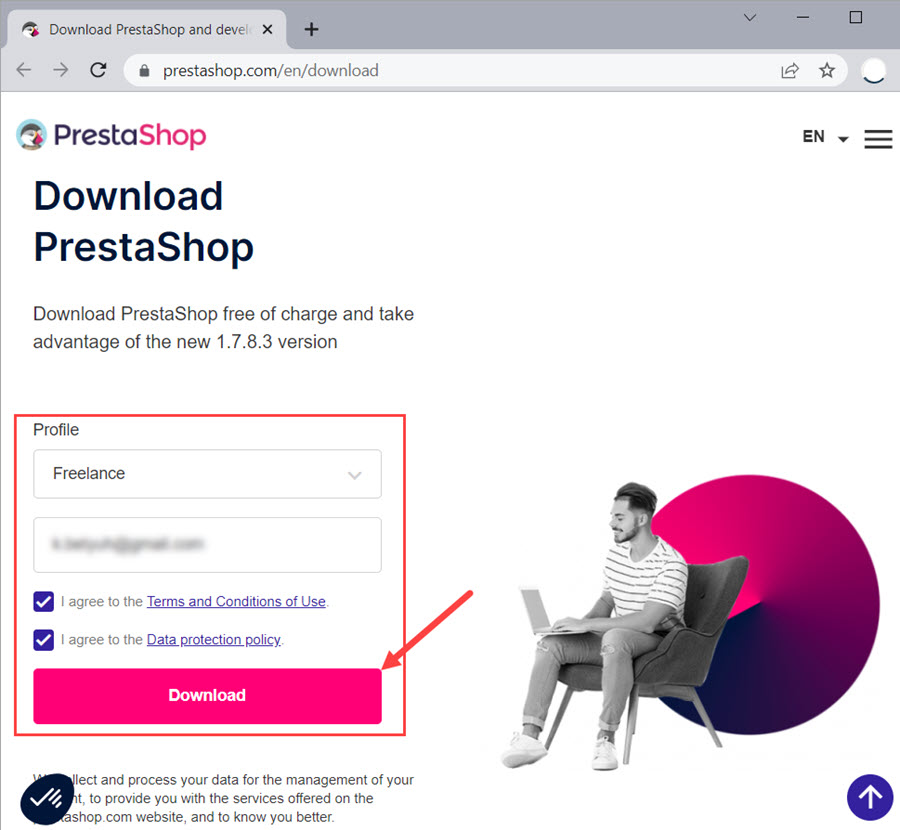
Go to https://prestashop.com/prestashop-offers/classic/. Select your role in the drop-down list, enter your email and download the installation package:
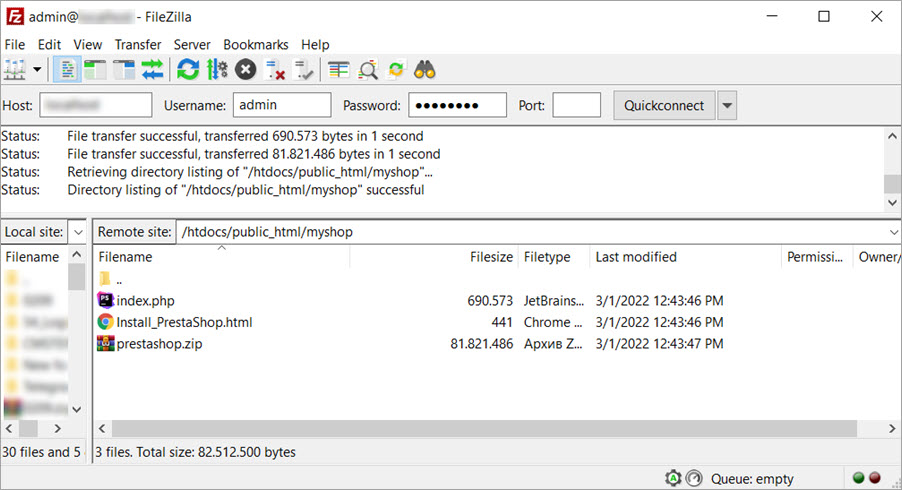
Unzip the downloaded package and copy the files to the root folder of your store on the server. To connect to the server, use Filezilla (or another FTP client). Fill in you host, username, password, and port (ask your hosting provider for the credentials) and connect:
Use your host account credentials to connect to a database management tool. Find out whether your host requires some specific tools for administering mySQL databases.
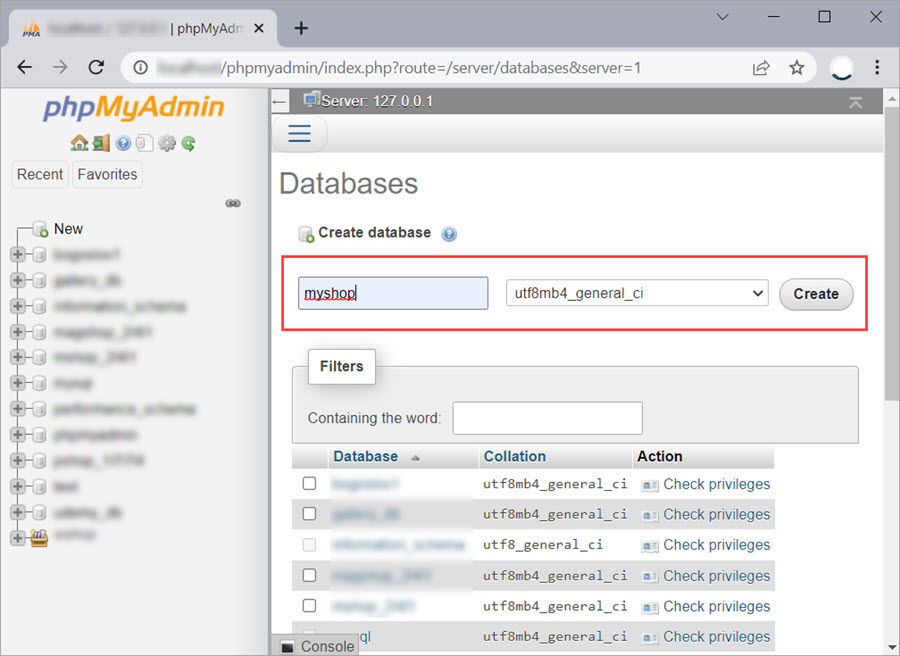
In this tutorial, we will show how to create a PrestaShop database using phpMyAdmin (usually installed on most web-hosts by default).
Check your host’s instructions to figure out if you can use one of the databases available on your mySQL server as the default one. If not, create a new database:
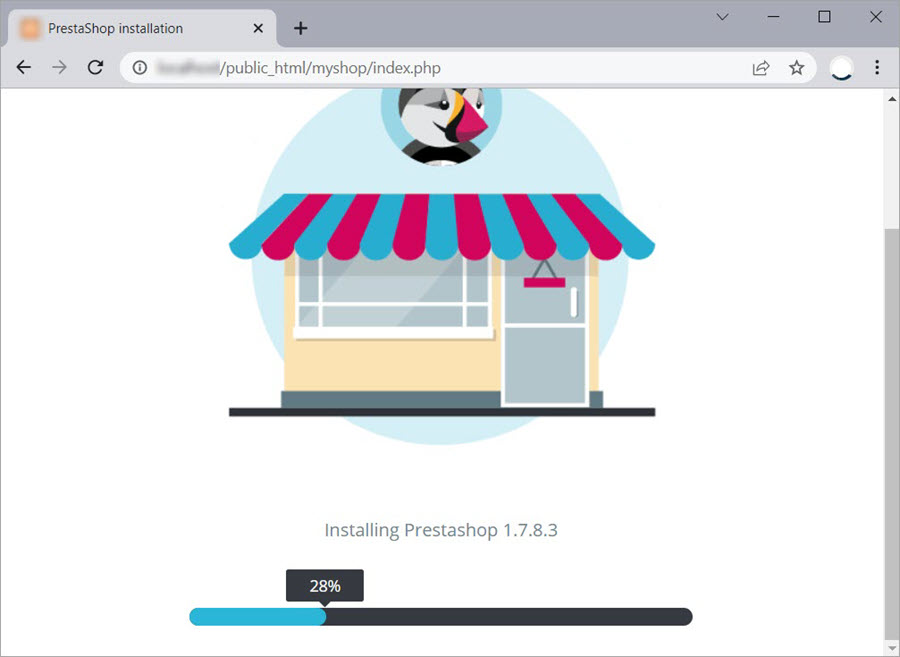
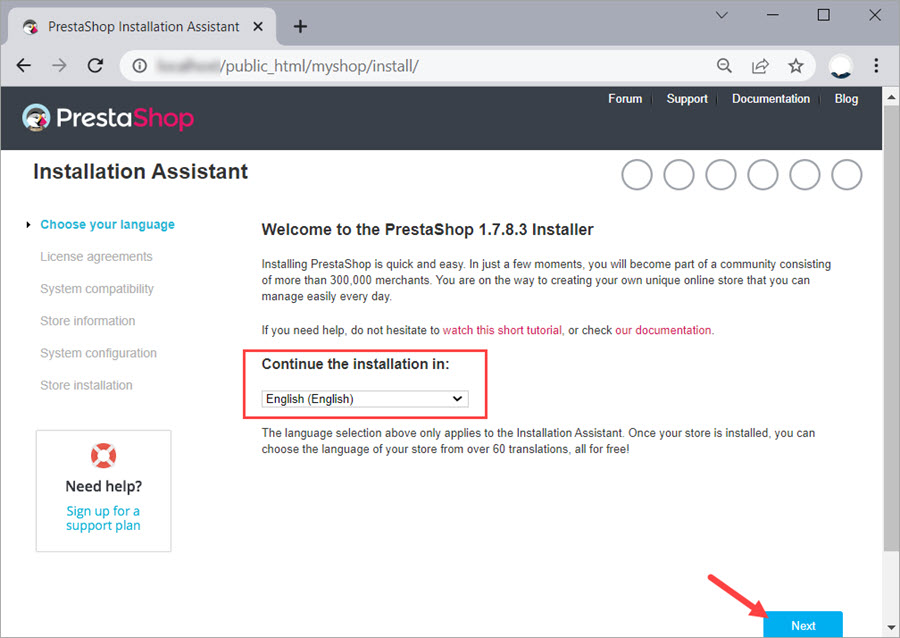
Go to your browser and enter the installation link consisting of your domain name/store root folder/index.php (the file executing the installation). After your press Enter, the installation begins:
In the Installation Assistant, select a language from the drop-down and press Next:
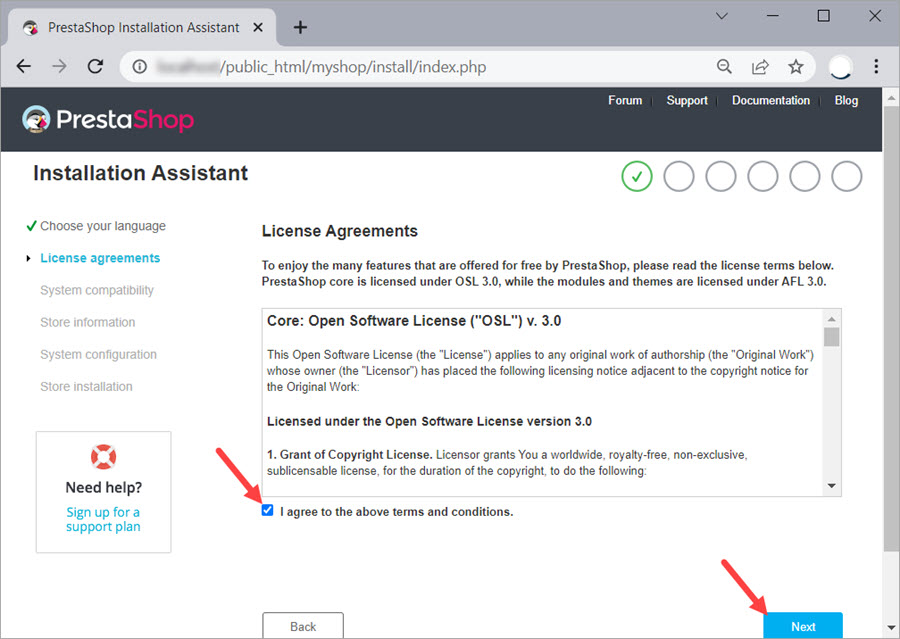
Read and agree to the license agreement:
At this step, PrestaShop will test its compatibility with your system environment.
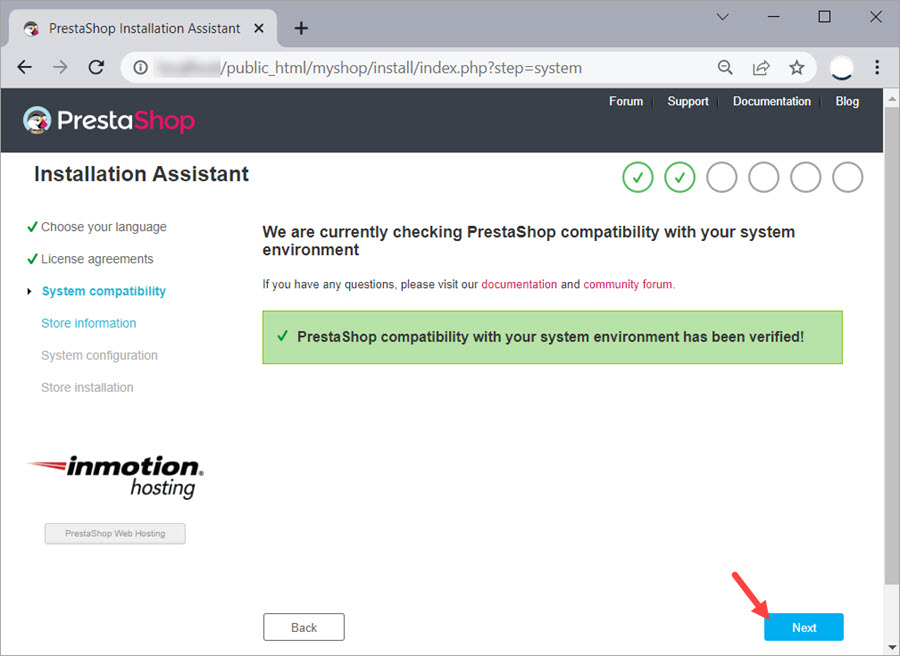
If you get an error at this step, it would most probably be caused by
You can ask your hosting provider to help you fix the errors. If you have technical knowledge and can access the necessary files), you can configure the permissions or increase the limits yourself via FTP or c-panel yourself.
At the next step, you’ll have to fill in your shop’s information and specify the required data for your account:
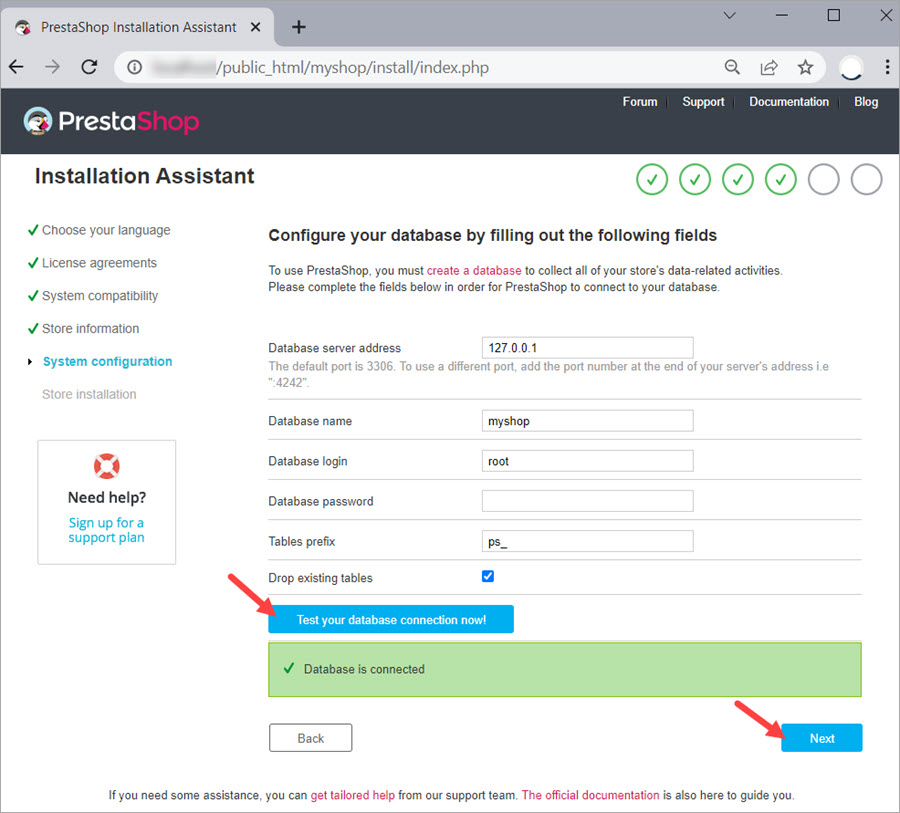
Now you have to fill in and check the data to connect to the store database.
You can get database server address, name, login and password from the phpMyAdmin or c-panel. Also, you can check your web host’s documentation provided for this procedure.
Table prefix – you can use the default one or use your own prefix. For the PrestaShop optimal work, it’s not recommended to use lengthy prefixes (2-3 symbols would be enough).
Drop existing tables – use this option if you already have some tables in the database and you want to quickly remove them. This option may be useful when you had previously run the installation but it had not been completed.
We recommend keeping this option enabled and installing PrestaShop on the database without any tables.
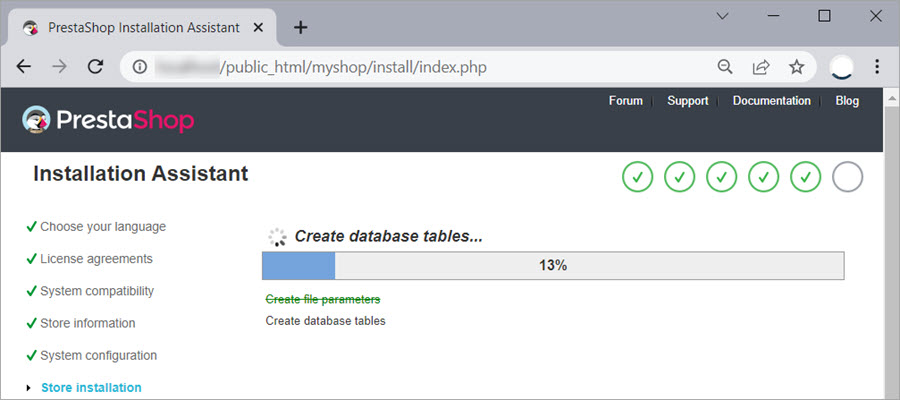
Wait for the installation to complete. If any errors occur, contact your hosting provider, PrestaShop support (paid option) or PrestaShop forum.
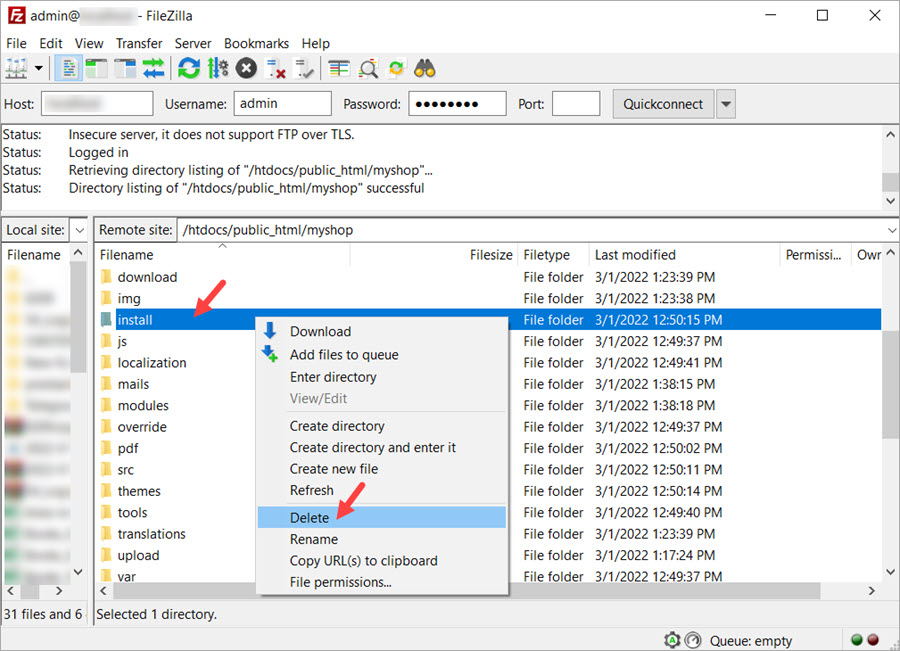
After the installation has completed, there will appear a window with the information to log in to your backoffice, as well as links to your front and back office.
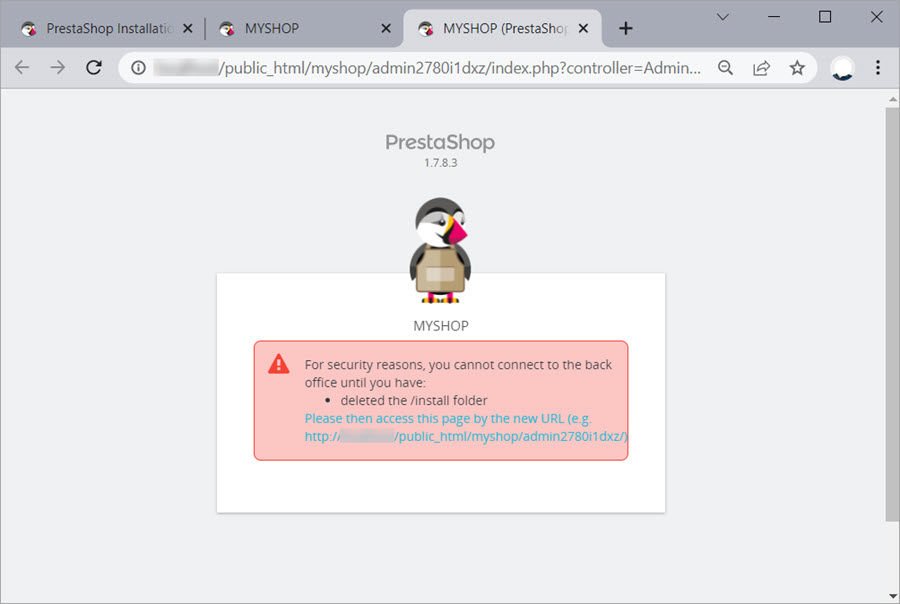
Now you can use your store to sell products and services!
Add products via Store Manager for PrestaShop
The next step after having installed PrestaShop is adding the products or services you’re going to sell. The fastest and easiest way is to do this via Store Manager for PrestaShop. It’s a desktop application that allows adding and managing products via an Excel-like interface. Store Manager allows you to upload products directly from your supplier file in .csv, xml, Excel format as well as Google Sheets.
Check our guides on how to add products, import products, images, and categories. If you have any question about installing or using Store Manager, write in the comments and we’ll gladly assist you.
Import products, images, categories with Store Manager for PrestaShop
Try FREE
Related Articles:
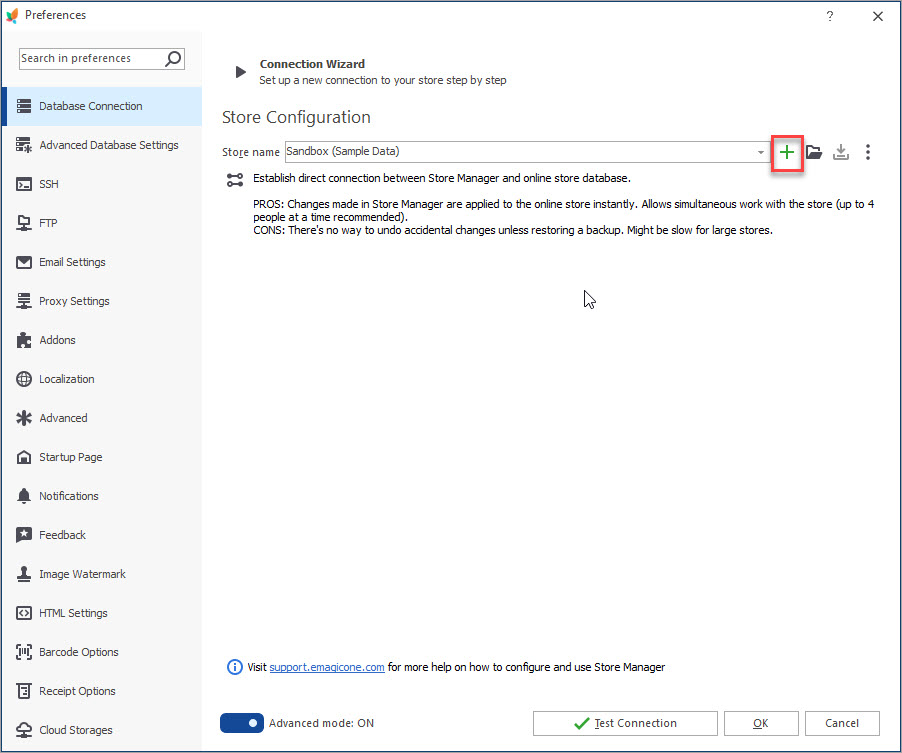
How to Connect Store Manager to PrestaShop Database
Find out the ways to connect your store database to Store Manager and learn how to use Connection Wizard. Read More…
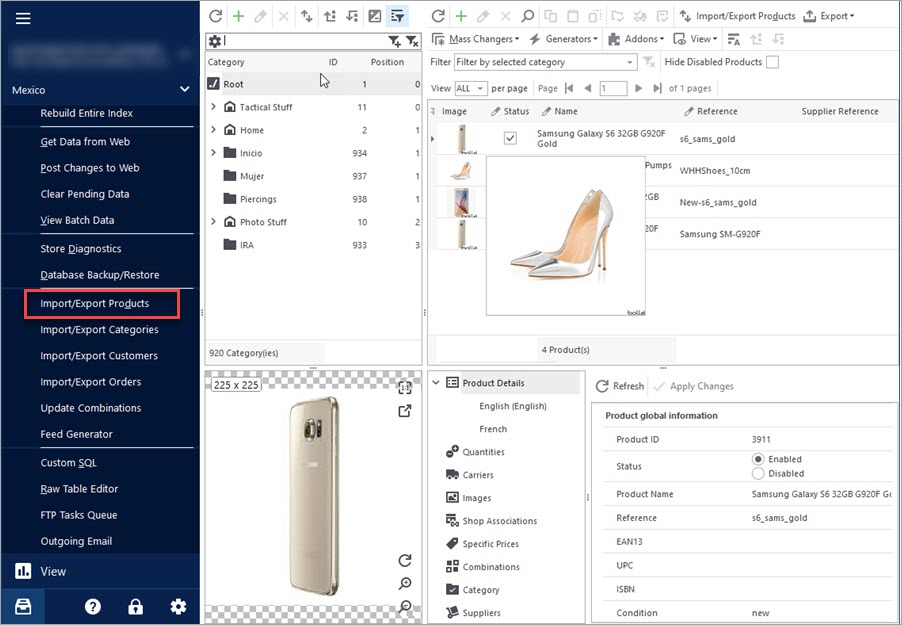
Import Products to PrestaShop using Store Manager
Get insight into main PrestaShop import options including import method, handling products not included in imported file, category options etc. Read More…
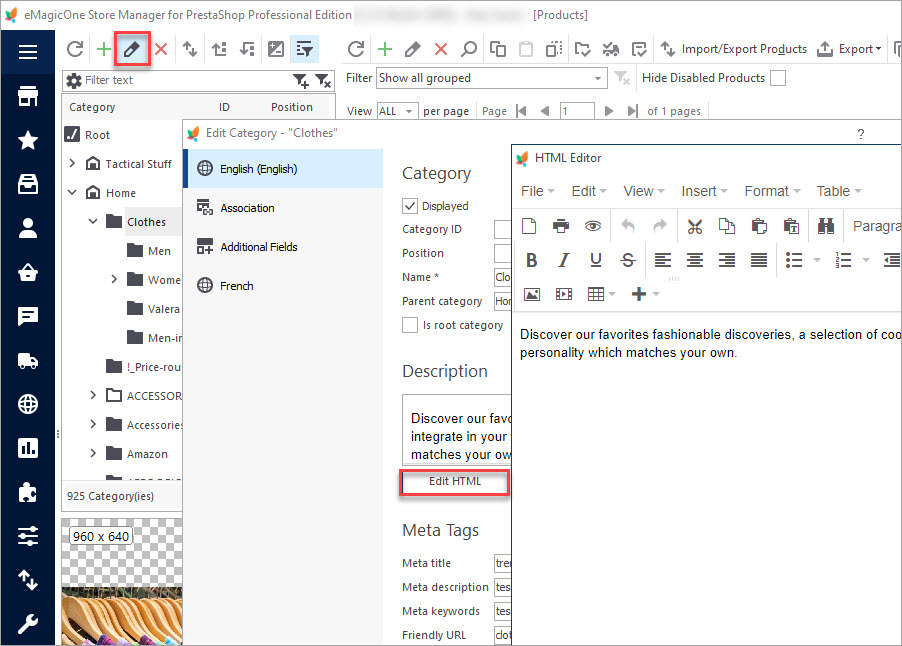
Add Category, Edit Category, Delete Category
Learn how to add, edit, and delete PrestaShop categories via Store Manager. Read More…
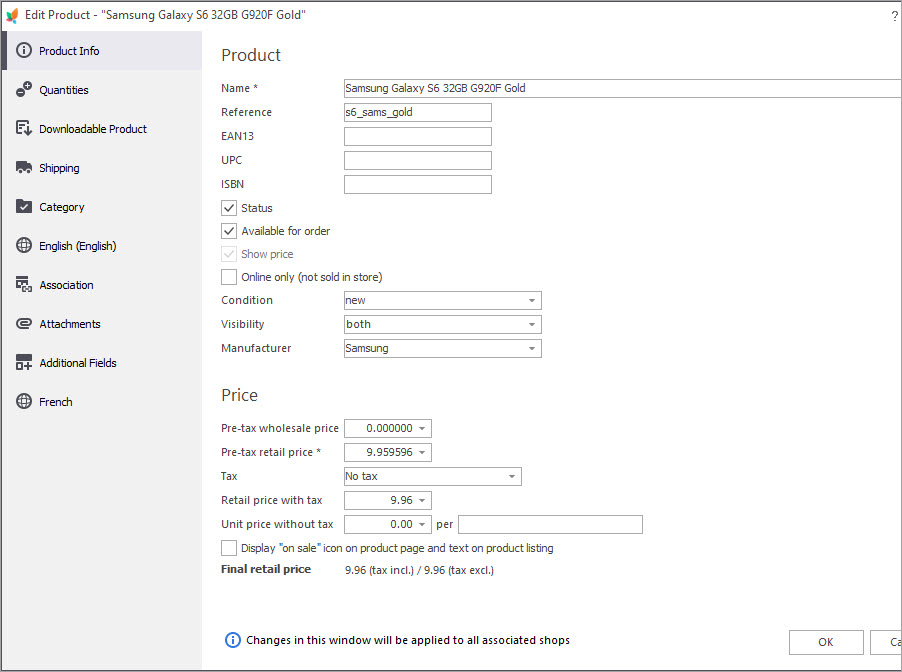
Basic Operations over PrestaShop Products
Discover the ways to perform basic actions over your products including adding new items, modifying or removing them, assigning them to categories etc. Read More…
COMMENTS
Hello, Amy! We are happy to hear that. Wish you great success with your new store!


Hi, Recently I just wanted to open an e-commerce store on PrestaShop but I have not enough knowledge about opening a shop using PrestaShop. So I searched a lot for a step by step guide for it and finally, I got your article and you have described all the things that I was searching for. Thanks for your article and information.