In PrestaShop, Structured Query Language is used to get specific actions executed towards products, orders, customers etc. Using SQL you can input special commands to tell PrestaShop what data you want to return.
There’s a range of standard SQL statements used most frequently. Although, sometimes it becomes essential to apply PrestaShop custom SQL query to perform an action in a particular way. In this case it would be a good idea to use some SQL building tools.
Store Manager for PrestaShop comes with a built-in Custom SQL writer to generate custom SQL statements in a fast and neat way. The written SQL statements can be tested on errors and saved in the builder archive.
How to Use PrestaShop Custom SQL Query Builder?
- From Store Manager dashboard go to ‘Tools’ and launch ‘Custom SQL’ instrument.
- Tap ‘New SQL’ button, specify the name and press OK.
- Write the queries in the editor or run the Query Builder tool containing all store database tables.

Here you have two grids: one contains the saved SQL queries and the other is the SQL editor itself.


Visual Query Builder
Visual query builder helps generate complex SQL queries via dragging and dropping database tables. Here is a little instruction on exploiting this tool.
- Find the list of all of your PrestaShop database tables on the right and double-click on necessary items or drag them to the editor. The tables are grouped by type, so it shouldn’t be a problem to find a specific object. To remove a table, right-click on it and select Remove option or press the ‘Close’ button.
- Double-click on the added table and input its alias.
- To create a link between two table fields, simply drag a field from one table and drop it on the field of another table. If the tables are referenced with foreign keys, they are joined automatically.
- In order to input a field to the query, check the box next to it. If you want to remove a field, uncheck the box.
- Use the columns pane below to manage the expressions.
- To save the expression, press ‘OK’.


If you need some specific database server options, open the context menu in the query building grid and select ‘Properties’.

When you are done with the query, tap Save button. To execute the expression, press the corresponding button. In case the query was not executed, check the Logs tab for errors. Bear in mind that after you close Store Manager, logs will be cleared.
Conclusions
Frequent manual working with SQL requires much time especially when you make some mistakes. PrestaShop Custom SQL tool can considerably help with generqating expressions in a proper way and applying them to necessary database fields.
Generate PrestaShop custom SQL queries in few clicks for 14 days FREE – Free Download
Related Articles:
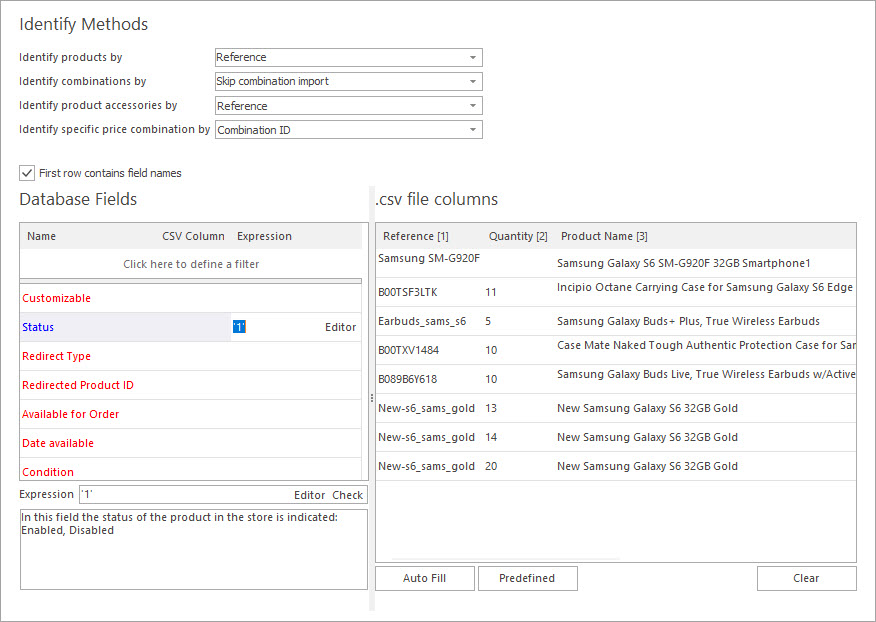
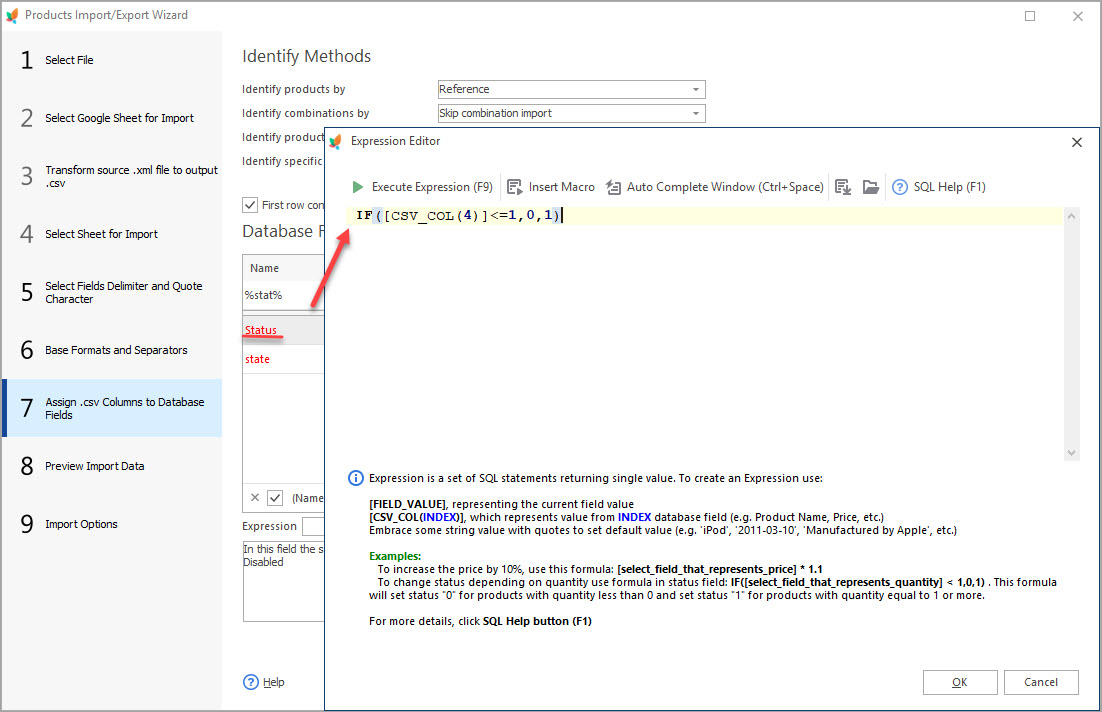
Why to Use Expressions during PrestaShop Import?
Discover what import file formats are supported by PrestaShop admin and what import solutions are offered by Store Manager for PrestaShop. Read More…
Massive Operations Over PrestaShop Orders
Find out how to filter PrestaShop orders, export them and update their statuses. Read More…
Manage PrestaShop Import by Means of Expression
Learn how to apply expressions for product status update, product description update, product price update etc in the process of import. Read More…
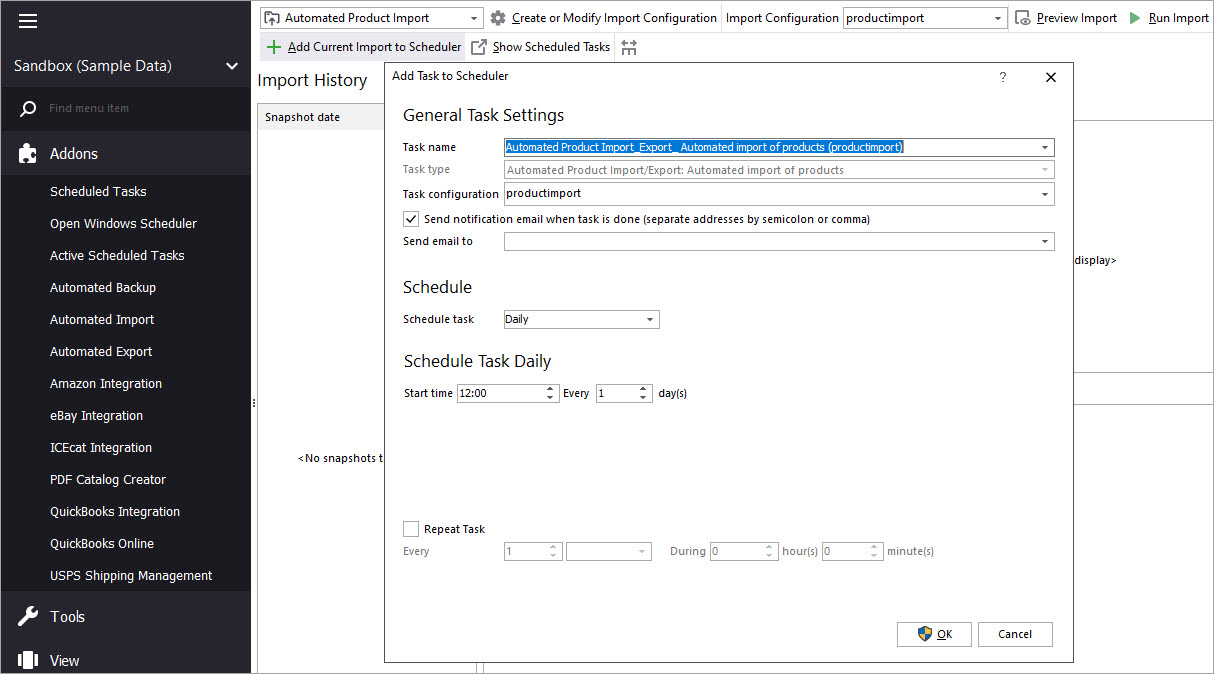
Make Your PrestaShop Product Import Automated
Discover the benefits of automated product import and the way to set it up. Read More…
COMMENTS

