A flexible PrestaShop product export tool is a great advantage. When you have data in a file, you can easily check the inventory, update it using the advanced tools, send a file to partners, import it to the same or another store, etc.
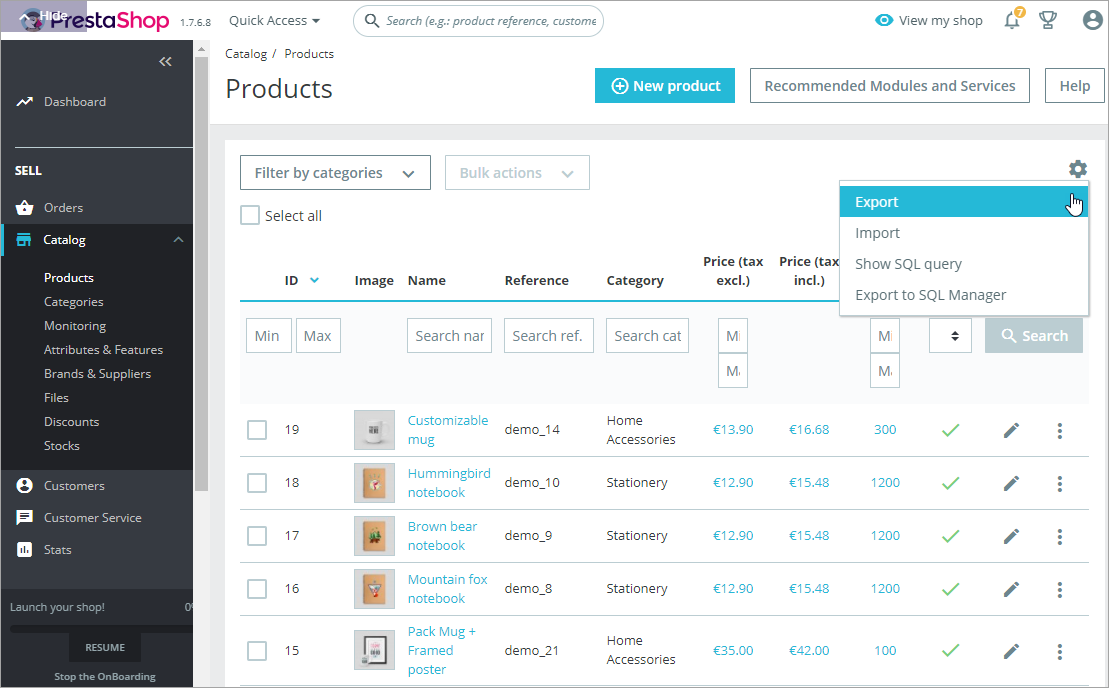
PrestaShop back office has a basic export tool. It allows you to export the products and fields available in the grid: Product ID, Image, Name, Reference, Category, Price (tax excl.), Price (tax incl.), Quantity, Status, Position:
Store Manager offers a multi-functional PrestaShop product export wizard that offers numerous options making the overall process more flexible. If you need extended export capabilities, Store Manager for PrestaShop is the thing that can match your needs.
Here is just a shortlist of what you can do using the Export Products tool in Store Manager for PrestaShop
How to Export PrestaShop Products With All (or Specific) Fields and Images
To use the export tool, you need to have Store Manager for PrestaShop installed. Download free trial version, install the application, and connect it to your store database.
After the connection is established, you will see all your store data — products, categories, images, etc. — displayed.
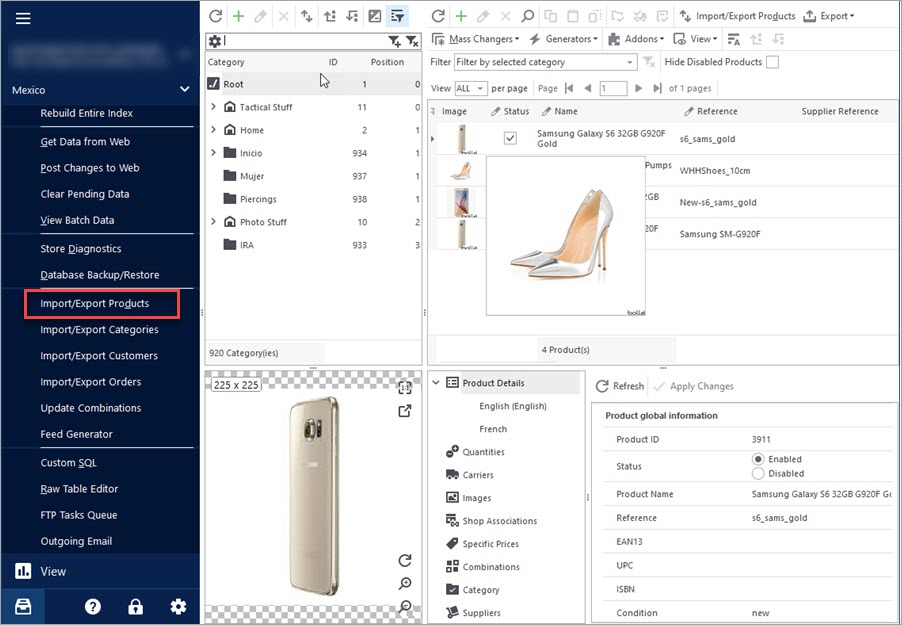
On the top menu you’ll see two options to export products.
The “Import/Export Products” option launches the wizard where you can select the fields to export and configure the export.
The “Export” option saves product data available in the grid (the fields you can see) as an Excel, HTML, or XML file.
Below you’ll find a step-by-step instruction showing the capabilities of the export tool.
Steps to Export PrestaShop Products with Store Manager
- Open Store Manager for PrestaShop and Launch the Import/Export Wizard.
- Select the Export File on Your PC or Specify Its Location.
- Export Options step allows to filter the products before export and set Advanced Export Options.
- Select Export Fields Delimiters and Quote Character.
- Select Fields to be Exported.
- Preview Export data
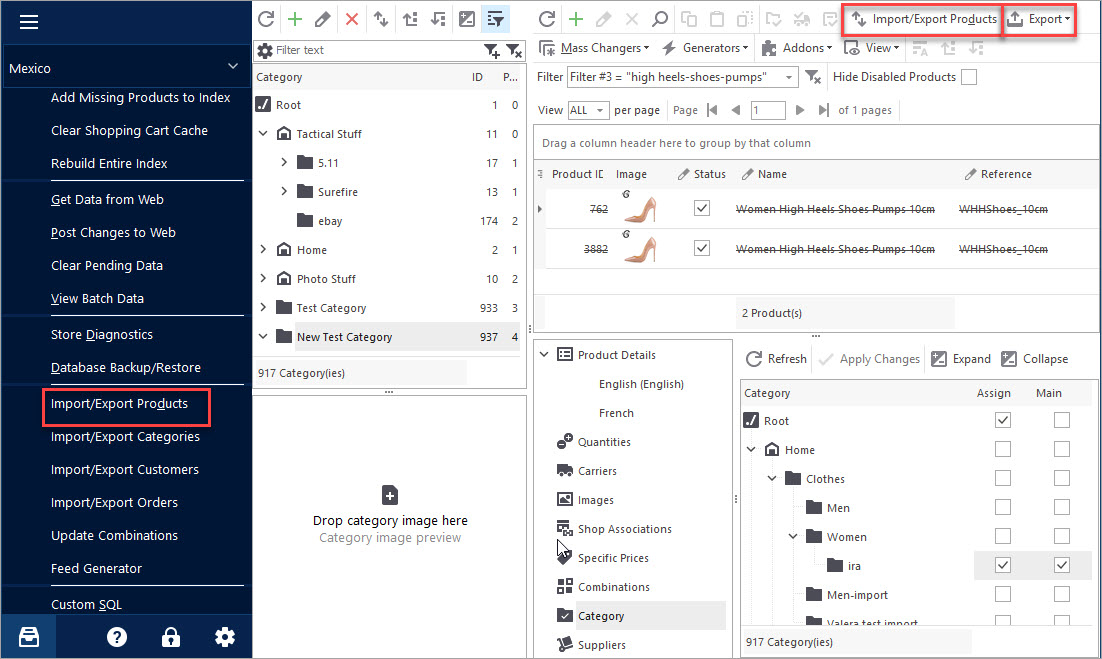
1. Open Store Manager for PrestaShop and Launch the Import/Export Wizard
Let’s select the “Export” option and see how the export wizard works.

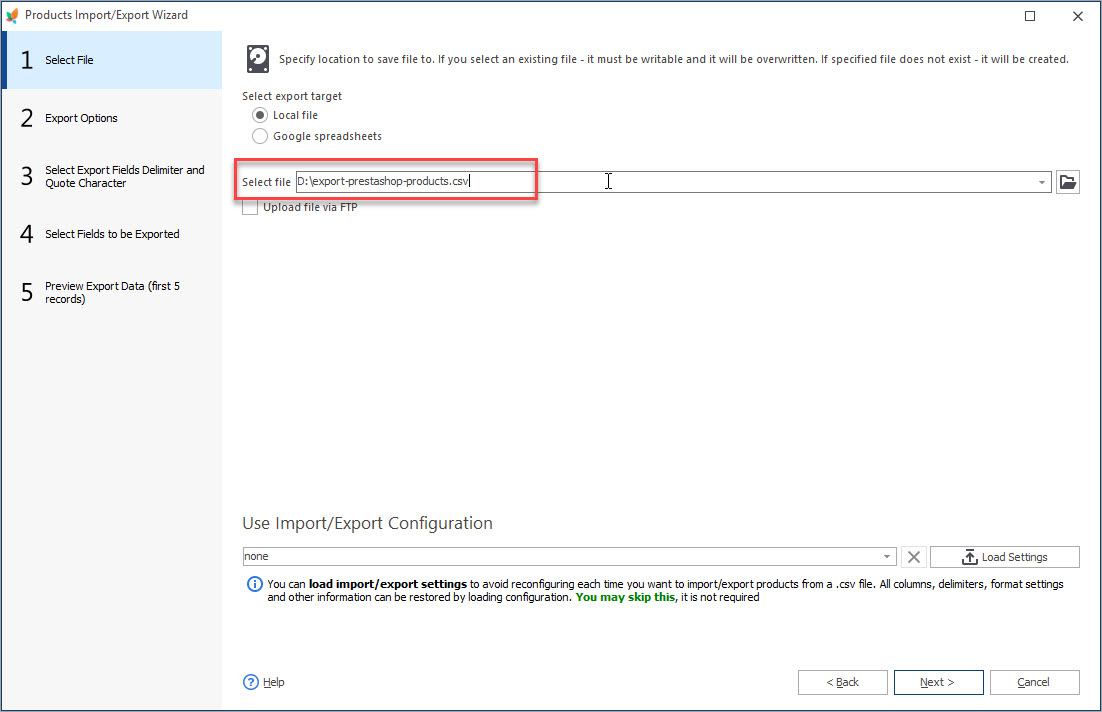
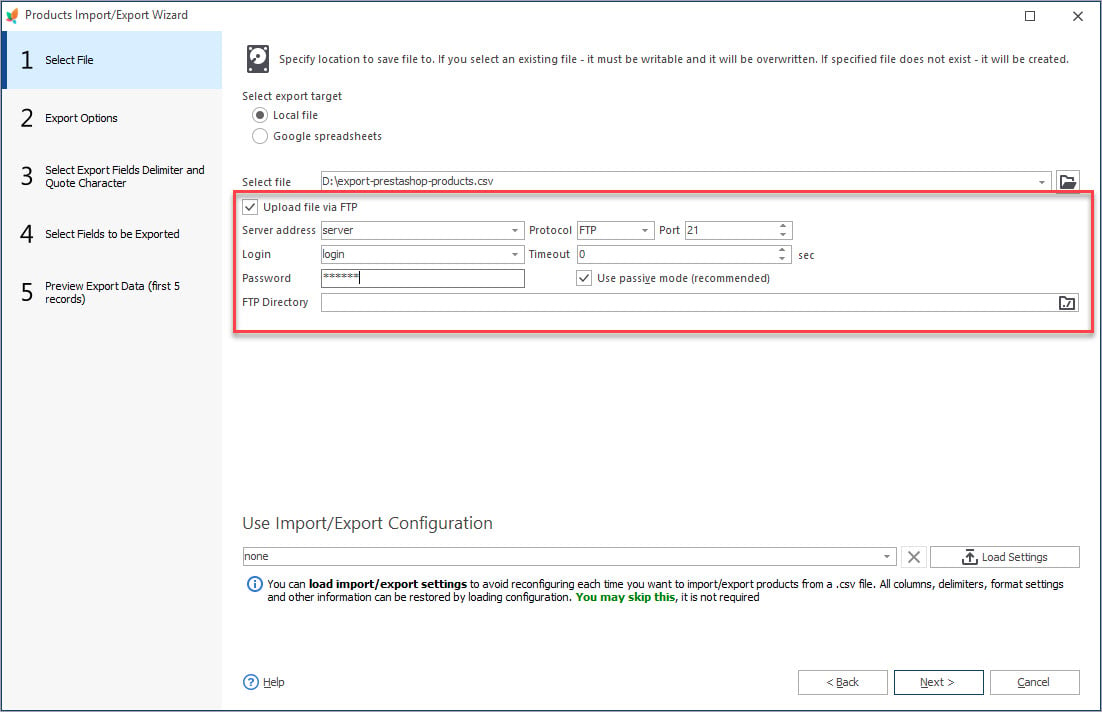
2. Select the Export File on Your PC or Specify Its Location
On the “Select File” step, you will be prompted to choose an existing file or create a new one by entering its name:
3. Export Options step allows to filter the products before export and set Advanced Export Options
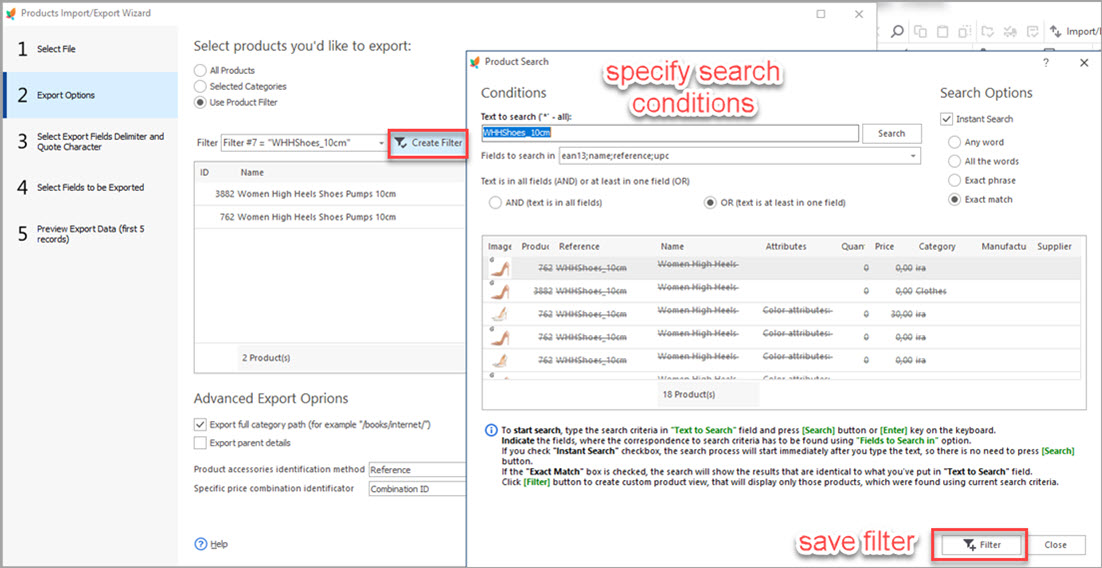
On the “Export Options” step, you can determine what products will be recorded to the file, be it all the products, products from selected categories, or filtered products. Press the “Create Filter” button on the toolbar if you want to select the products according to some specific criteria.
4. Select Export Fields Delimiters and Quote Character
“Select Export Fields Delimiter and Quote Character“ step stands for file delimiters and offers some extra options to help you adjust data export.
File delimiters that you specify here will be used for further file processing. When opening or importing the file back you will need to indicate these very delimiters.
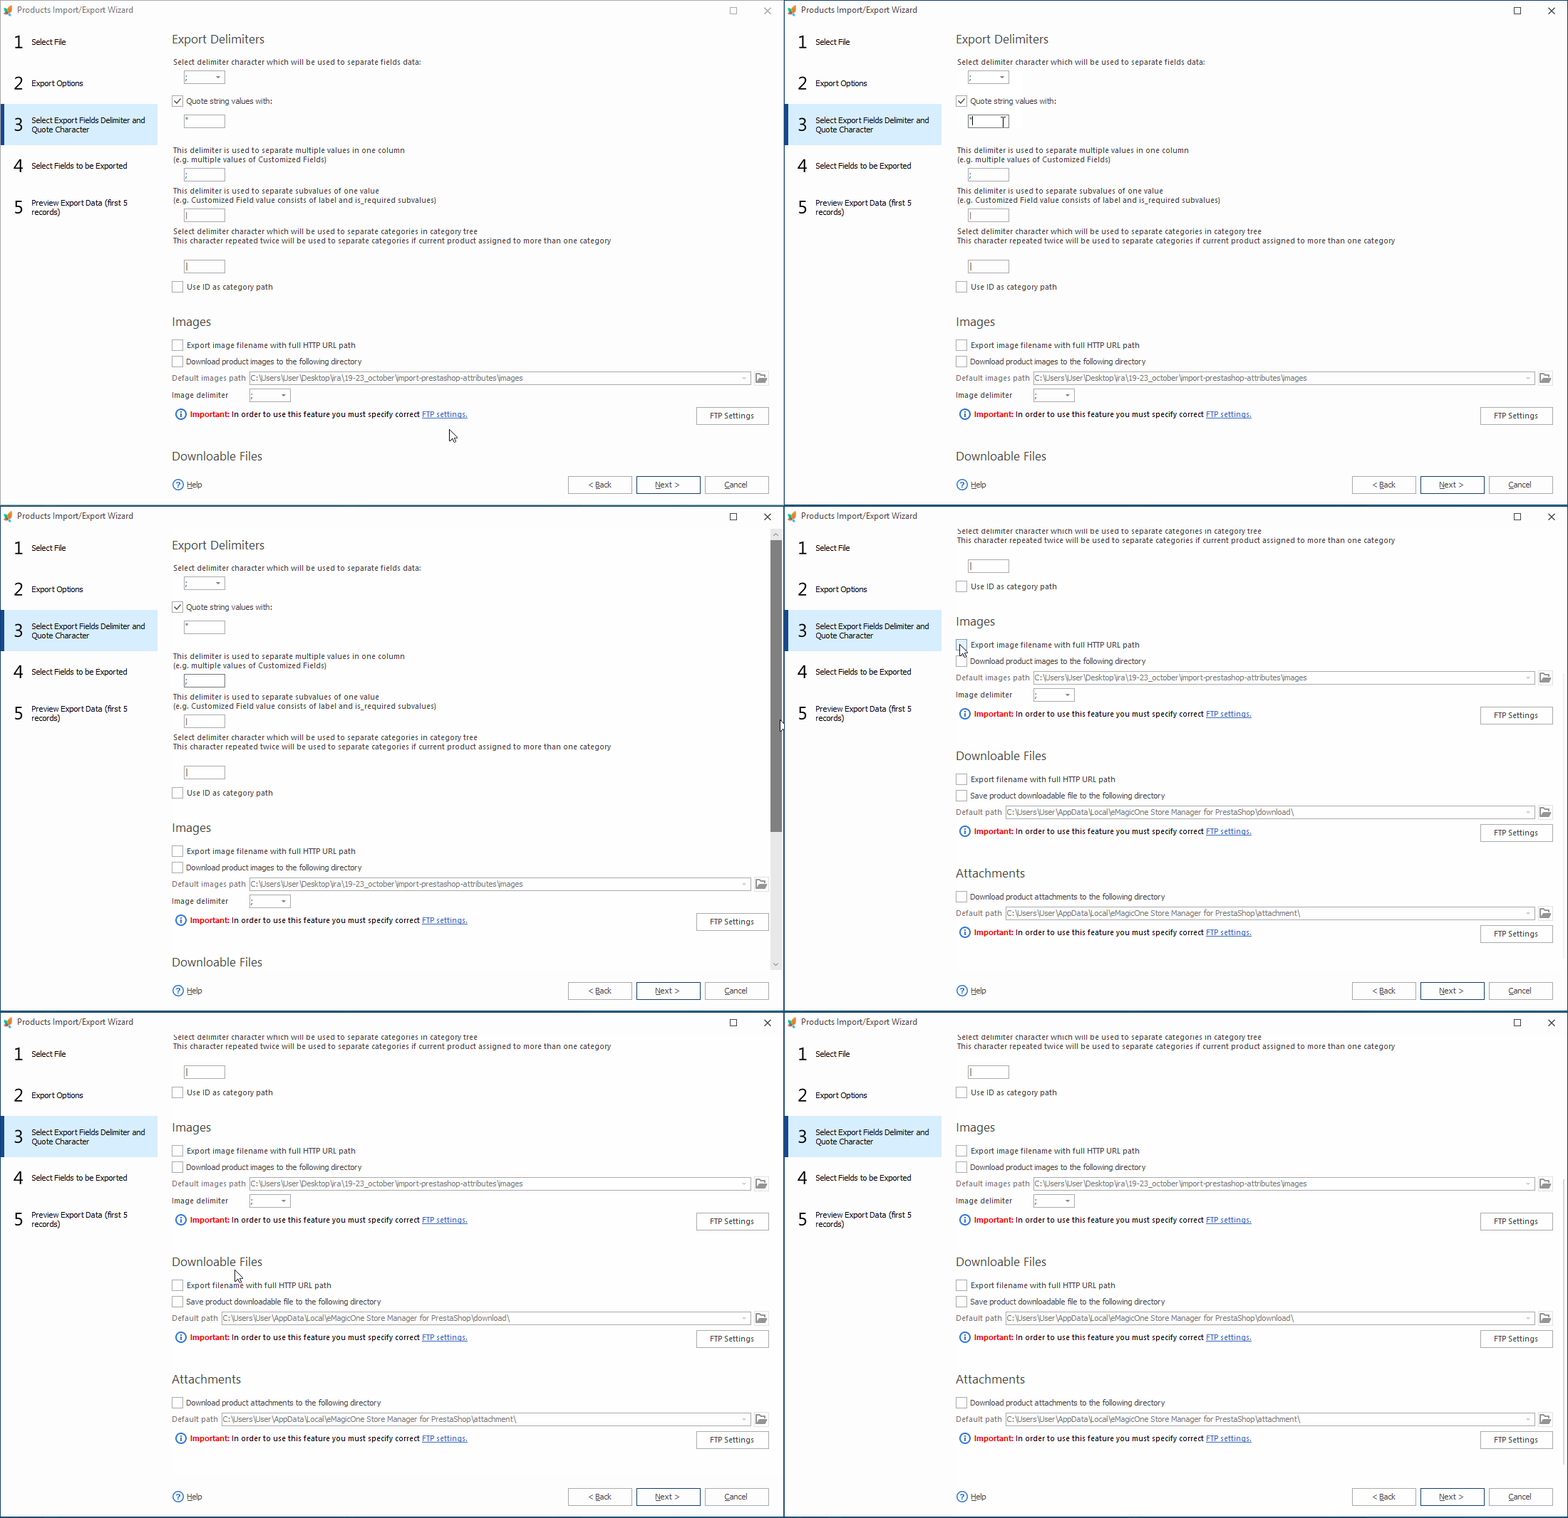
Export Delimiters:
- Select delimiter character which will be used to separate fields data – here, specify the character that separates columns in your CSV file.
- Quote string values with – specify the character used to separate strings within your CSV file. The delimiter may be disabled if none of the values are used.
- This delimiter is used to separate multiple values in one column (e.g. multiple values of Customized Fields) – if some of the columns in your file have multiple values in one cell (e.g customized fields, images), specify the characters they are enclosed with.
- This delimiter is used to separate subvalues of one value (e.g. a Customized Fields value consists of a label and is_required sub-values) – this option is used in case your file contains values and sub-values.
- Select delimiter character which will be used to separate categories in category tree – if your products are assigned to specific categories, the file should include the Category Path. This character repeated twice will be used to separate categories if current product assigned to more than one category.
- Use ID as Category path – this option is used in case you have categories IDs specified in your file (note, that if the file is provided by your supplier, category IDs may be different than at your store.)
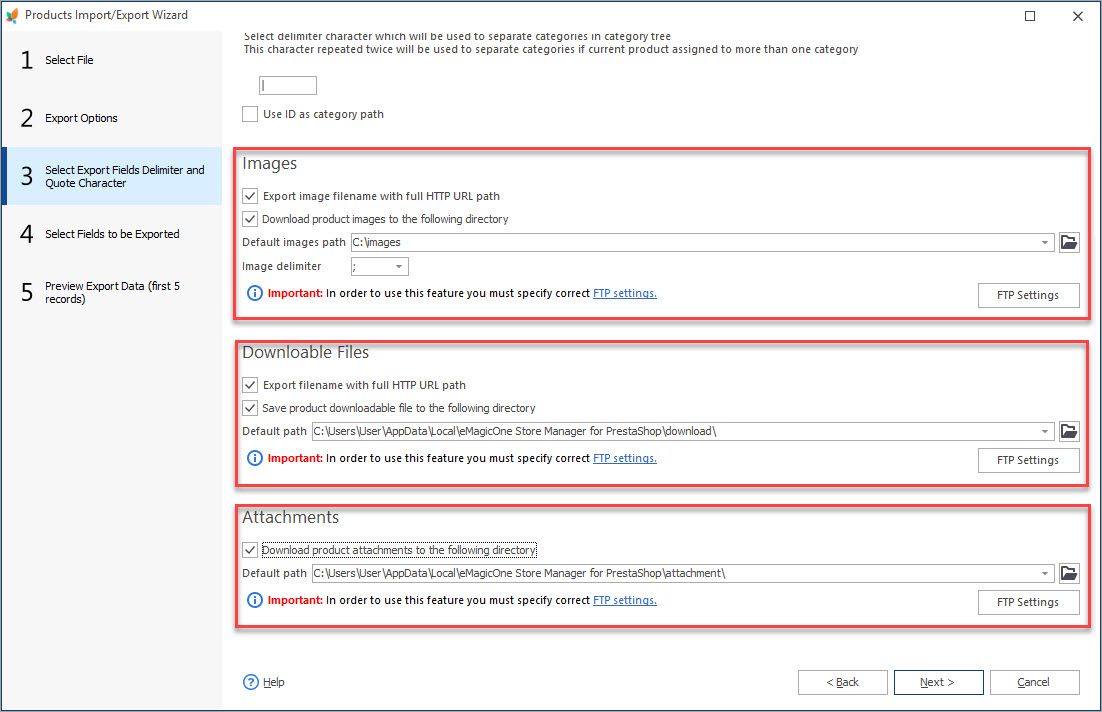
- Export image file name with full HTTP URL path – check this option, if you want to be able to upload images from the exported file during the Import.
- Download product images to the following directory – specify the path to the folder with images at your local PC.
- Image delimiter – if a product has several images specified in your file, select the delimiter that is used to separate them.
- Export filename with full HTTP URL path– check this option only if you want to export downloadable files for your virtual products.
- Save product downloadable file to the following directory – select the path to the folder to save downloadable files at your local PC.
- Download product attachments to the following directory – select the path to the folder to save downloadable files at your local PC.
Images
Downloadable files:
Attachments:

Having configured PrestaShop image export and downloadable files export settings, click “Next”.
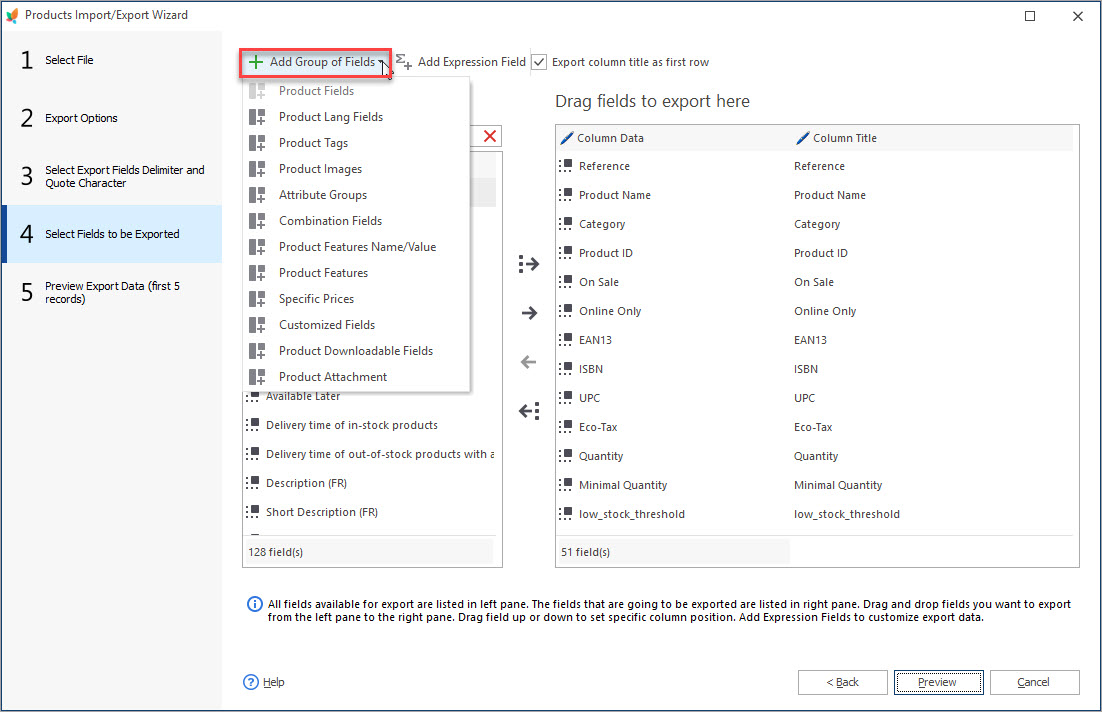
5. Select Fields to be Exported
“Select Fields to be Exported” step allows to specify what product details will be exported. Just double click on the necessary field or select multiple fields and drag-and-drop them to the right pane
6. Preview Export data
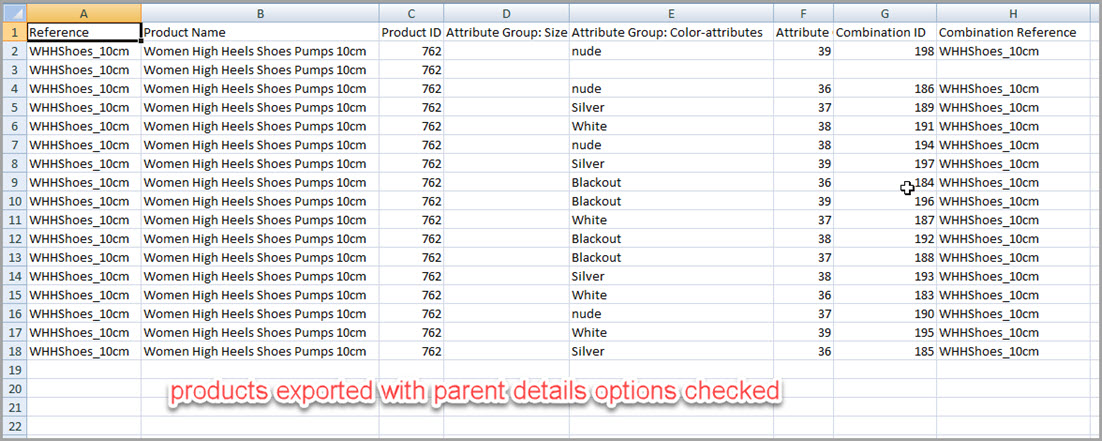
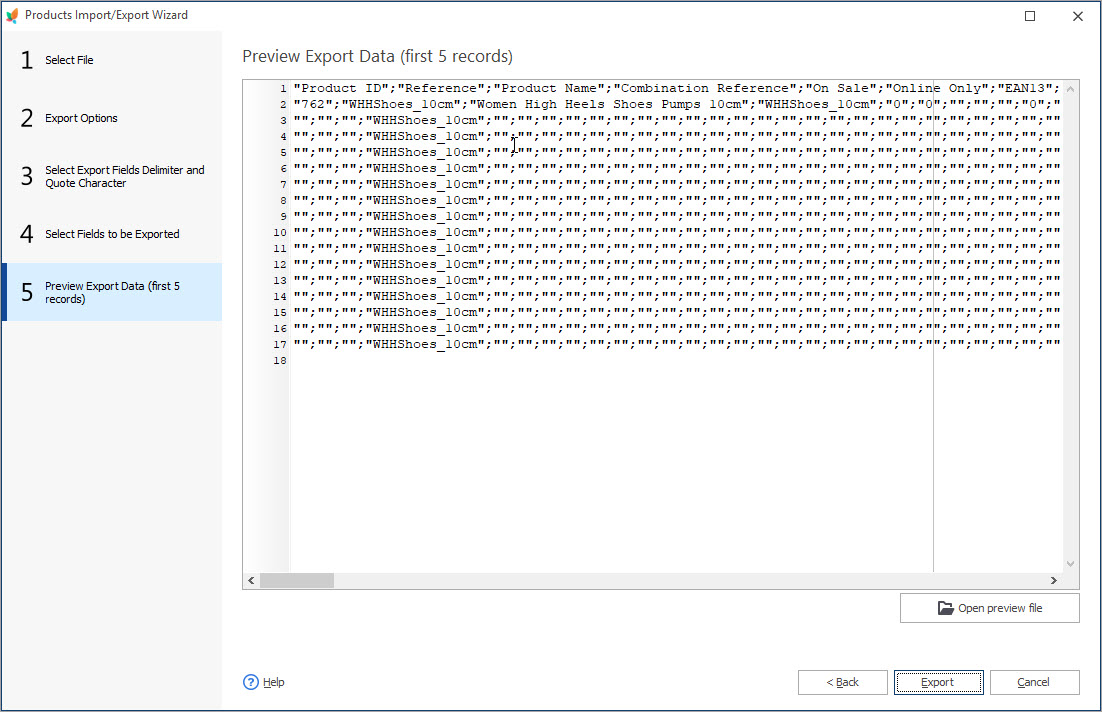
Now let’s check data at the “Preview”. The hint tells that there will be five first records shown, and you can see more. That’s because our products are exported with parent products. If we were exporting only simple products there would have been just five records.
This is the last step in the wizard. Press the “Export” button to complete the task. That’s it! Now you can check the file and use it as you wish!
Get necessary products details recorded to a CSV file using Store Manager for PrestaShop export tool.
Export products from PrestaShop FREE with Store Manager Export Now
Related Articles:
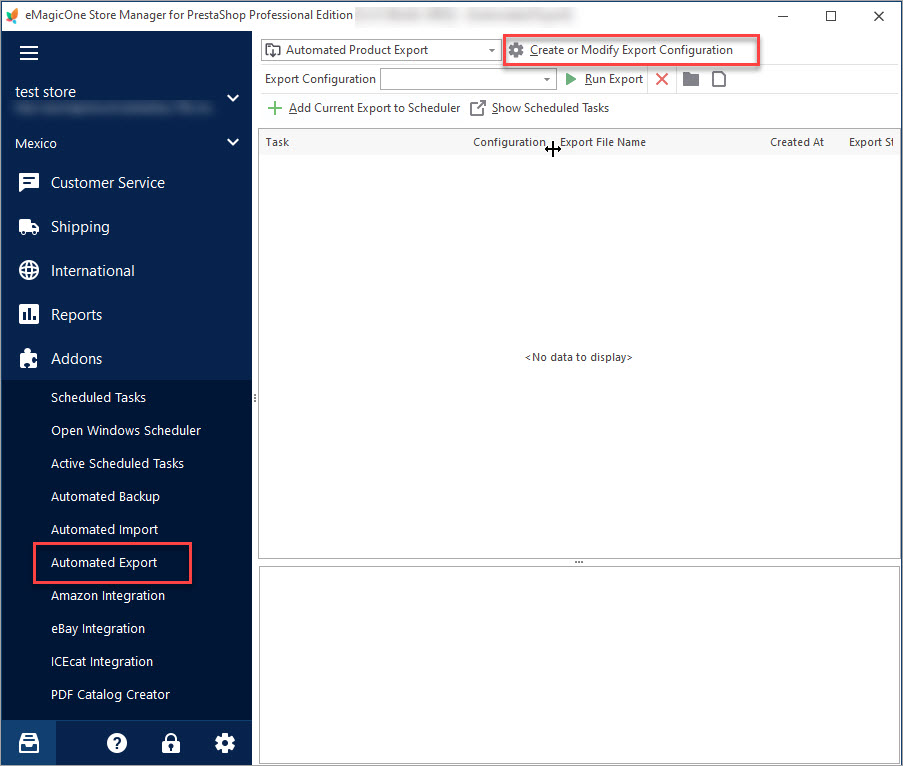
Set Up Scheduled Product Export to Create CSV Data Feeds
Use these instructions to configure automated cron job for PrestaShop export. Read More…
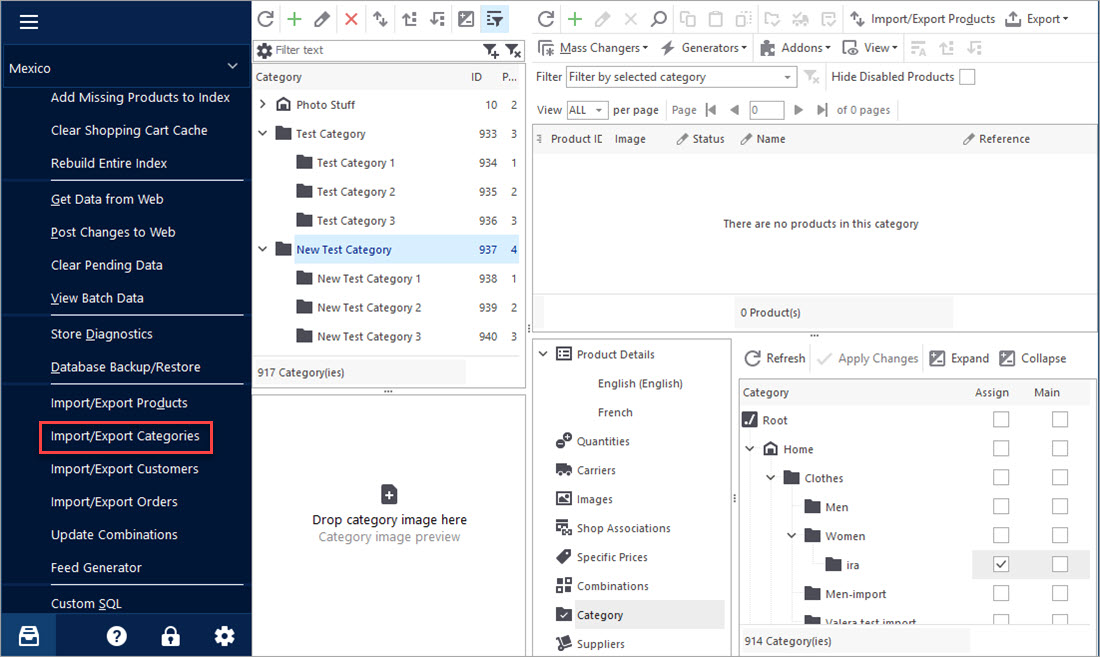
PrestaShop – Export Categories
Get a detailed algorithm of exporting the categories with products or exclusively category structure using export wizard. Read More…
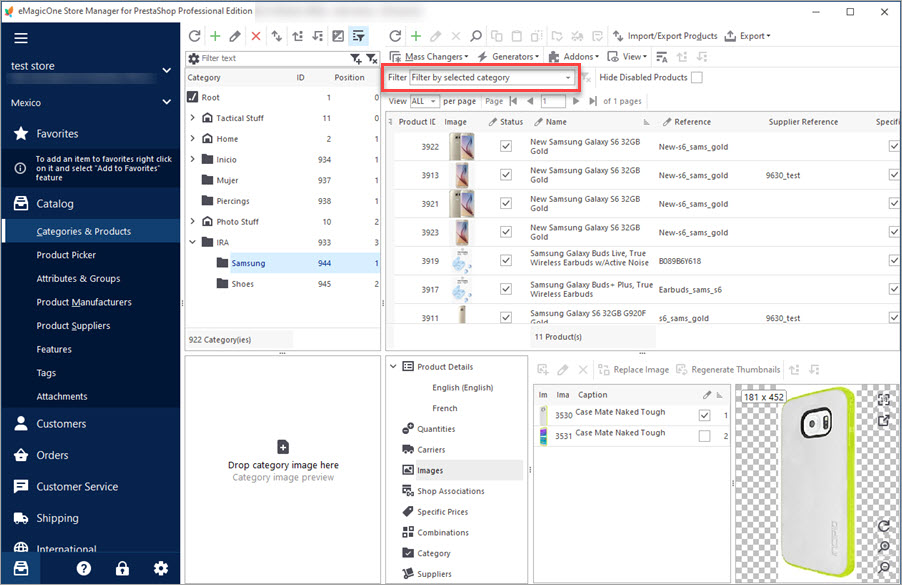
Export PrestaShop Products From Specific Categories
Discover all possible ways of exporting PrestaShop selected product information from specific categories. Read More…
Import Products to PrestaShop using Store Manager
Get insight into main PrestaShop import options including import method, handling products not included in imported file, category options etc. Read More…
COMMENTS
Hello, Alexis! Thank you for your comment. Please, make sure if you have no filters setup before or during export. In other case, please contact our support for assistance. Regards.


Hi, i have exported products but there are 3 missing in the file. Why could it happen? Please advise.