Looking for an idea to improve product search throughout your PrestaShop store and allow your customers quickly reach the wanted merchandise? PrestaShop product tags will help you out in this case.
What Are PrestaShop Tags? How Do They Work?
PrestaShop tags can be defined as searchable keywords or keyphrases, associated with your products. They are aimed to group and categorize inventory to further simplify storefront navigation.

All the tags, you have added to products, are displayed in a special block at the frontend. They represent links, so pressing this or that tag will redirect a customer to the product it has been assigned to. In this way, shop visitors will get the list of related products that may attract their attention.
Adding Tags in PrestaShop
To get tags displayed at the storefront, you should first link them to corresponding products. Store Manager for PrestaShop allows to assign tags manually or automate the task and import them from the file. Below in this post we will describe both ways.
Method #1: Assign Tags Manually
First it should be indicated that all PrestaShop product tags are stored respectively under Store->Tags section of Store Manager application. You can add desired keyphrases and keywords here and manage them using functionality disposed on the toolbar or in the context menu.

- Press ‘Add Tag’ option.
- Input tag in ‘Name’ field of edit tag window.
- Press ‘Add Product’ button below to reach items, current tag will be assigned to. Determine search conditions in product search form as it is shown at the screenshot.
Products, matching search conditions, will appear in Results field below.
- Select items, you want to assign tag to, and press ‘Add and Close’ button.
- The items, you have selected, will be shown in tag edit window. To fulfill product assigning press OK button.


PrestaShop product tags assigning can also be accomplished from product edit form side grid. Launch the edit window pressing a corresponding button in Store Manager or double click on product. Access ‘English’ tab in the edit form and input PrestaShop product tags in the field below.

Assign tags to products FREE with Store Manager for PrestaShop! Import PrestaShop Tags Now!
Method #2. Import PrestaShop Tags
Alternative way of bulk tag assign is to import them via Store Manager product import wizard.
Detailed step-by-step tutorial with all the settings described is available in this article Import Products to PrestaShop using Store Manager
We will draw your attention to main aspects related to PrestaShop tags import and points to consider to get tags assigned successfully.
- Tags should be provided for desired product in the import file, upload is going to be performed from.
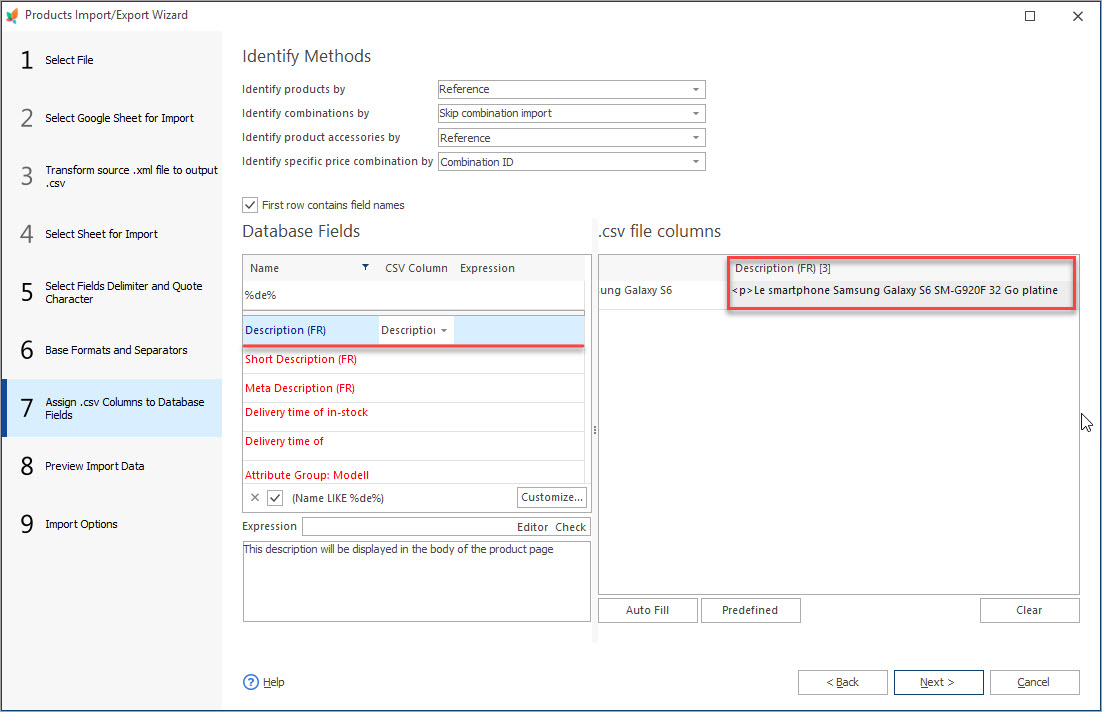
- Multiple PrestaShop tags being assigned to one item via import, separate them by a delimiter within one column.
- Specify the same terminating character on “Select Fields Delimiter and Quote Character” step of the import wizard (see the screenshot).
- Select proper product identifier and map file columns to respective PrestaShop database fields.
- Configure options on the last wizard step and click Import button below to import PrestaShop tags


After import, Tags will be assigned to products, as you have linked them in the file. They will automatically fall to Tags section and will be assigned to specific language.

Simplify your site navigation and improve product search adding tags to your inventory – assign meaningful keyphrases to products in bulk using Store Manager for PrestaShop.
Assign tags to products FREE with Store Manager for PrestaShop! Import PrestaShop Tags Now!
Related Articles:

Make Product Search Precise with Layered Navigation
Find out how to activate layered activation at your store and create filter templates. Read More…
How to Import Multi-Lingual Product Details to PrestaShop
Set import file with products information in multiple languages. Widen your clientele by making your store multi-lingual. Read More…
Make Products and Categories Displayed for Specific Shoppers
Check the way to set some of your products or categories to be shown only for specific customer groups via Import Wizard. Read More…
How to Update Stock Availability Notifications in Bulk
Find out how to massively attach stock availability notification to PrestaShop products via import or Mass Product Changer. Read More…
COMMENTS

