When you decide to move data to new website for some reason, you’d like to copy orders, since they keep essential information about sales, made at your store throughout definite period of time. To make this task less challenging and more consistent, you may consider PrestaShop order import.
Order import facility has been introduced to Store Manager for PrestaShop PRO Edition recently (version 2.29.1.1683). Using this or newer application version, you can accomplish PrestaShop order import using assisting wizard.
This extended tutorial covers the entire procedure of PrestaShop order import from .csv performed through Store Manager and contains screen captures for better visualization.
What Fields Should Import File Include?
To create an order record through import, it is required to have data in the following .csv file columns:
- Order ID – this field stands for order ID
- Order Reference – insert order number in this field
- Payment Method – indicate payment method used by customer for each order to be created
- Payment Module – add payment module respectively in this column
- Total Discount – provide order total discount value
- Total Paid – insert total paid value
- Total Price for Products – specify total product price in the file
- Total Price for Product without Tax – indicate total product price excluding tax value
- Total Shipping – indicate total delivery cost value
- Total Wrapping – add wrapping cost for each order you are going to upload
- Status – order status must be specified in this field
- Gender – customer gender must be indicated (Mr./Mrs.)
- Firstname – specify customer firstname
- Lastname – add customer lastname
- Customer E-mail – email address of customer, that has place the order, should be specified here
- Delivery Address 1 – indicate shipping address for order to be uploaded
- Delivery City – specify what order delivery city is
- Invoice Address 1 – make sure this field contains invoice address
- Invoice City – add city name in this field
- Product Name – provide name of product, each of imported order contains
- Product Quantity – indicate how many items of each product the order contains
- Product Price – specify regular product price
- Product Reference – insert ordered product reference in this column
Each order takes separate row in the .csv. If an order contains more than one product, it takes as many rows as many products it contains. Order details will be duplicated for each of items.
Download sample of .csv file for order import Click to Download
Having these details you will be able to create order record at target PrestaShop store. If you want to create customer or addresses, they should be specified in the source file. Generally, all the characteristics of PrestaShop import orders file can be gleaned from exporting existing orders via export wizard respectively. Detailed order export guidance can be found in this article – https://www.prestashopmanager.com/useful-articles/prestashop-orders/export-prestashop-orders-quickly-and-with-ease/
Configuring PrestaShop Import Orders Settings
Before you upload .csv storing sales, you need to configure settings within import wizard. Keep to steps outlined below and consider highlighted recommendations to create orders properly.
Familiarize yourself with the points listed below before appending order data.
- Orders are uploaded to the shop, that is currently selected in “Select your shop” dropdown in “Categories&Products” section of Store Manager.
- Import fulfills order creation only, therefore you can create new records, but not update existing ones.
- Customer addresses can be created in the course of order import, if you have all address related fields in .csv file.
- Customer accounts can be created during order upload, if they do not exist on target store.
- Products can’t be created, even if you have maximum possible details in the PrestaShop import orders file. If ordered products do not exist at target store, details provided in the file will be used to describe product in the order afterwards.
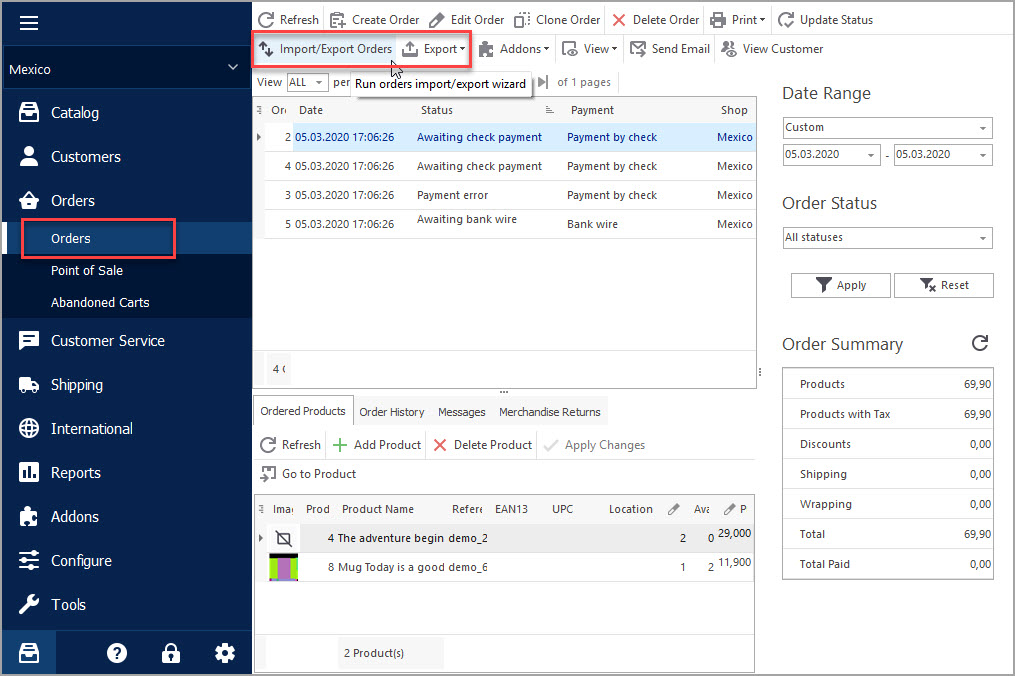
- Navigate to Tools->Import/Export Orders or access order import wizard from Order section of Store Manager. Click Import action at the starting page.
- Select .csv or .txt file sales information is arranged in.
- Make sure file delimiters are set properly and look through data in preview box.
- Set identifiers for all entities and complete mapping configuration on the following PrestaShop order import from .csv step
- Set upload options at the last step of sales import.
- Having set these options, confirm order import and view summary.


Import Orders to PrestaShop FREE with Store Manager for PrestaShop
Import Now1. Order identifier – it is possible to identify orders by their Reference or ID. Both fields are required and must be filled in source file.

Whatever identifier you select from this dropdown, its value should be unique for each order. If, for example, you select reference as identifier, and there are two orders having identical reference, only one of them will be created in the process of import.
2.Customer identifier – this dropdown lists two options – customer ID and e-mail address. In case customers are available at store, you upload orders to, you can identify them by ID. On contrary, e-mail address must figure as identification method.

3.Address identifier – Prestashop import wizard lets you identify addresses by multiple fields – first name, address 1, city, VAT number, etc. It is recommended to apply several fields to make addresses identification more accurate. Address ID can be used as identifier if it exists for current customer at target store.

4.Product identifier – check box for product details that will be used as identifier.

The mapping process can be fulfilled easily in case .csv file columns are titled identically to database fields, what is true if you exported file with Store Manager. Ensure all required fields as well as identifiers are mapped.

First you need to choose between two import methods – “Add Only” or “Just Add”.
The first method lets you create orders by selected identifier (when Reference is chosen as identifier) without checking whether order with such an identifier already exists at PrestaShop.
You can also notice “Update product stock” checkbox at this step. This option lets you subtract stock for products (if they exist at the store, to which you upload the orders) if uploaded orders contain them.

Important
In case “Update product stock” option is enabled, but this product does not exist at store, you import orders to OR its stock is not sufficient, the order WON’T BE CREATED
PrestaShop order import is certainly an important part of data transfer that can be performed flawlessly with Store Manager for PrestaShop application.
Related Articles:
Export PrestaShop Orders Quickly and with Ease!
Use these instructions to easily export order data to CSV, XML and HTML via Export Wizard. Read More…
Why I Cannot Create Order in PrestaShop POS?
Get the list of solutions to a bulk of PrestaShop order management troubles. Read More…
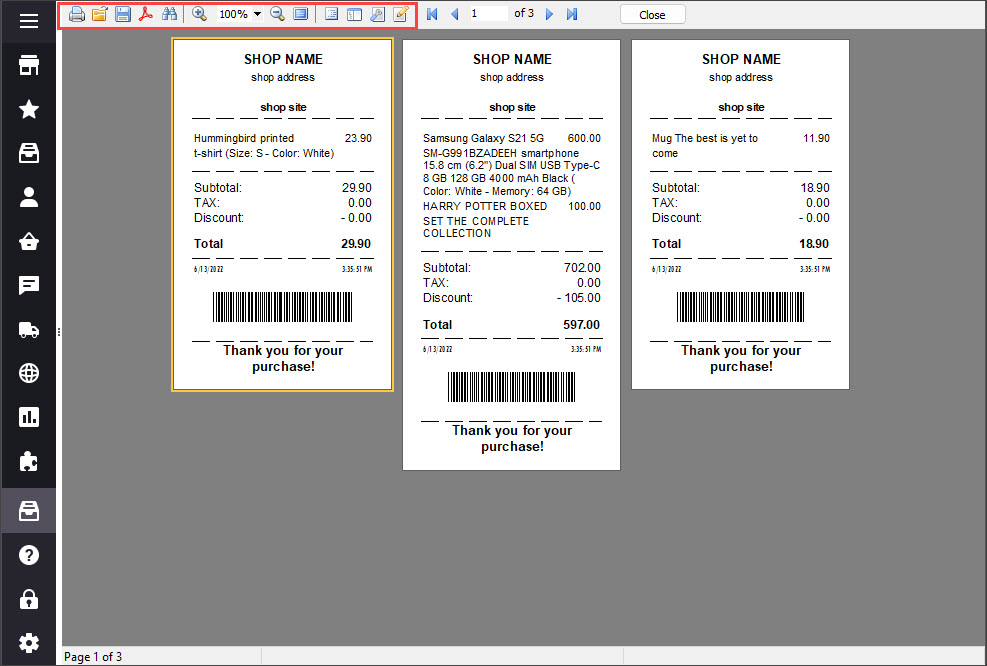
Print PrestaShop Receipts via Till Printer
Check the way to print PrestaShop till receipts in few clicks. Read More…
How to Modify PrestaShop Invoice?
Customize your PrestaShop invoice changing its logo, layout etc. Read More…
COMMENTS

