When you need to analyze order information over a set period of time, it is convenient to export data to Excel or Google Sheets. Here you can apply various filters, make reports, print the file, etc. In this article, we will show you how to export orders to Google Sheets with Store Manager for PrestaShop.
Here are the main steps to export PrestaShop Orders to Google spreadsheets with Store Manager:
- Launch the import/export orders Wizard and select Export.
- Connect Store Manager to your Google account and select the file you want to export data to.
- Specify export options.
- Select field delimiters and quote characters.
- Select fields to be exported.
- Review the output file and finish the export.
Major Steps in the Process of PrestaShop Orders Export To Google Spreadsheets
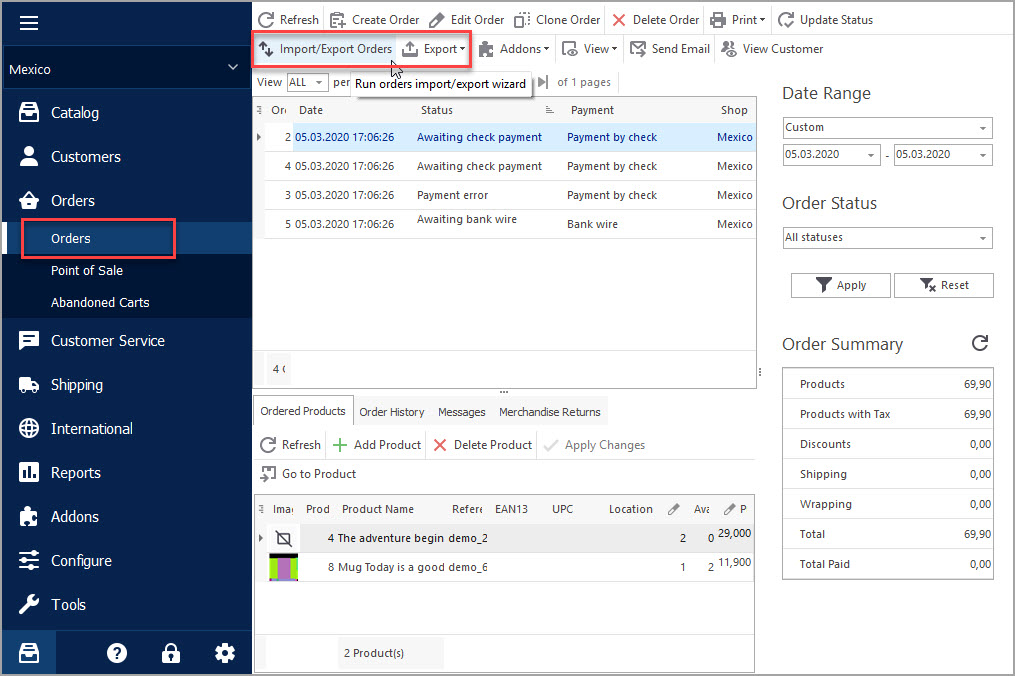
An Export Wizard in Store Manager will help you to perform PrestaShop Orders Export to Google Spreadsheets step by step. Begin with opening the “Orders” section in Store Manager or Select “Import/Export Orders” under “Import/Export” to and launching the Wizard.
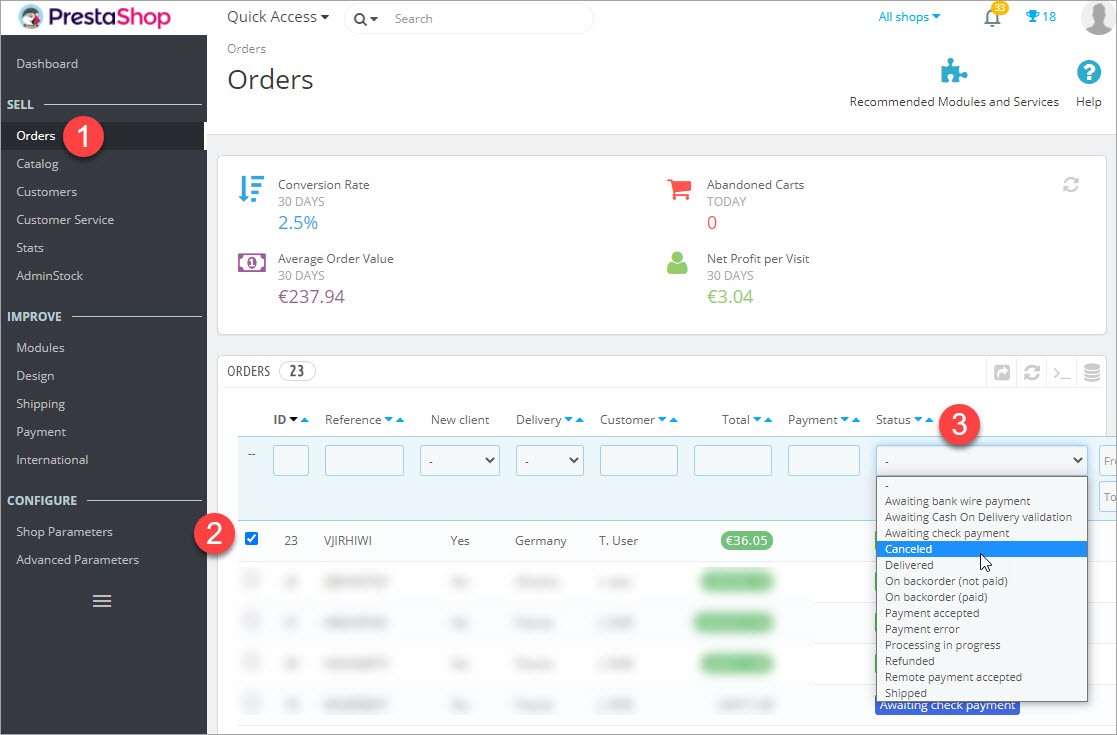
Important note: if you want to export selected orders apply the filter before the export.

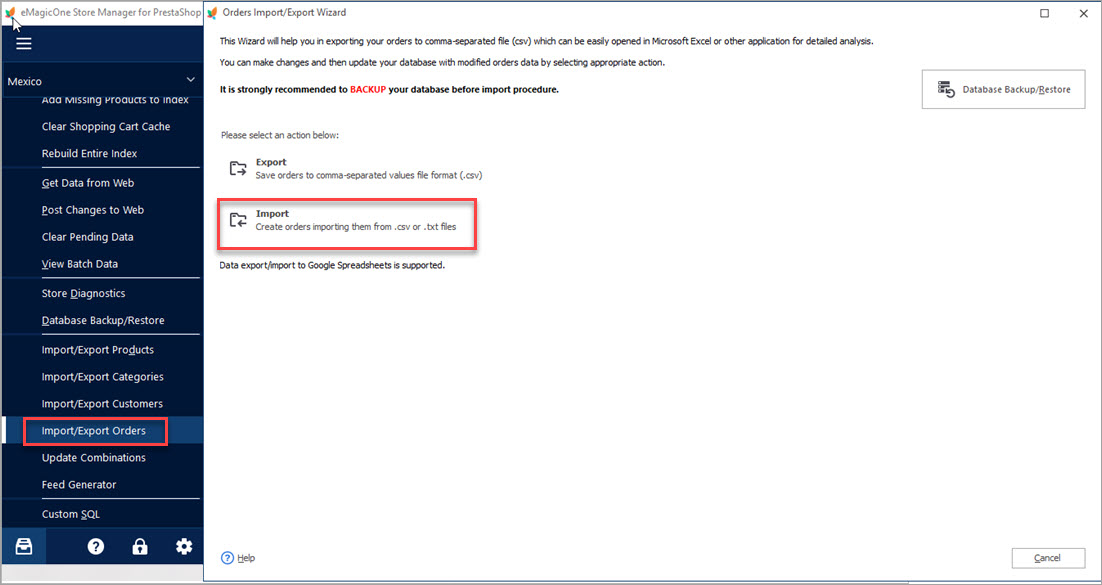
1. Launch the Import/Export Orders Wizard and select “Export”.
In the Wizard window choose “Export” from the list, and you will be automatically redirected to the next step:

2. Connect Store Manager to your Google account and select the file you want to export data to.
On the second step, the Wizard will ask you where you want to export data to. Select “Google Spreadsheets” from the list. Then press “Add account” link, enter cloud storage name and press OK:

You will be redirected to the Google Authorization Window in browser. Sign in with your account:

Follow these steps to allow access to your account and complete verification:

Сonfirm that you grant Store Manager addon access to your account by clicking “Allow”:


Review your choices and click “Allow”:

Finally, you receive a message that authentication was successful

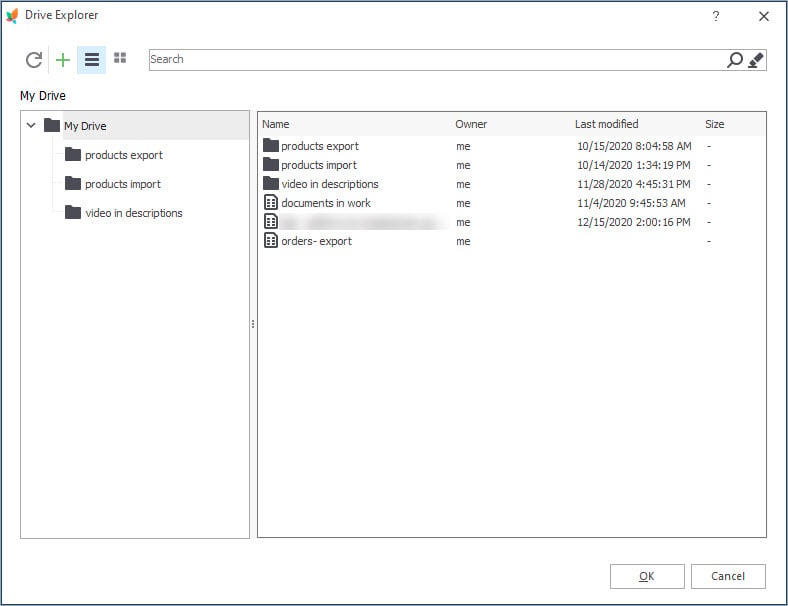
After that, you will be redirected back to the Store Manager Export Wizard. Now you should choose a Google Sheet on your Google Drive by clicking the “Browse” button:

You will see a list of files on your Google Drive. Choose an existing file or create a new one by clicking a green plus pictogram:
After selection, you will get back to the Export Orders Wizard. Now specify whether you want to replace values in the sheet, append values to the sheet or insert a new sheet. And press “Next” to proceed with export:

3. Specify export options.
If you need to export selected orders and you filtered them before export, switch to “Only selected orders” option. Need to export full order history – then leave “All orders” button switched on. Press the “Next” to proceed to the next step:

4. Select field delimiters and quote characters.
We recommend to keep default values if you’re not sure which characters to use:

5. Select fields to be exported.
Use green arrows to add necessary fields to the exported file. Use “Filter” to find fields by their names. When you are done hit the “Export” button to launch the process:

6. Review the output file and finish export.
On the final step, the Wizard will offer you to copy url to the clipboard or open the exported file. Review the data in the file and press the “Finish” to close the window.

Now you know how to perform PrestaShop order export with Store Manager Import/Export Wizard.
Get Store Manager for PrestaShop to speed up your routine operations! – Get Now
Related Articles:
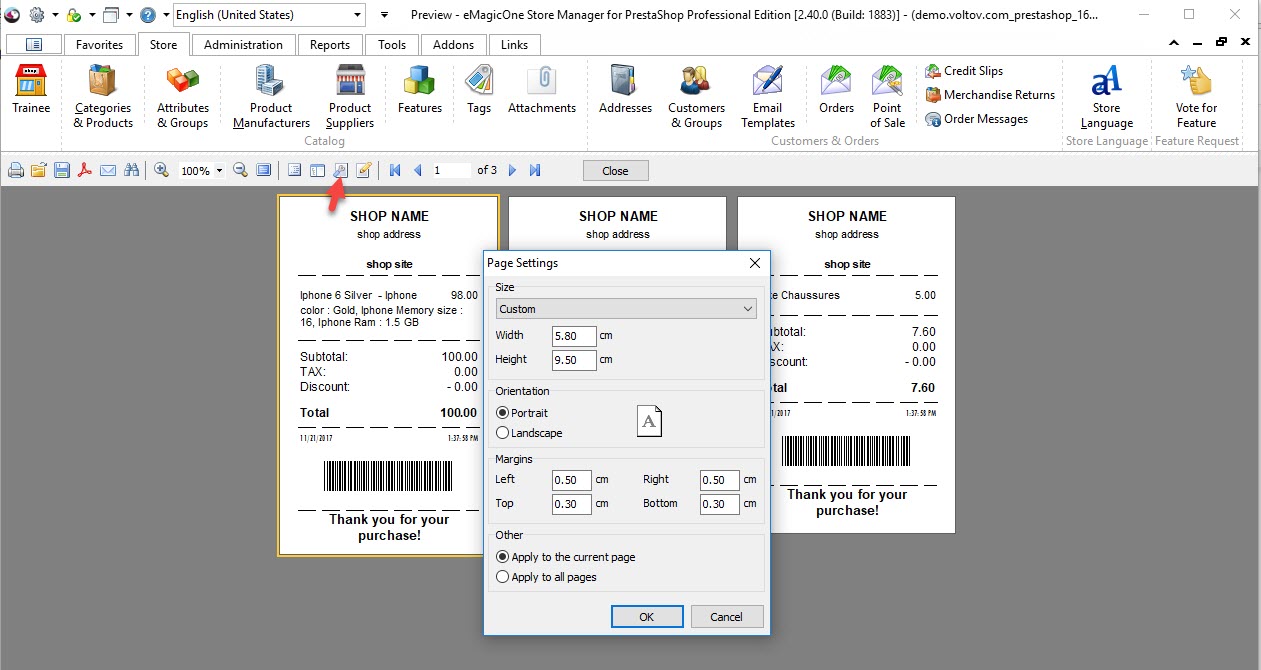
Print PrestaShop Receipts via Till Printer
Check the way to print PrestaShop till receipts in few clicks. Read More…
How to Import Orders to PrestaShop
Find out what should orders import file include and how to configure it’s upload settings. Read More…
Export PrestaShop Orders Quickly and with Ease!
Use these instructions to easily export order data to CSV, XML and HTML via Export Wizard. Read More…
How to Delete Orders In PrestaShop
Discover a bulk of methods to remove your test orders. Read More…

