When you are selling some branded products it’s worth adding a brand/manufacturer name to them in your PrestaShop store. Firstly, when a manufacturer or brand becomes well-known, its name serves as an additional incentive for customers on your website. Secondly, it helps to get displayed in the search results when people are looking for some particular brand. And, lastly, it makes the navigation of your store more convenient.
Where is a Product’s Brand/Manufacturer Reflected in PrestaShop
In the default PrestaShop installation, the Manufacturer/Brand name is not displayed on the product page. Brands are shown in the left column as a menu, so shoppers can filter products by a brand. Though, it is possible to add a brand’s logo on the product page via customization or some module.

How to Add New PrestaShop Brand to a List
If you manage your catalog through the native PrestaShop back office, here are the steps to add a new brand:
Open Catalog -> Brands&Suppliers section. Here you can see 2 tabs to manage Brands and Suppliers. Stay in the “Brands” tab. Specify the brand’s name and associate it to at least one shop (if you use the multi-store feature).

You can manage previously added Brands or add a new one by clicking the “Add New Brand” button.

Here are also the following fields to fill in: logo, short description, description, meta information. These fields are optional but useful for better ranking of your website by search engines.
New Brands are automatically enabled. You may disable them if they do not contain any product yet.
Once a new brand is added, you have to “Add new brand addresses”

Under “Add new brand addresses” select the new Brand name from the drop-down list, and fill all required fields ( Last name, First name, Address, City, Country) and save it.

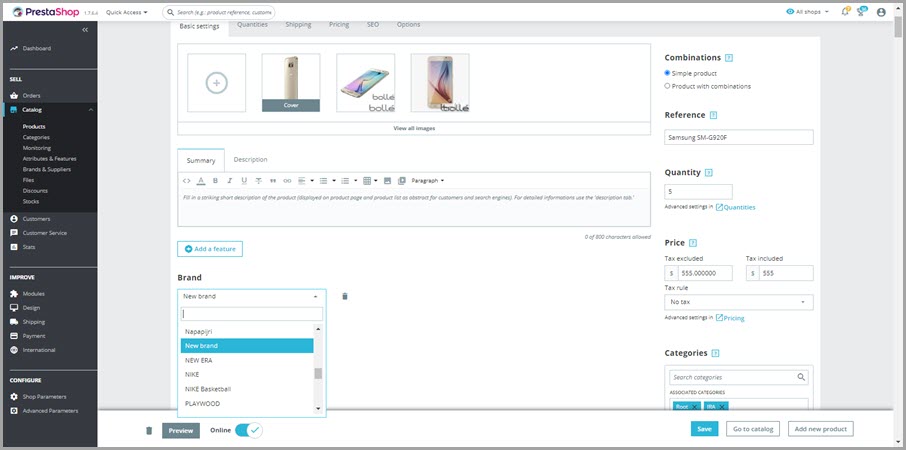
Now you can add new Brand to your product
Operations Over the Manufacturer/Brand with Store Manager
Store Manager for PrestaShop offers the possibility to work with Manufacturers/Brands performing the following actions:
- Add a new Manufacturer/Brand.
- Edit existing Manufacturer/Brand from the list.
- Remove Manufacturer/Brand you are not working with anymore (in bulk).
- Massively associate selected Manufacturers/Brands to a particular shop of your website.
- Export Manufacturers/Brands info into Excel or HTML format.
- Add a logo.
These operations are possible to call out with the help of buttons in the menu or in context menu appearing after right-clicking at any product.

Associate Products with Manufacturer/Brand One-by-One
One-by-One
In the PrestaShop back office, to link appropriate products to Manufacturers/Brands from the back office, you need to go open each product’s edit form and then select a suitable Manufacturer/Brand in the drop-down list. With Store Manager for PrestaShop, things are much easier since there is no need to open the edit product form each time. You can move through the product list and quickly assign a Manufacturer/Brand to each product:

Associate Manufacturer/Brand to Multiple Products at Once.
Store Manager allows you to assign PrestaShop Manufacturer/Brand to multiple selected entities from your catalog in bulk.
Steps to Bulk edit PrestaShop Manufacturers/Brands:


Use Store Manager for PrestaShop to manage Manufacturers/Brands one by one and in bulk!
Related Articles:
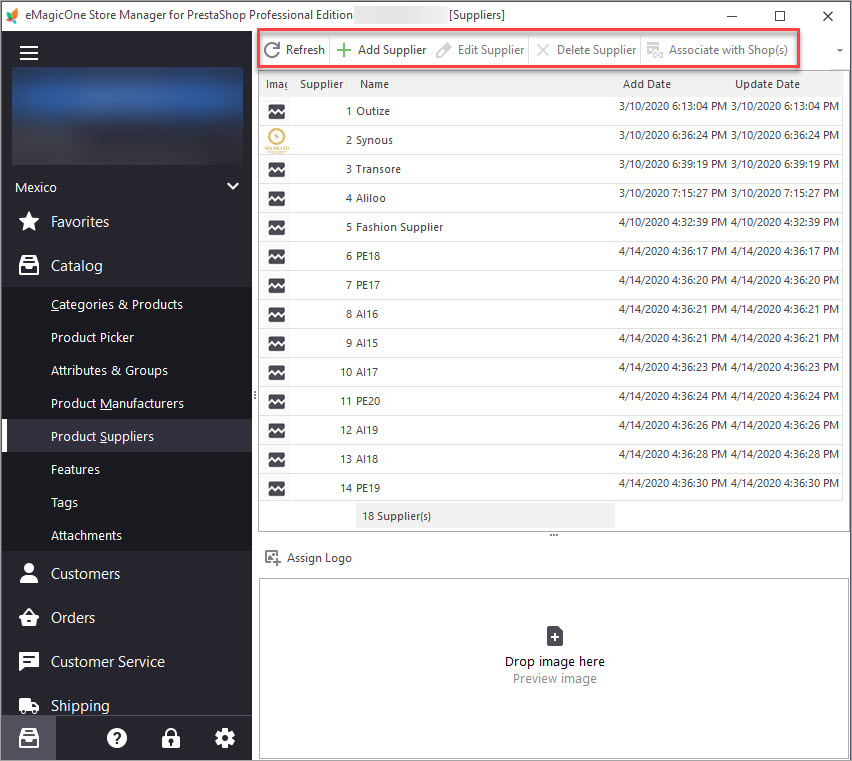
PrestaShop Product Suppliers
Generate suppliers lists and assign them to products via Store Manager. Read More…
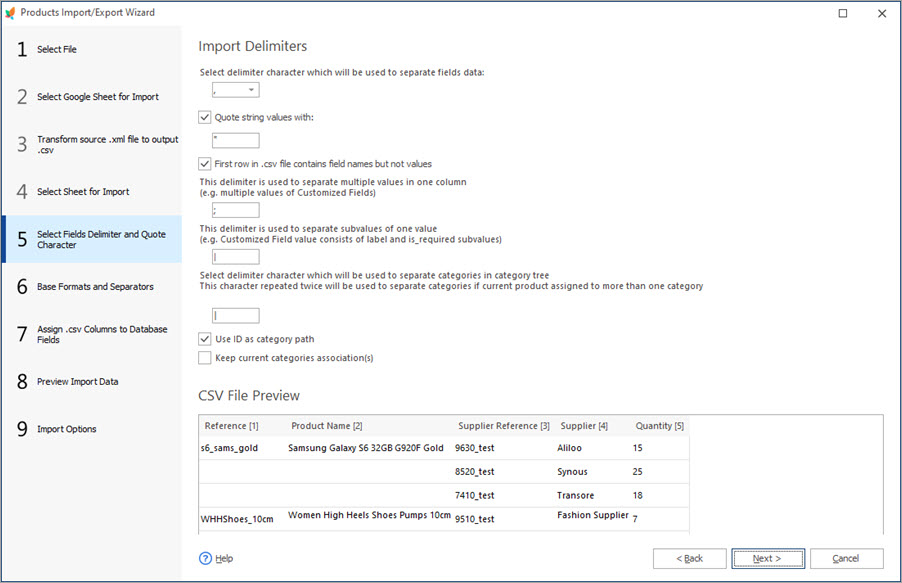
How to Bulk Assign Product Suppliers Via Import
Check import file structure and configuration settings to assign product suppliers. Read More…
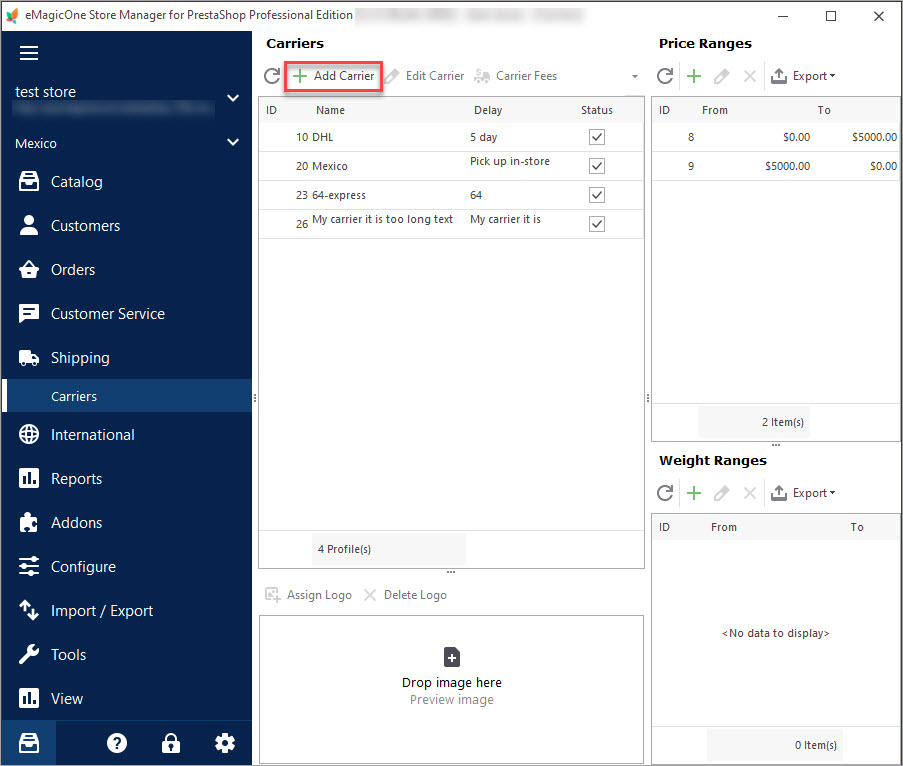
PrestaShop Carrier. How to Create Shipping Carriers
Use this guide to create PrestaShop Carrier (set shop associations, shipping fees and assign carrier to products). Read More…
PrestaShop Employee
Administrate your store conveniently: create employees accounts and manage their permissions to access your store. Read More…
COMMENTS

