Opportune and straightforward PrestaShop customer handling is a necessary part of a successful PrestaShop store running. It includes engaging new clients, monitoring current ones or delisting some of them from the store database if needed, etc.
To neatly organize PrestaShop customer list and not to miss any details, store owners have to develop well-structured clients management scheme. Store Manager for PrestaShop will come to the assistance and help you logically organize your clients’ data.
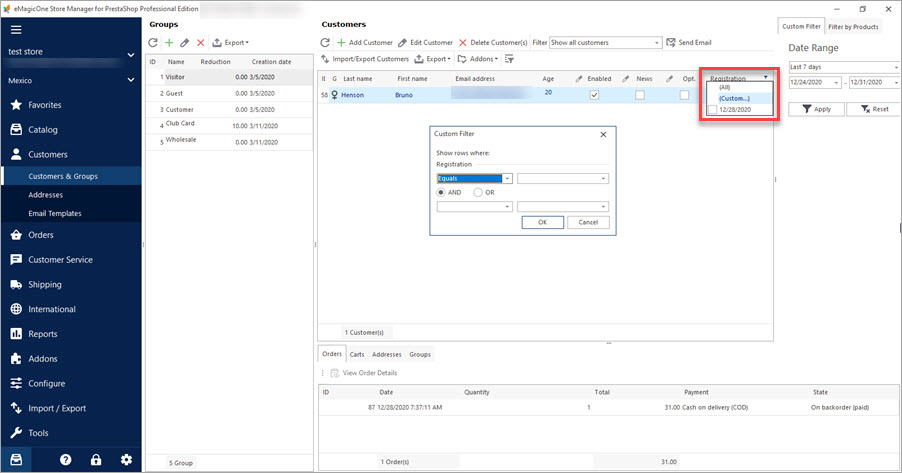
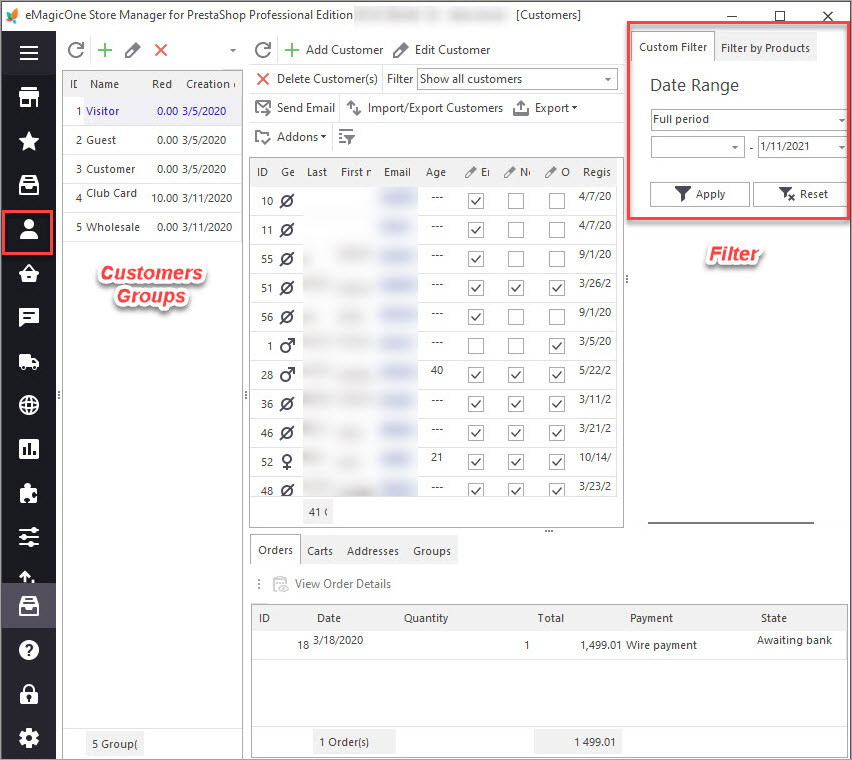
First of all, it should be emphasized that such data can be administrated in the special Customers and Groups section of the application. Once you switch to this section, you will see them arranged as follows: groups are being listed in the left pane of the window; to the right, you can notice customers filter options; PrestaShop customer list is placed between the above-mentioned windows.

What can be achieved while arranging PrestaShop customers with Store Manager for PrestaShop application?
Create PrestaShop customer
To add a new client to your database, input details in Edit Customer form, which can be opened by pressing a corresponding icon on the toolbar.

The following customer’s information has to be specified:
- name;
- password for logging in to your store;
- e-mail address;
- birth date;
- gender.
Below you can find checkboxes for setting the client’s status and newsletter subscription. Setting status, which is specifying whether the current customer is active or not is used for enabling or disabling the account. In order to subscribe new client to your shop newsletters, check the ‘Newsletter’ box. Checking the opt-in box you agree that the client will receive advertisements from your partners.
In the window below you can assign the current PrestaShop client to the necessary customer group by checking a corresponding box.
Modify enlisted PrestaShop customer data
Sometimes you might need to edit details concerning the client. There is a corresponding option available on the customers toolbar. Either click on it or double click on the client ‘Edit Customer Data’ form. Modify the required fields and press ‘OK’ to apply implemented changes.

Remove PrestaShop customers from the list
“Delete customer” icon can be found on the toolbar or in the context menu. To do this, press the corresponding button and confirm the deleting in the dialog box.

In case the connection has been changed, press the ‘Refresh Data’ icon to view the renewed list. Using Store Manager for PrestaShop you can apply various customer filters: “Filter by products”, “Filter by date”, or “Filter by group”.
Make PrestaShop customers management straightforward and efficient with Store Manager for PrestaShop application – https://prestashopmanager.com
Related Articles:
Mass Operations over PrestaShop Customers
Export or remove customers massively. Filter customers by group. Read More…
PrestaShop Customer Export
Get the detailed instruction of how to easily export PrestaShop customers with the help of Import/Export Wizard. Read More…
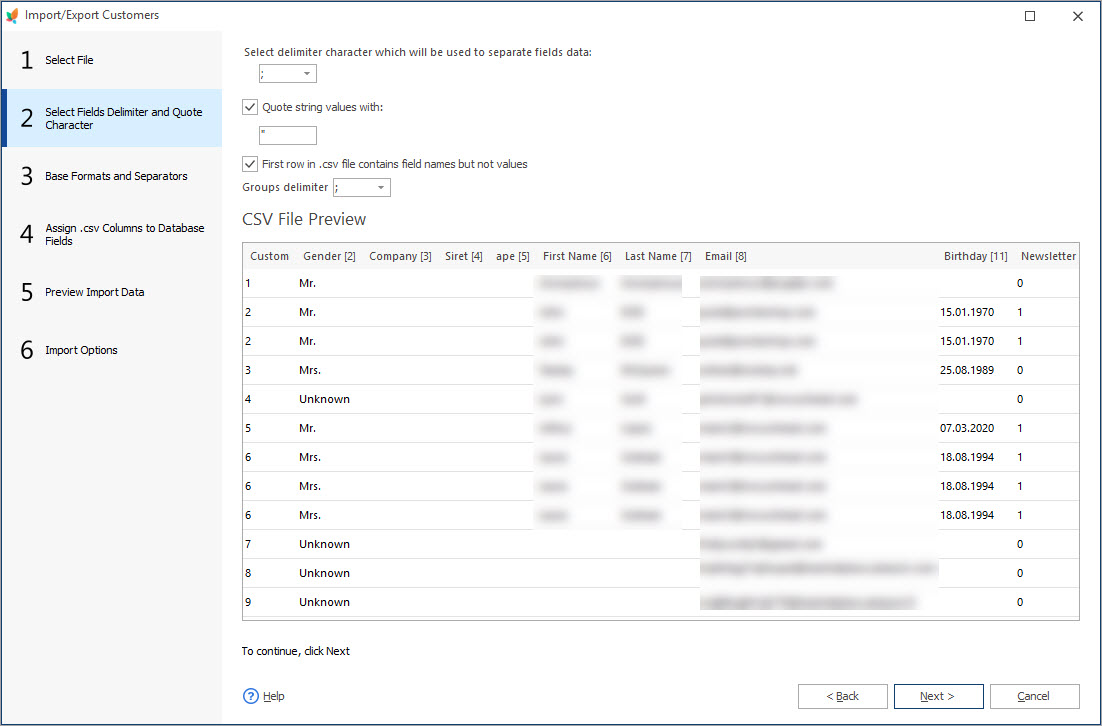
PrestaShop Customer Import
Check detailed guides on how to import customers .csv file to PrestaShop via Import/Export Wizard. Read More…
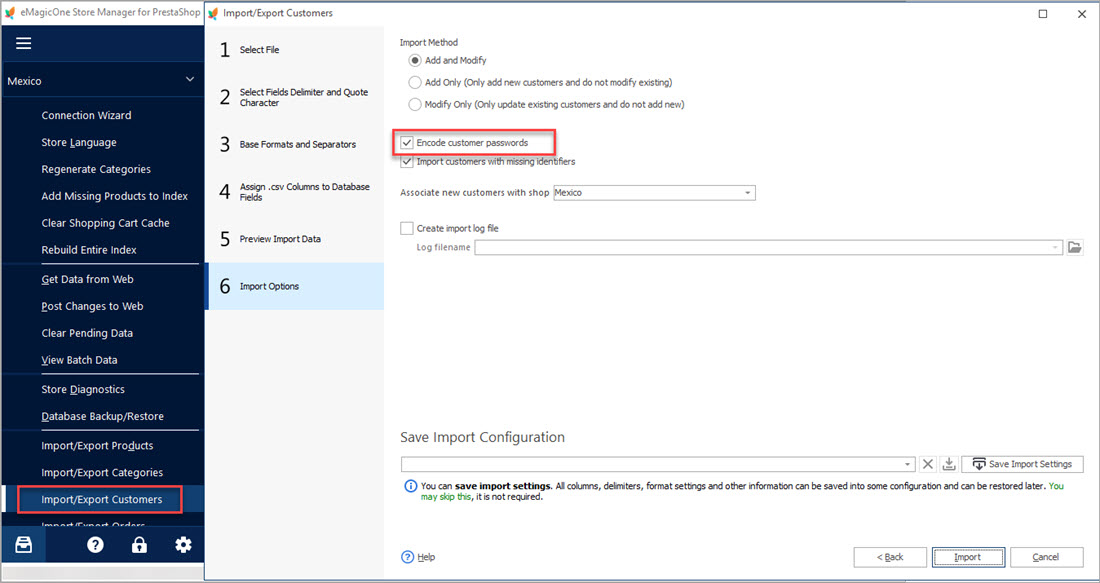
Migrate PrestaShop Customers with Passwords for Free
Follow these steps to import your customers with passwords from one PrestaShop store to another. Read More…
COMMENTS

